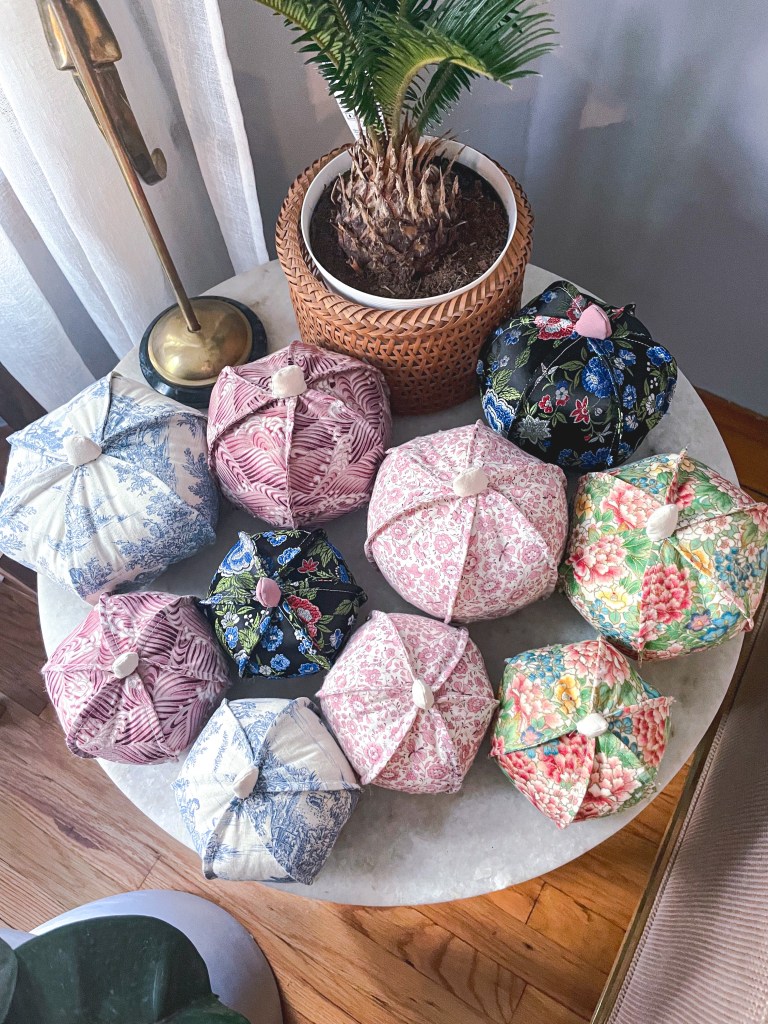
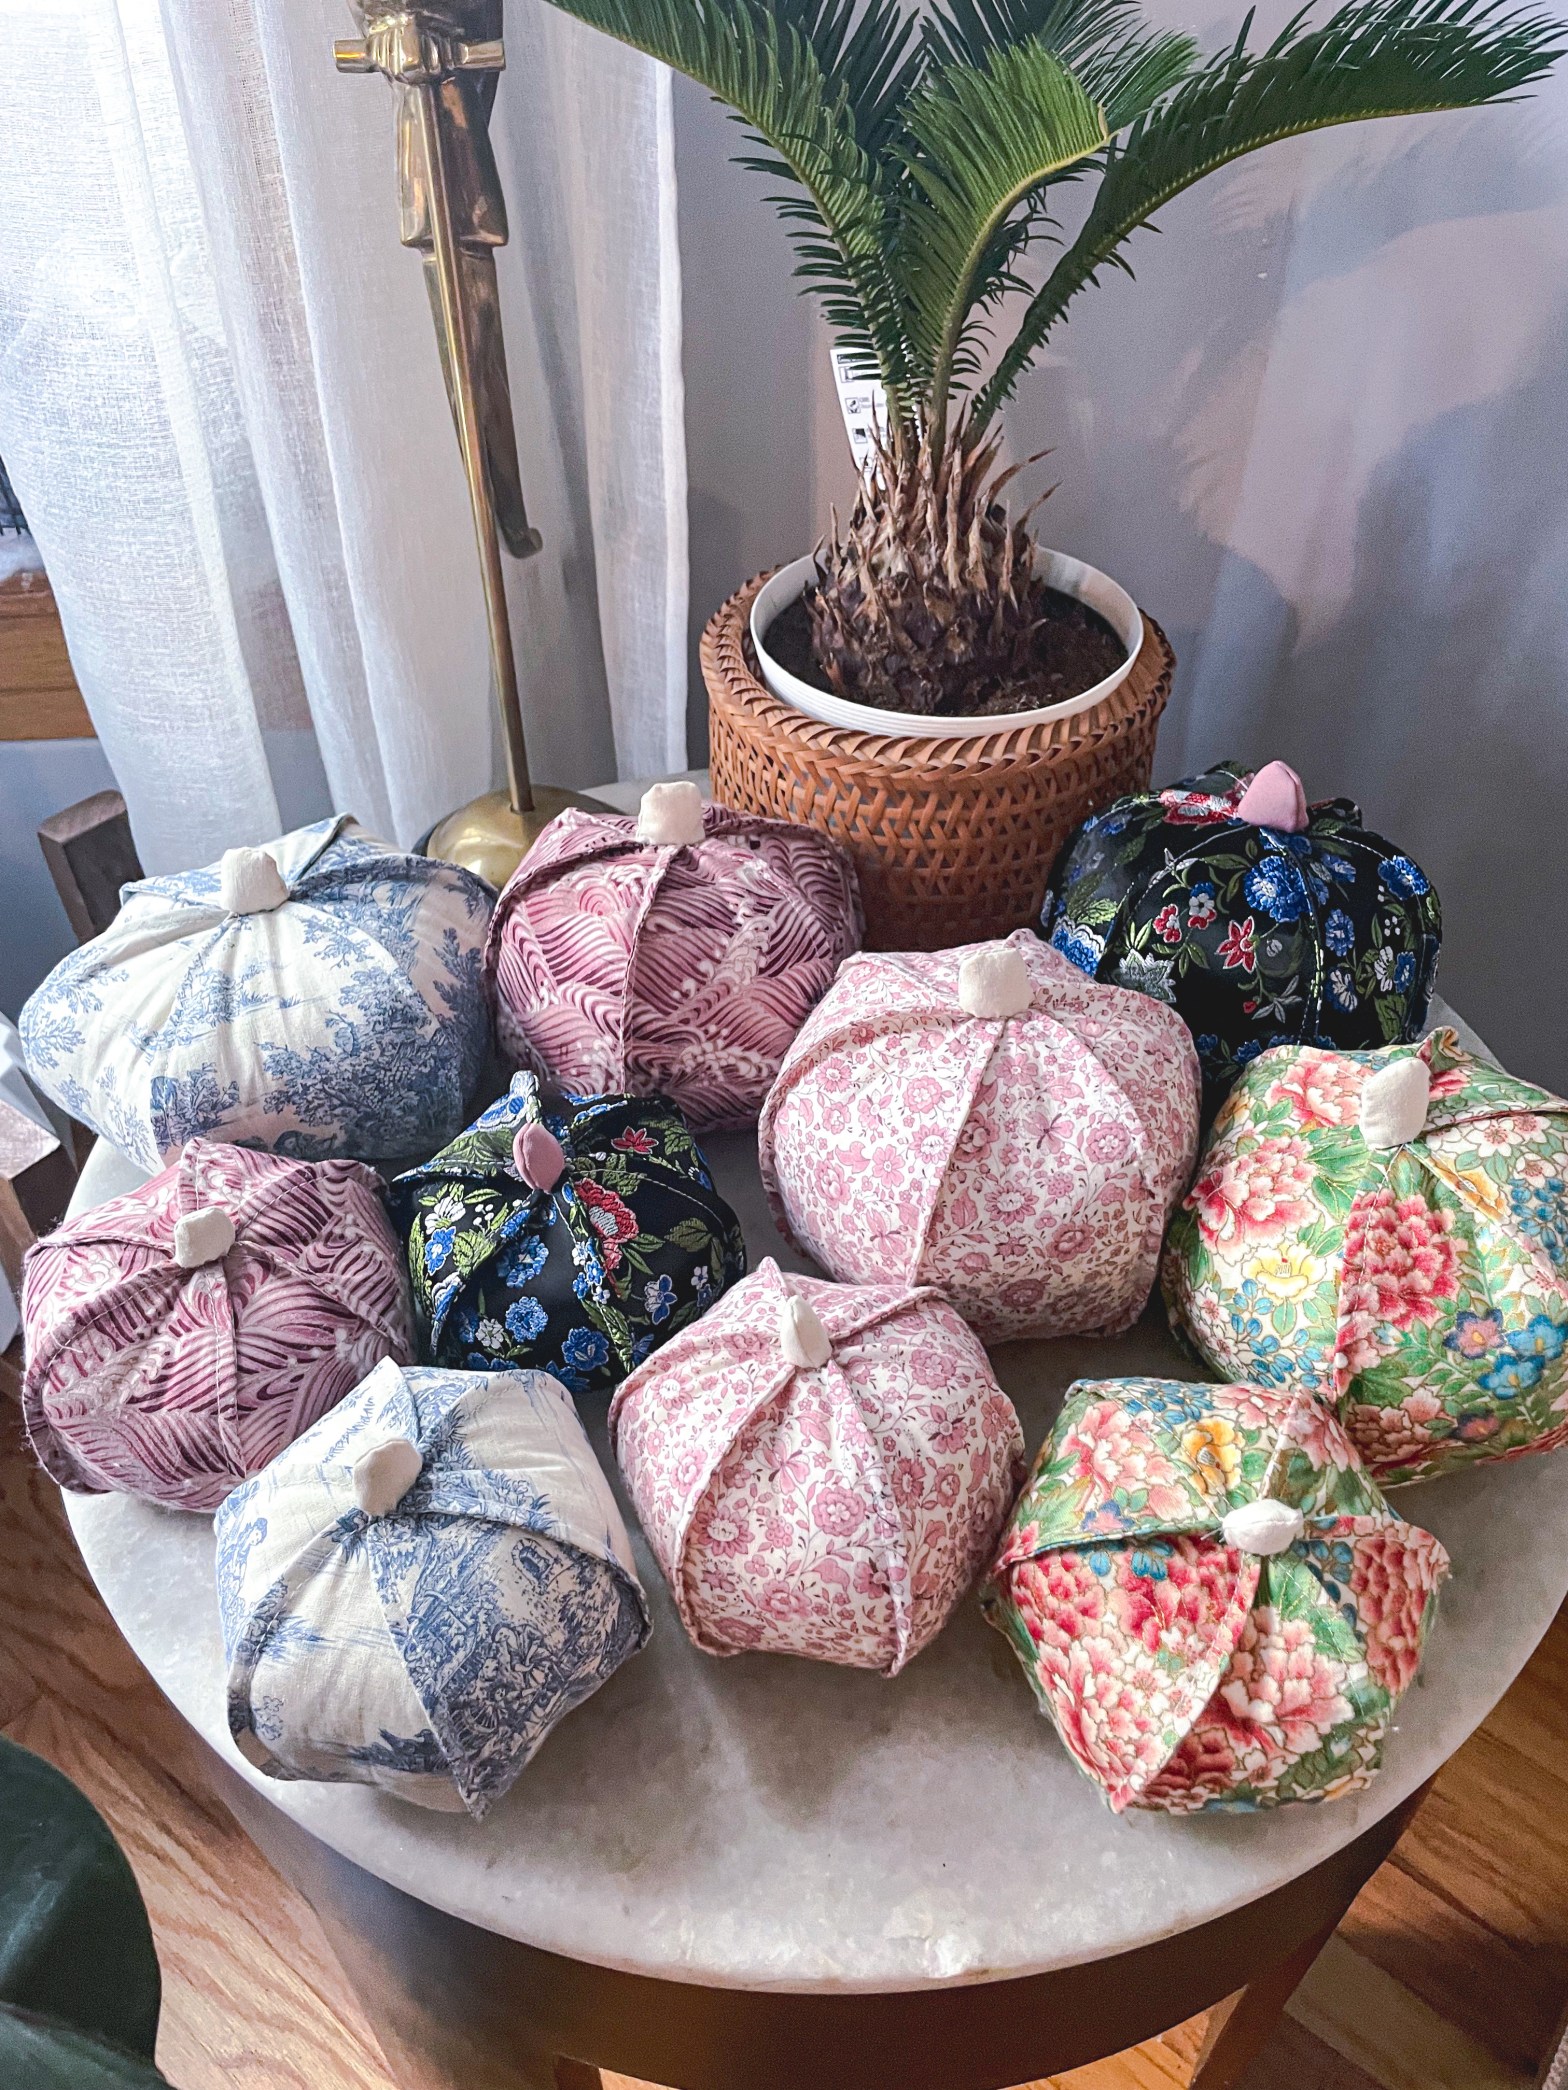
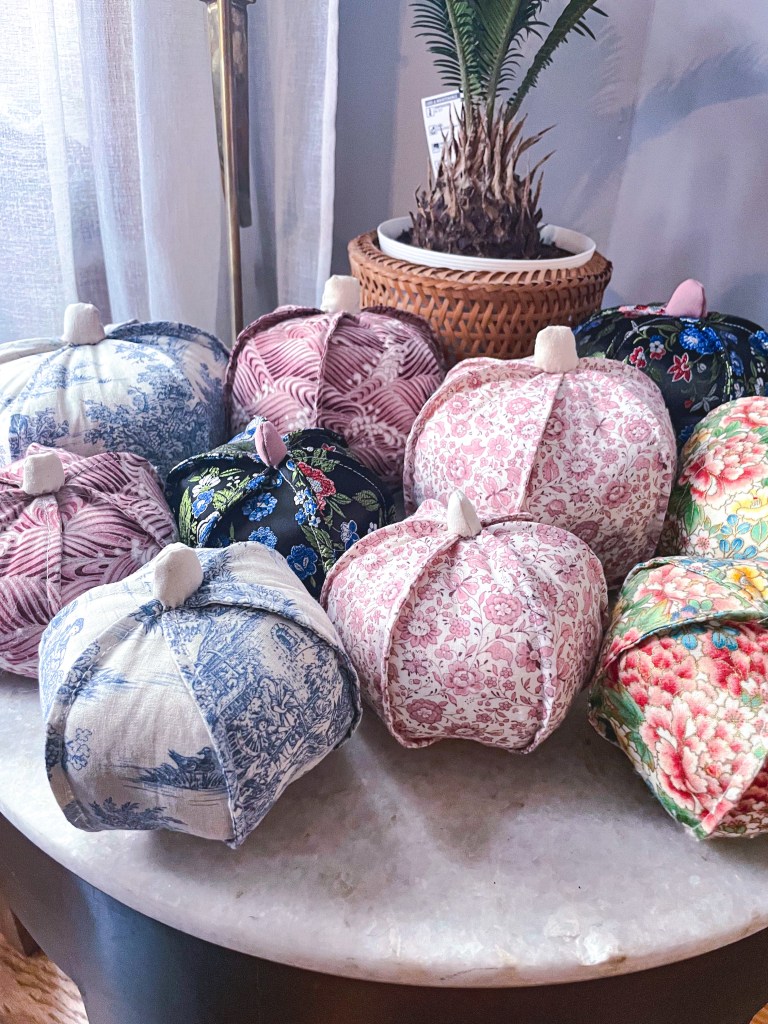
Hey peeps! This year for fall/autumn I wanted to elevate my pumpkin collection with some sophisticated chinoiserie-style pumpkins. I am not a fan of decoupage (no offense if you are – just not for me!) so I figured the best way to create some was with fabric. See below for steps! Please note that these do require some sewing skills (nothing too advanced). If you don’t want to sew, but still want to make some fabric pumpkins – I found this awesome DIY from Martha Stewart that requires minimal sewing (it says it requires a sewing machine for the stem, but I think the stem can easily be hand stitched).
Supplies
- Fabric of your choice: You don’t need much fabric for these and the amount of fabric depends on how many you want to make. I was able to make one large and one small pumpkin out of 1/2 a yard of fabric with enough left to make at least one more large pumpkin. Cotton/linen is easiest to work with, but I also made some pumpkins out of a brocade fabric as well and was happy with the results. You’ll also need a small piece of fabric (or multiple pieces, depending on if you want to make the stems all the same color or not), I was able to make 8 stems from less than 1/8 of a yard. Check if your local fabric store has small remnants for cheap to save money! Another great place where I love buying fabric is Etsy because there is a very large selection, and a lot of really great vintage fabrics.
- Pumpkin pattern: I used a pattern I found for free – access the pattern here. Please note that I made my own very basic pattern for the stems, but feel free to use the pattern for the stems that you can also find within the link.
- Sewing machine
- Thread
- Hand sewing needle
- Sewing pins: personally, I love these large ones, but any sewing pins will work.
- Stuffing/filling: I prefer to use all-natural cotton stuffing. Poly stuffing works just as well and is considerably cheaper. Please note that you may need to buy more than 1 lb of stuffing depending on the size and number of pumpkins you want to make. To create all 10 of my pumpkins (5 larger, 5 smaller) I used approximately 1.5-2lbs. Here is a great listing for cotton stuffing in bulk for a reasonable price.
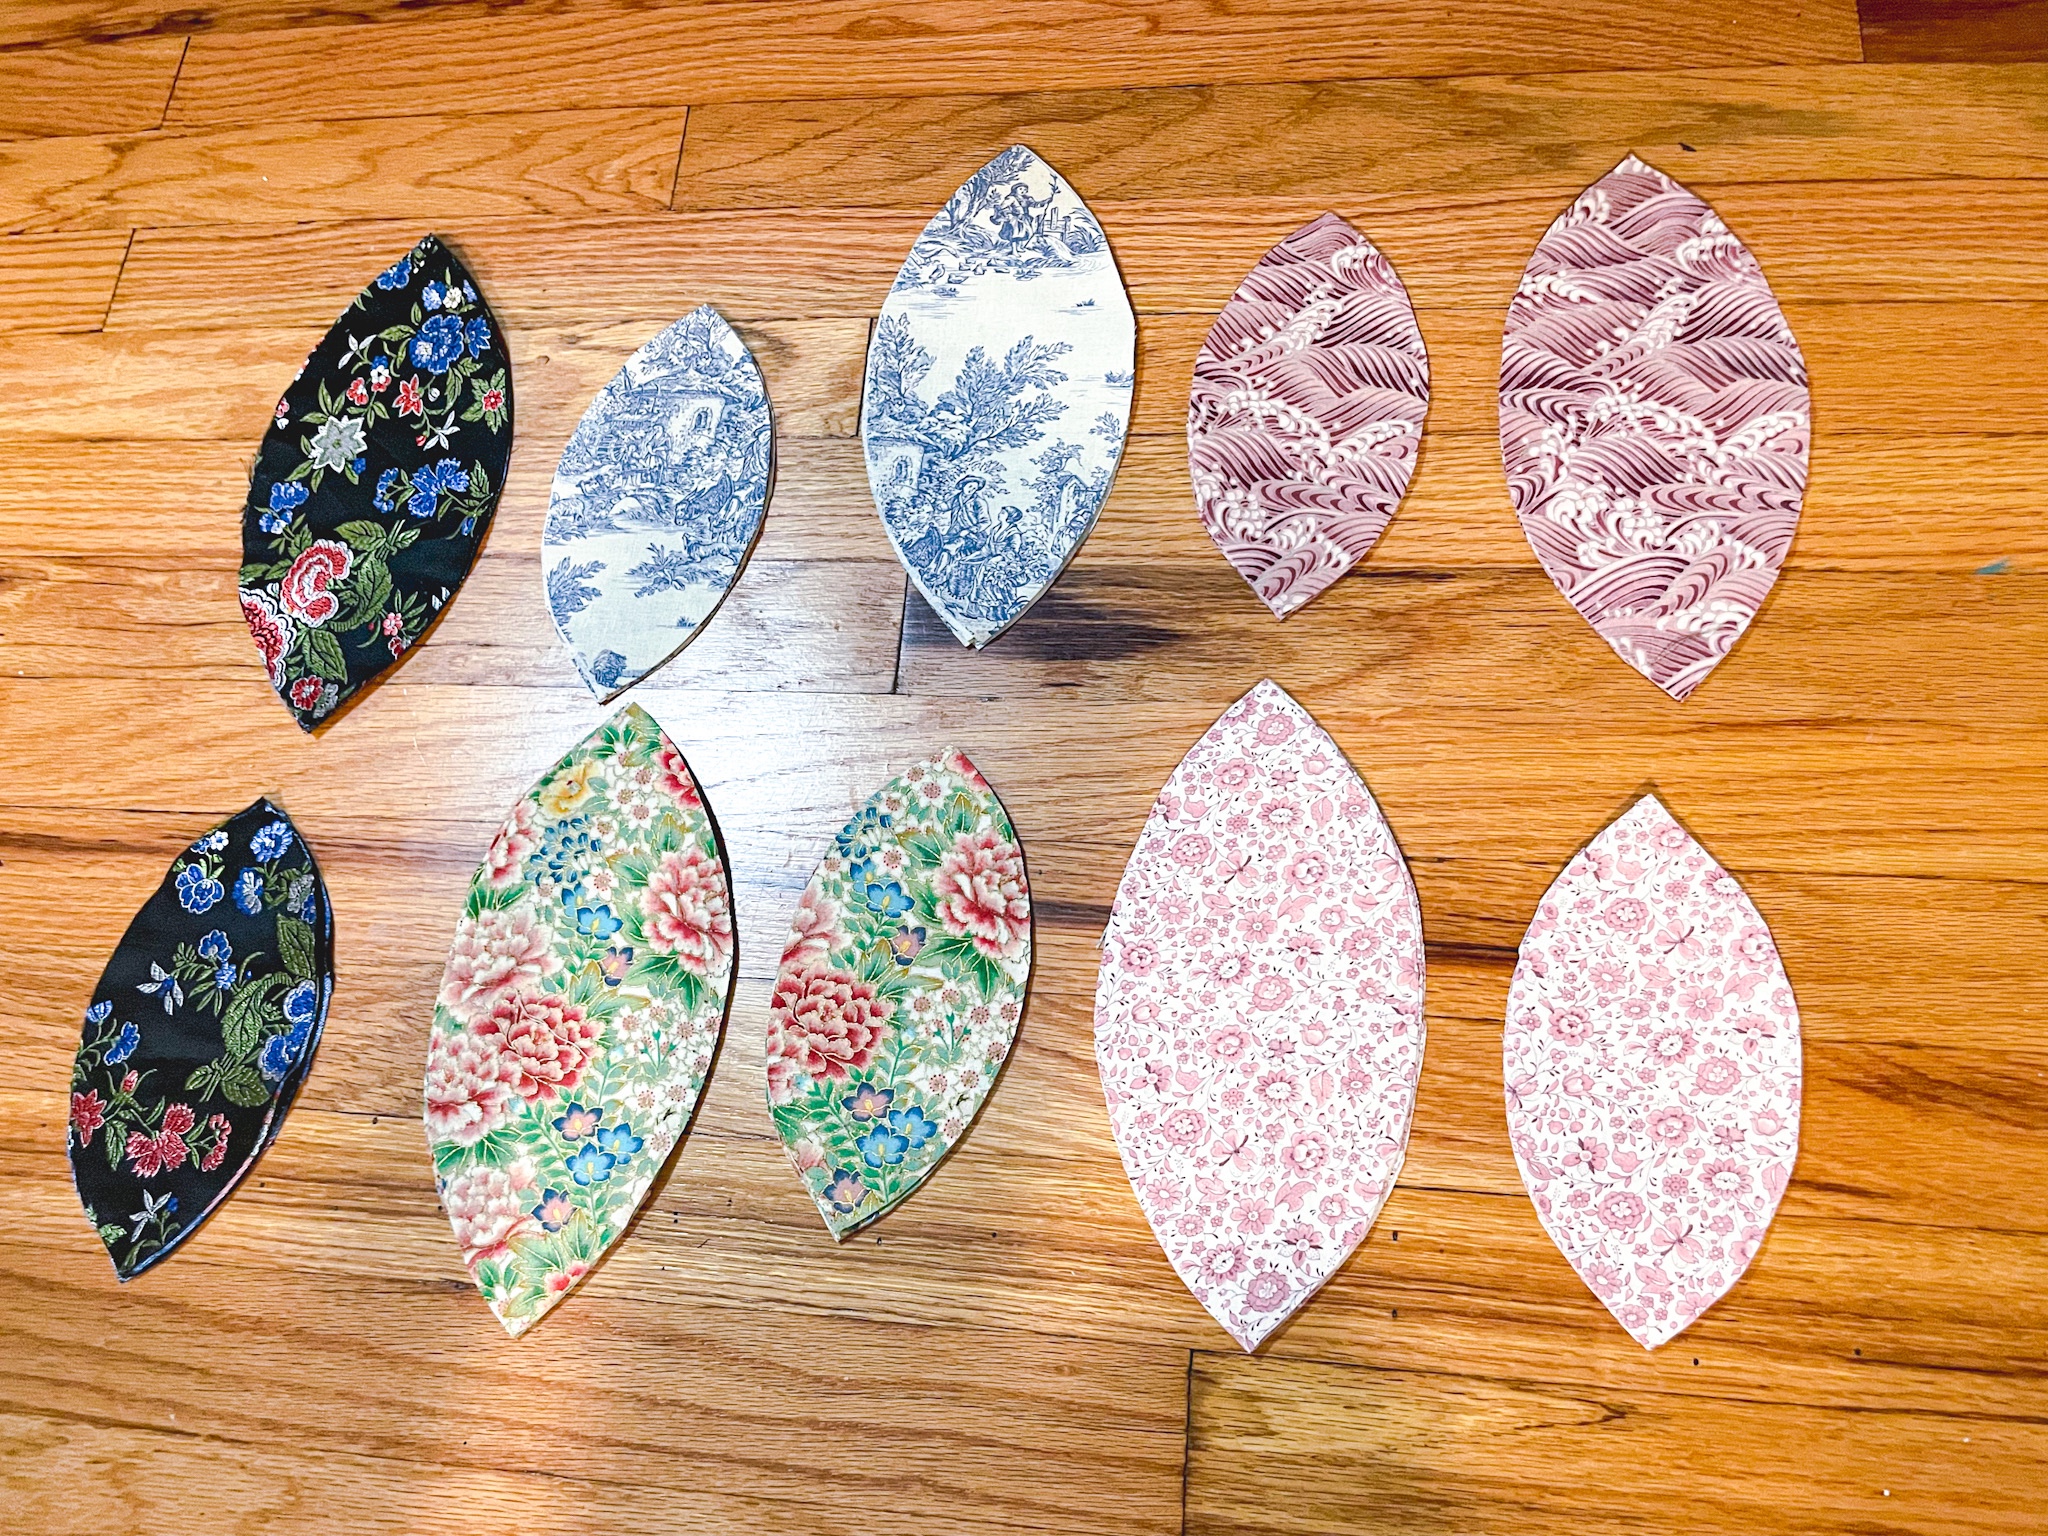
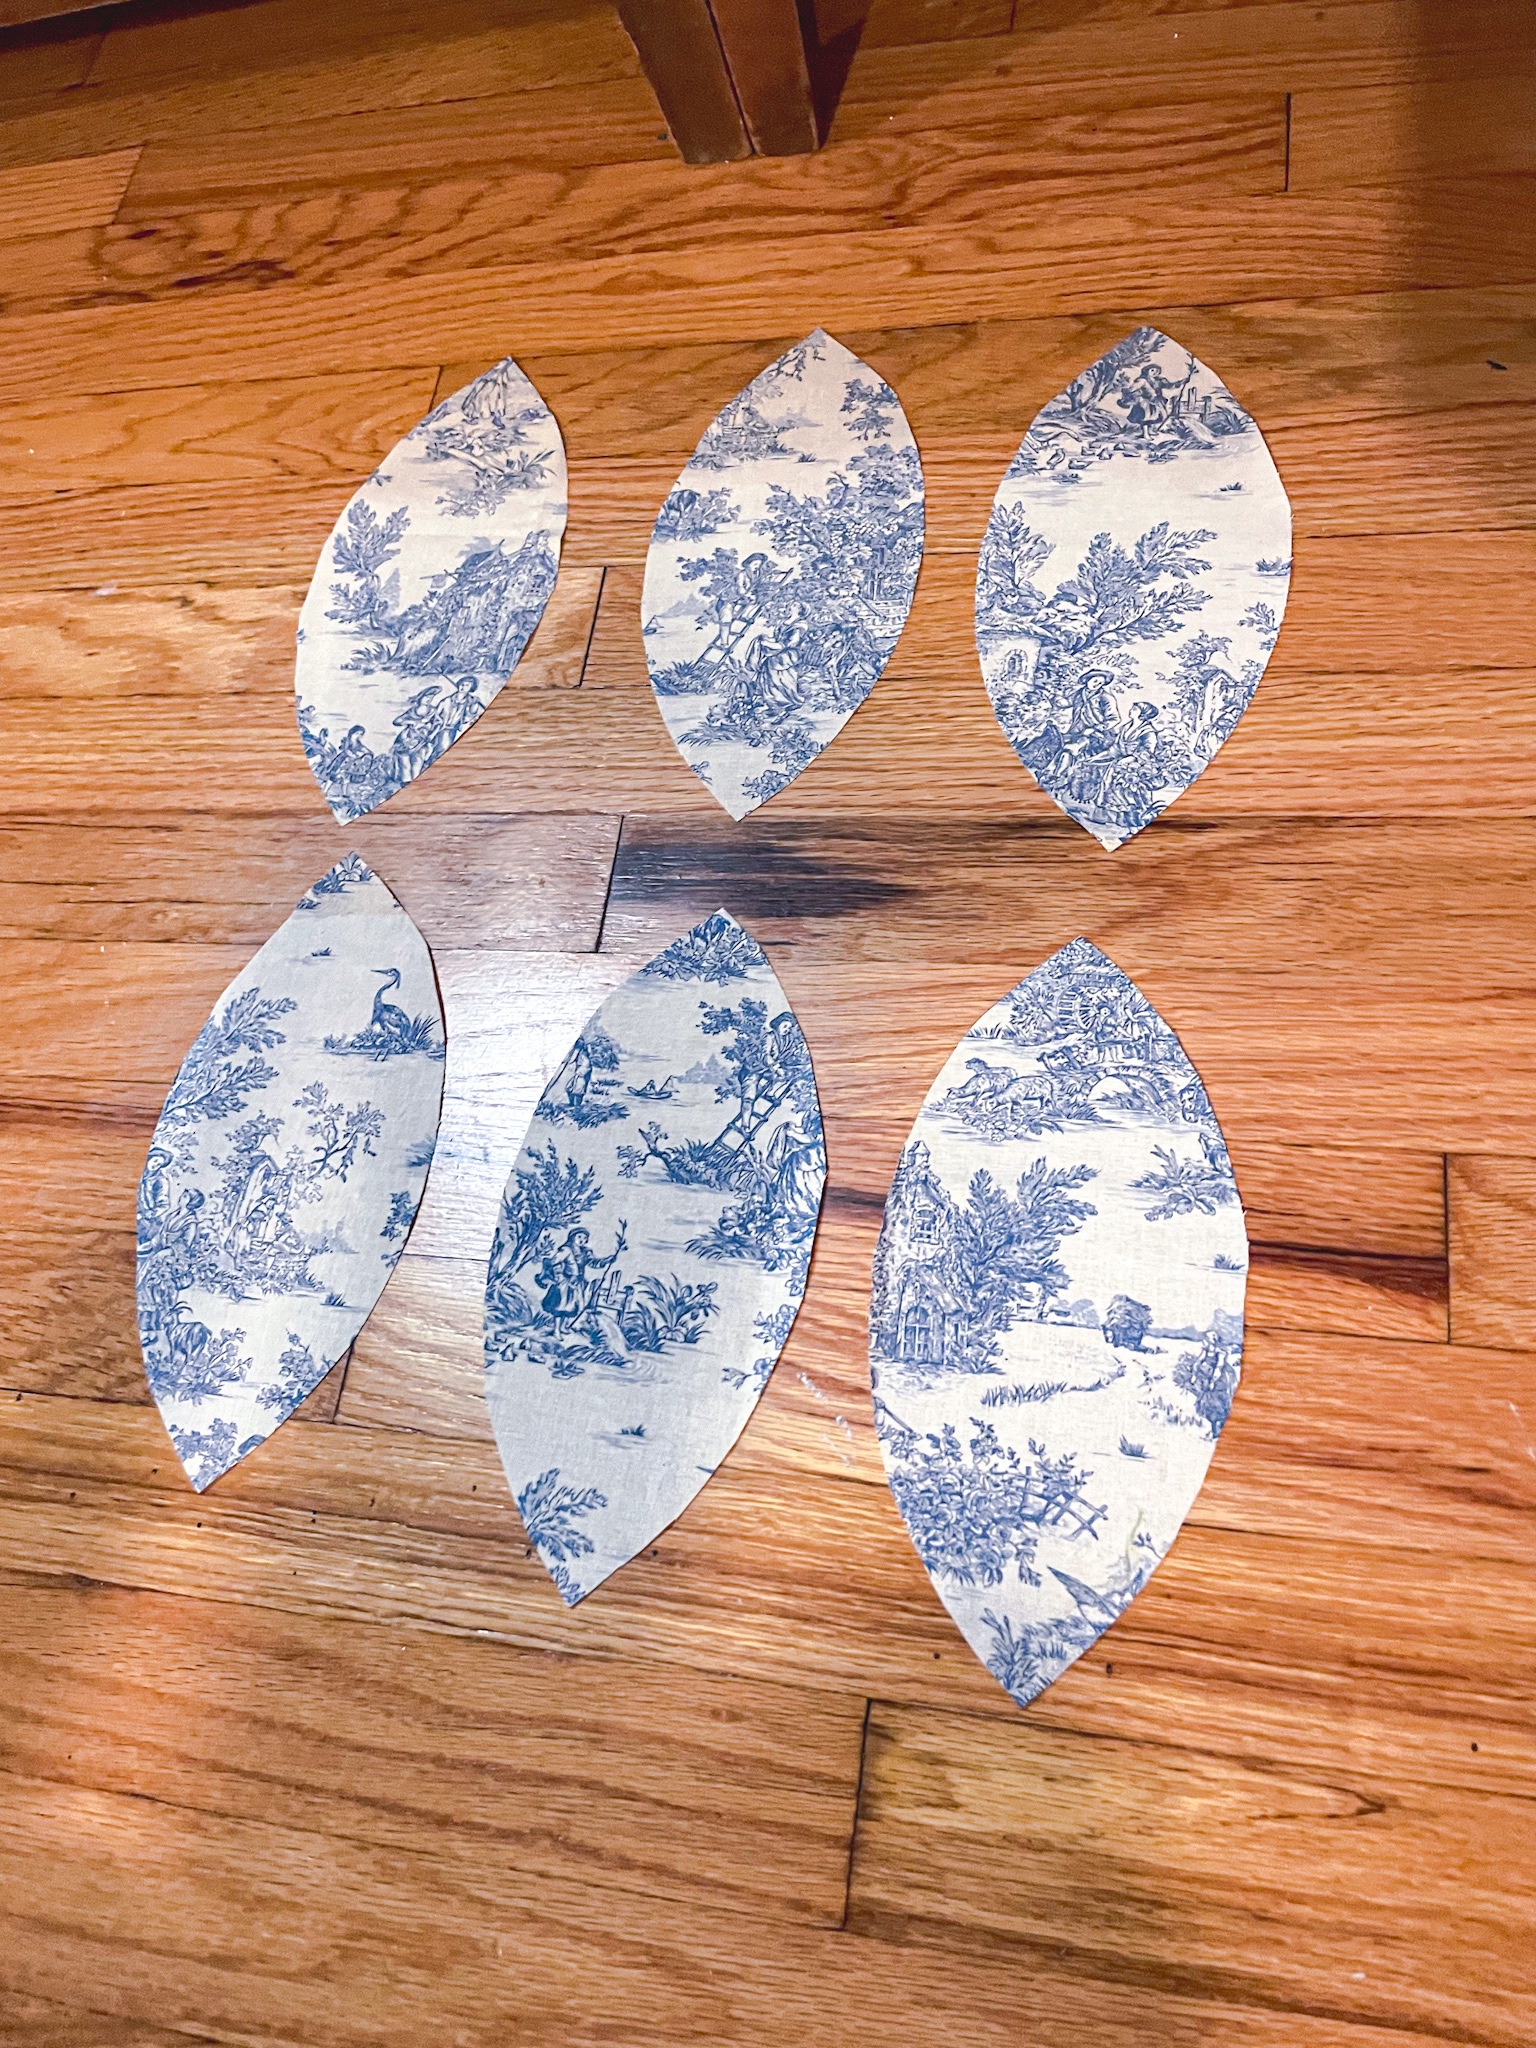
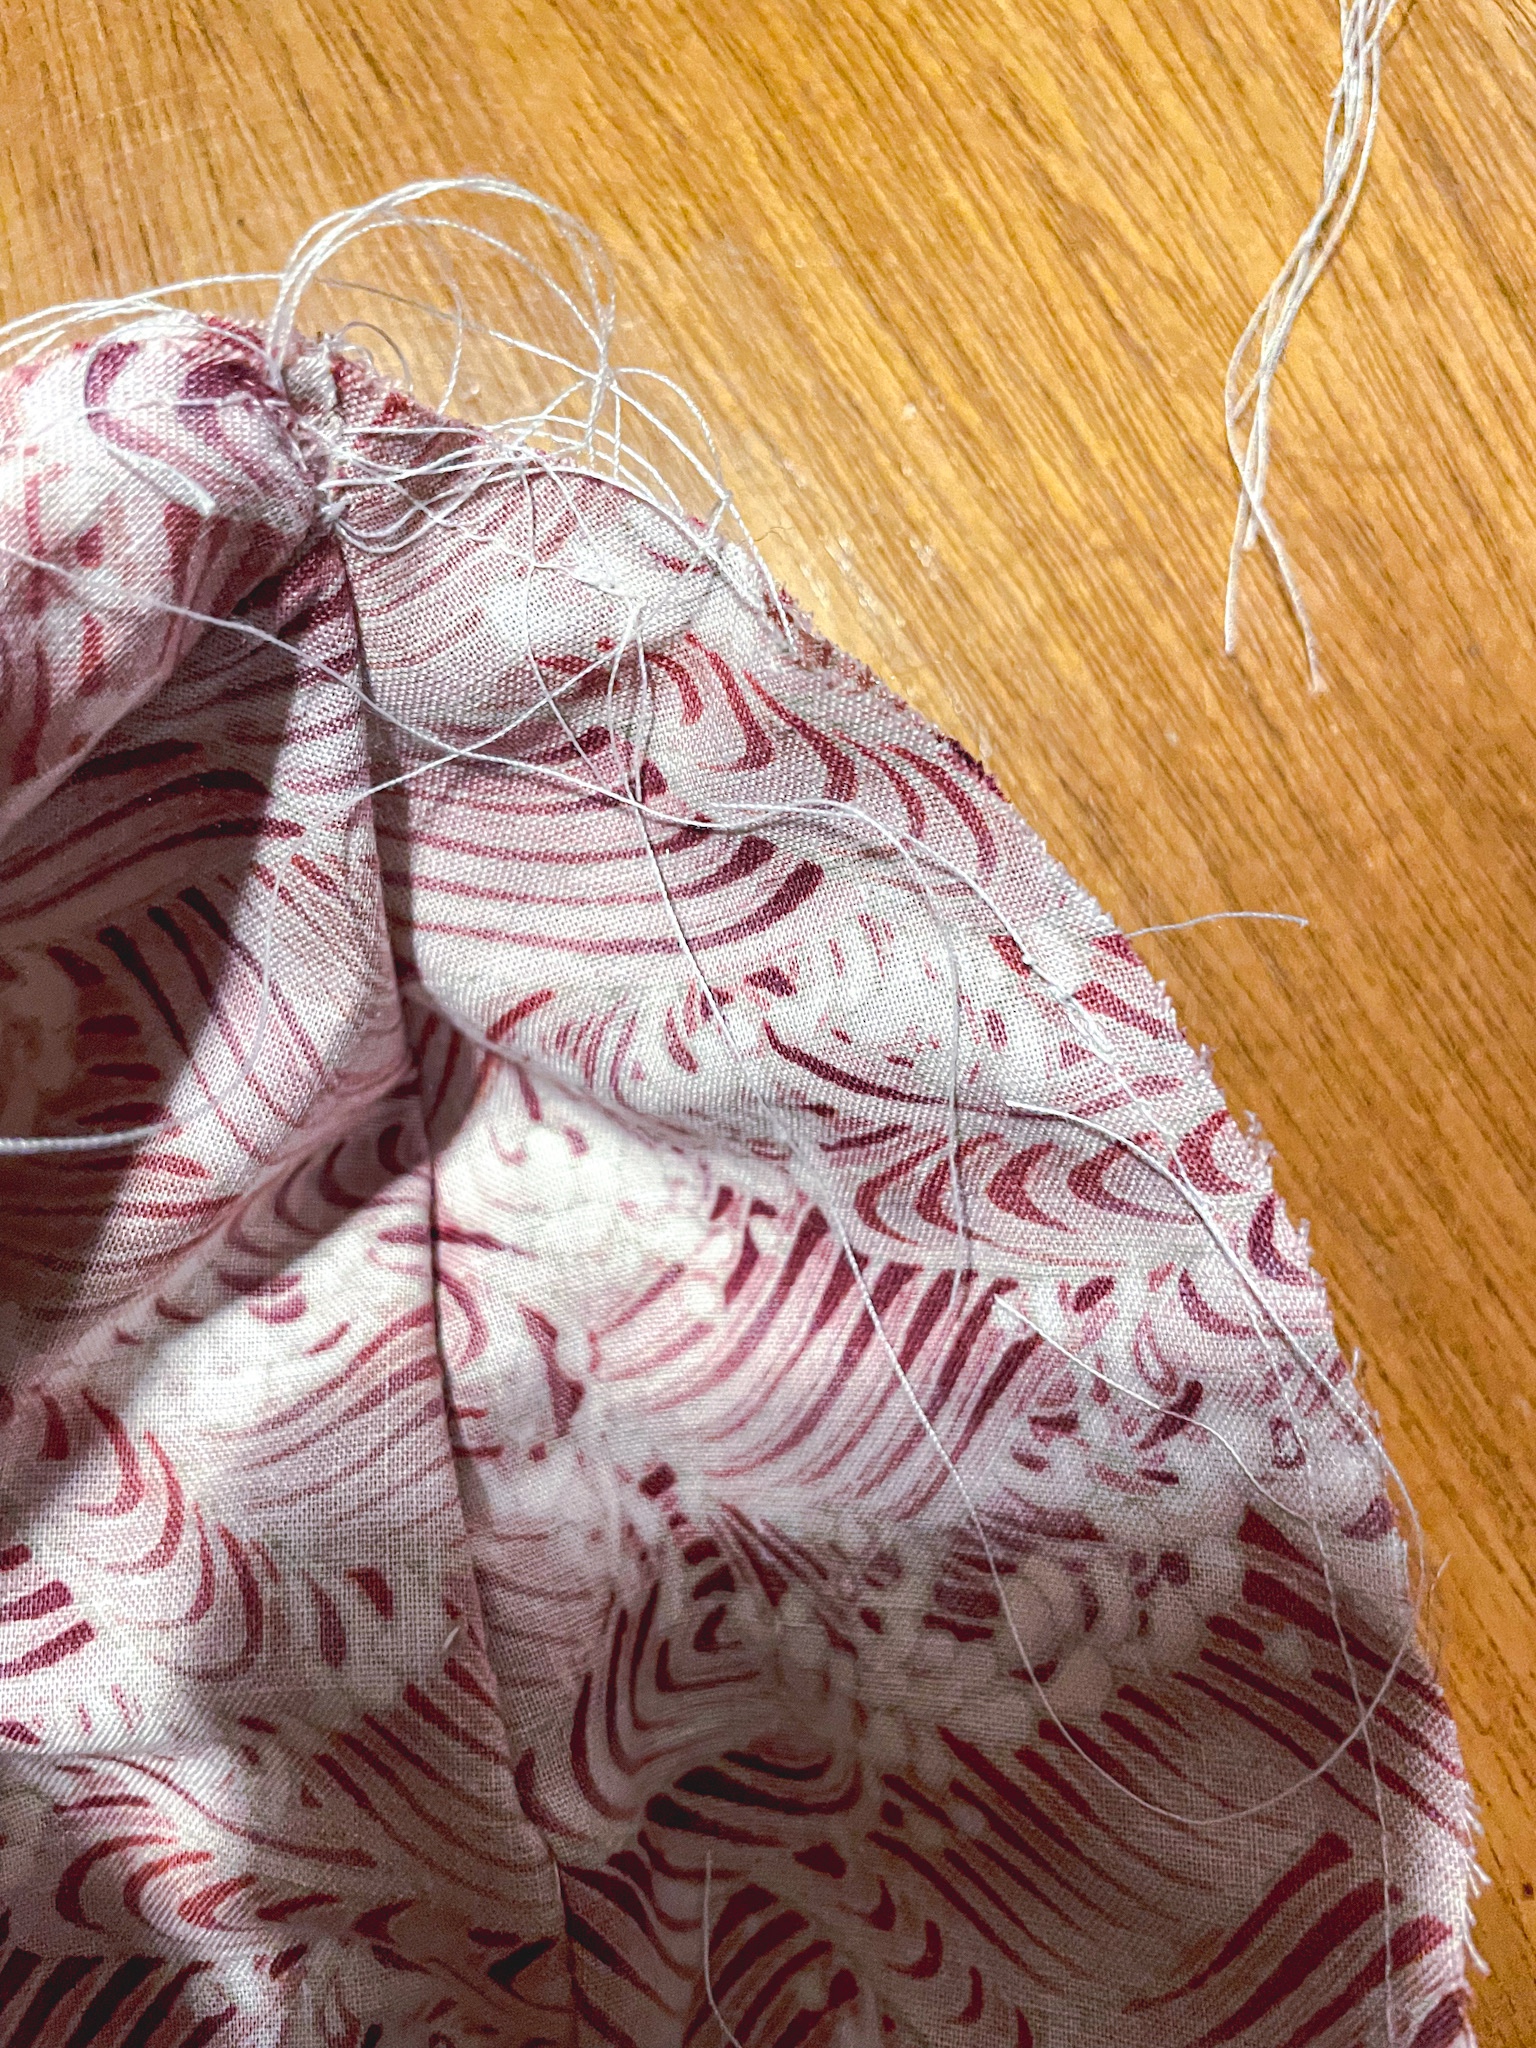
Print out the pumpkin pattern and then cut out the pattern pieces for the pumpkin sides. Pin the paper pattern pieces to the fabric of your choice. You will want to cut 6 of each piece.
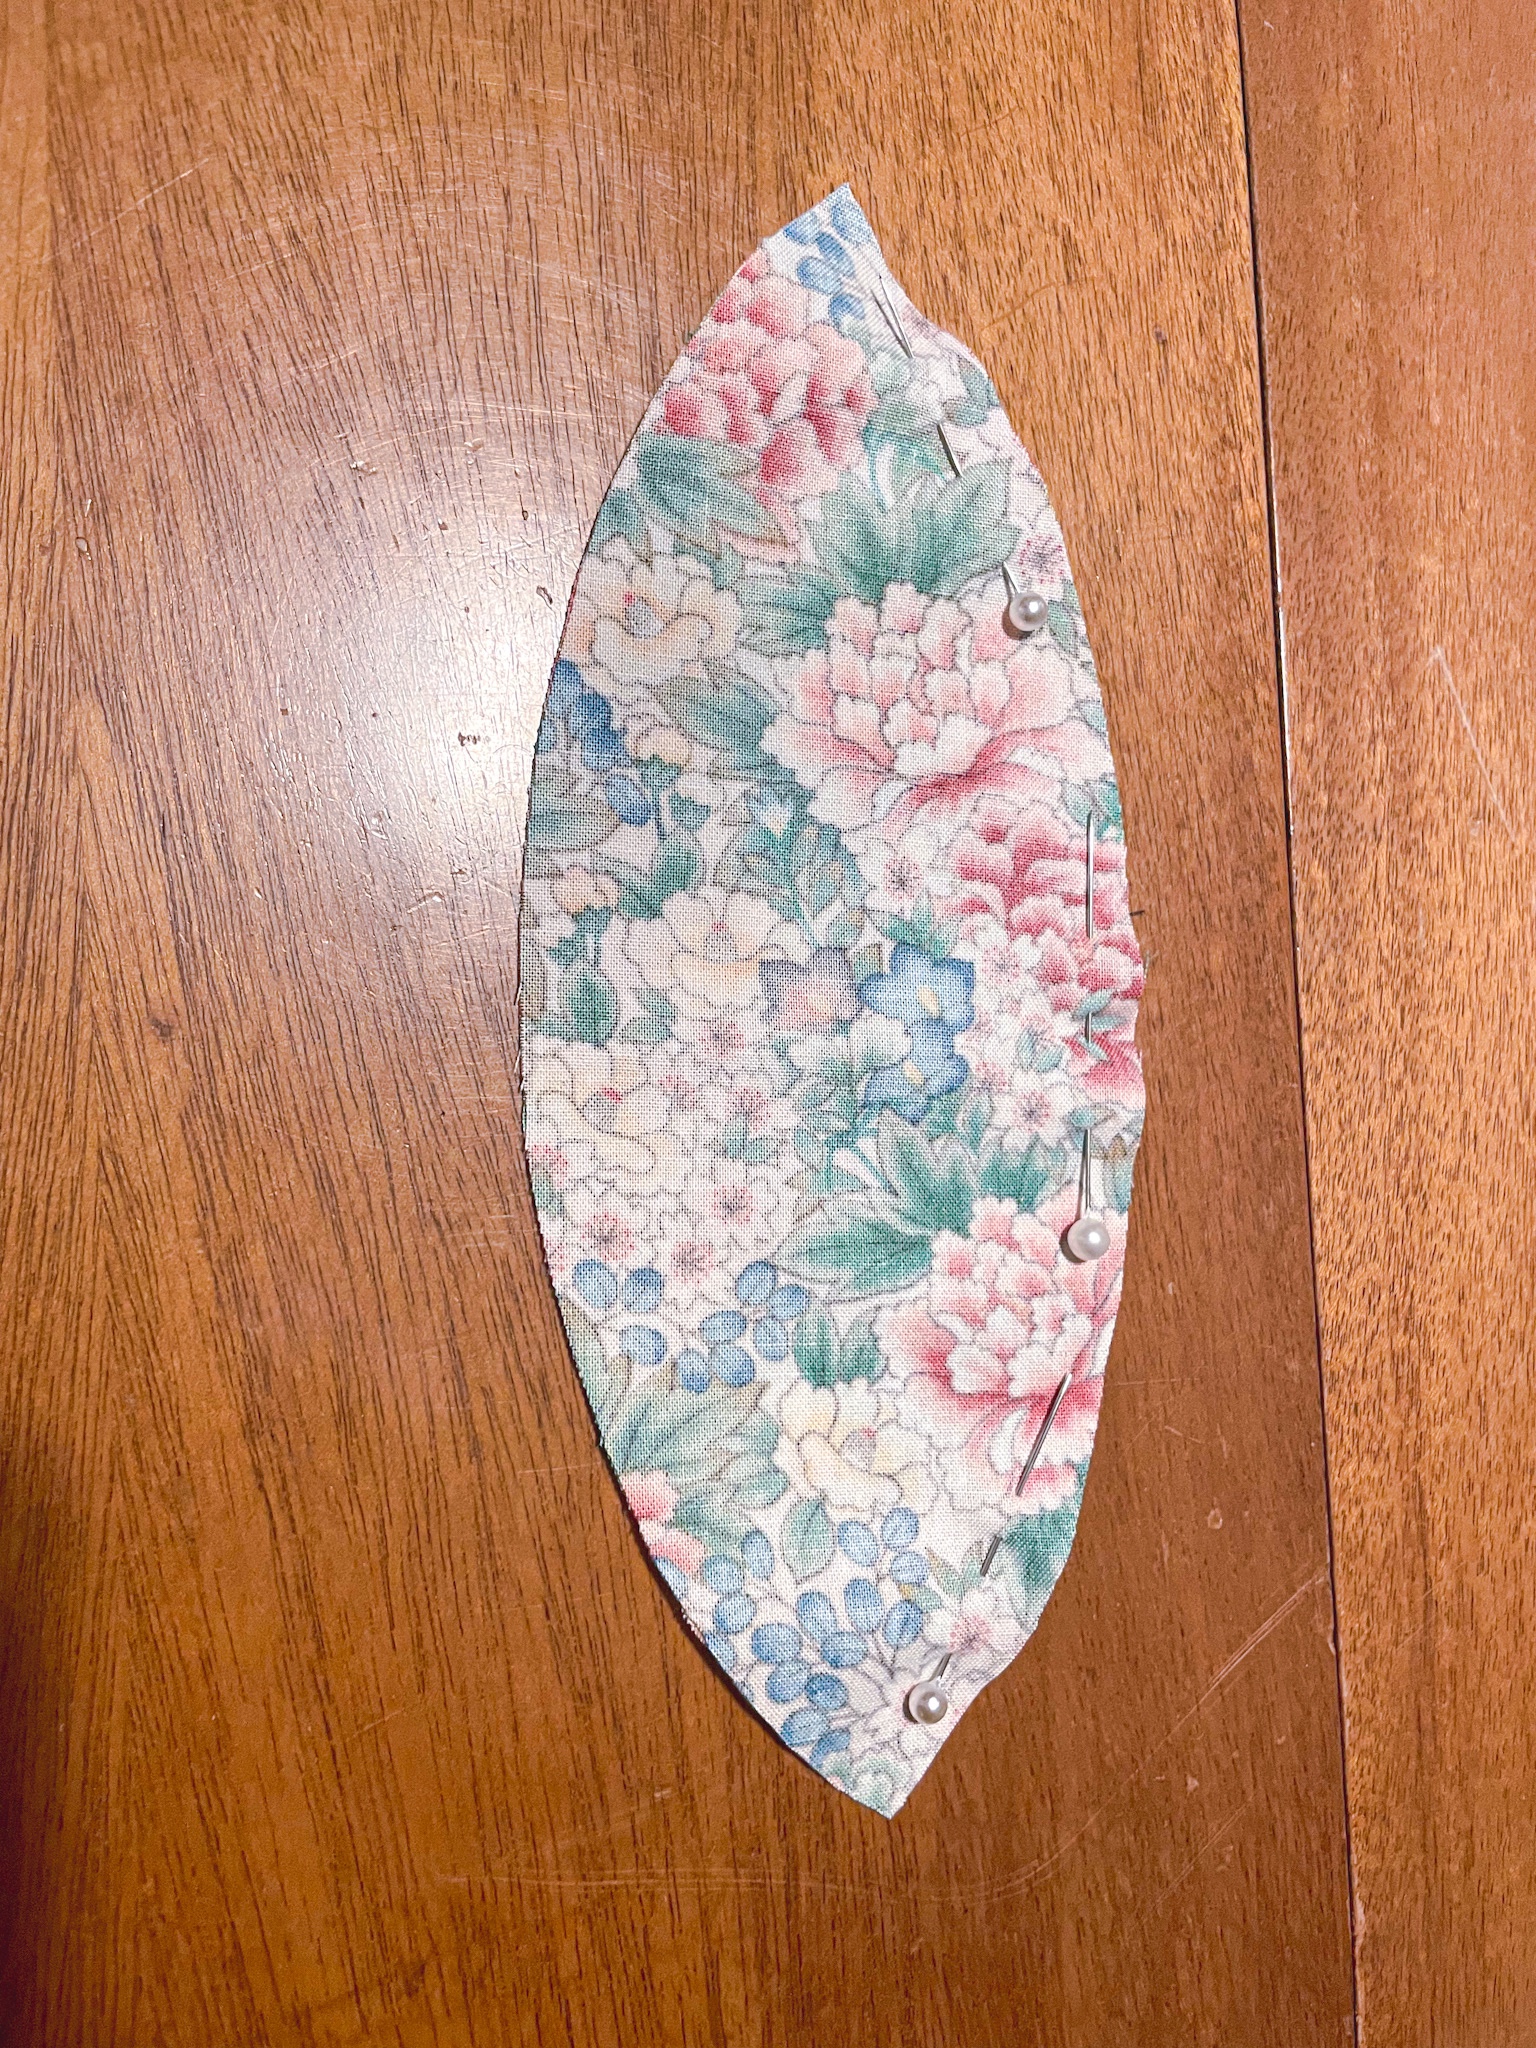
Take 2 of the 6 pieces and pin them on one side with the right sides (the side with the pattern) of the fabric together. Make sure they are facing the same direction if you chose a fabric that is directional (has a clear top and bottom or direction the pattern on the fabric should lay). Then sew that side – I sewed with a small seam allowance of approximately 1/4”.

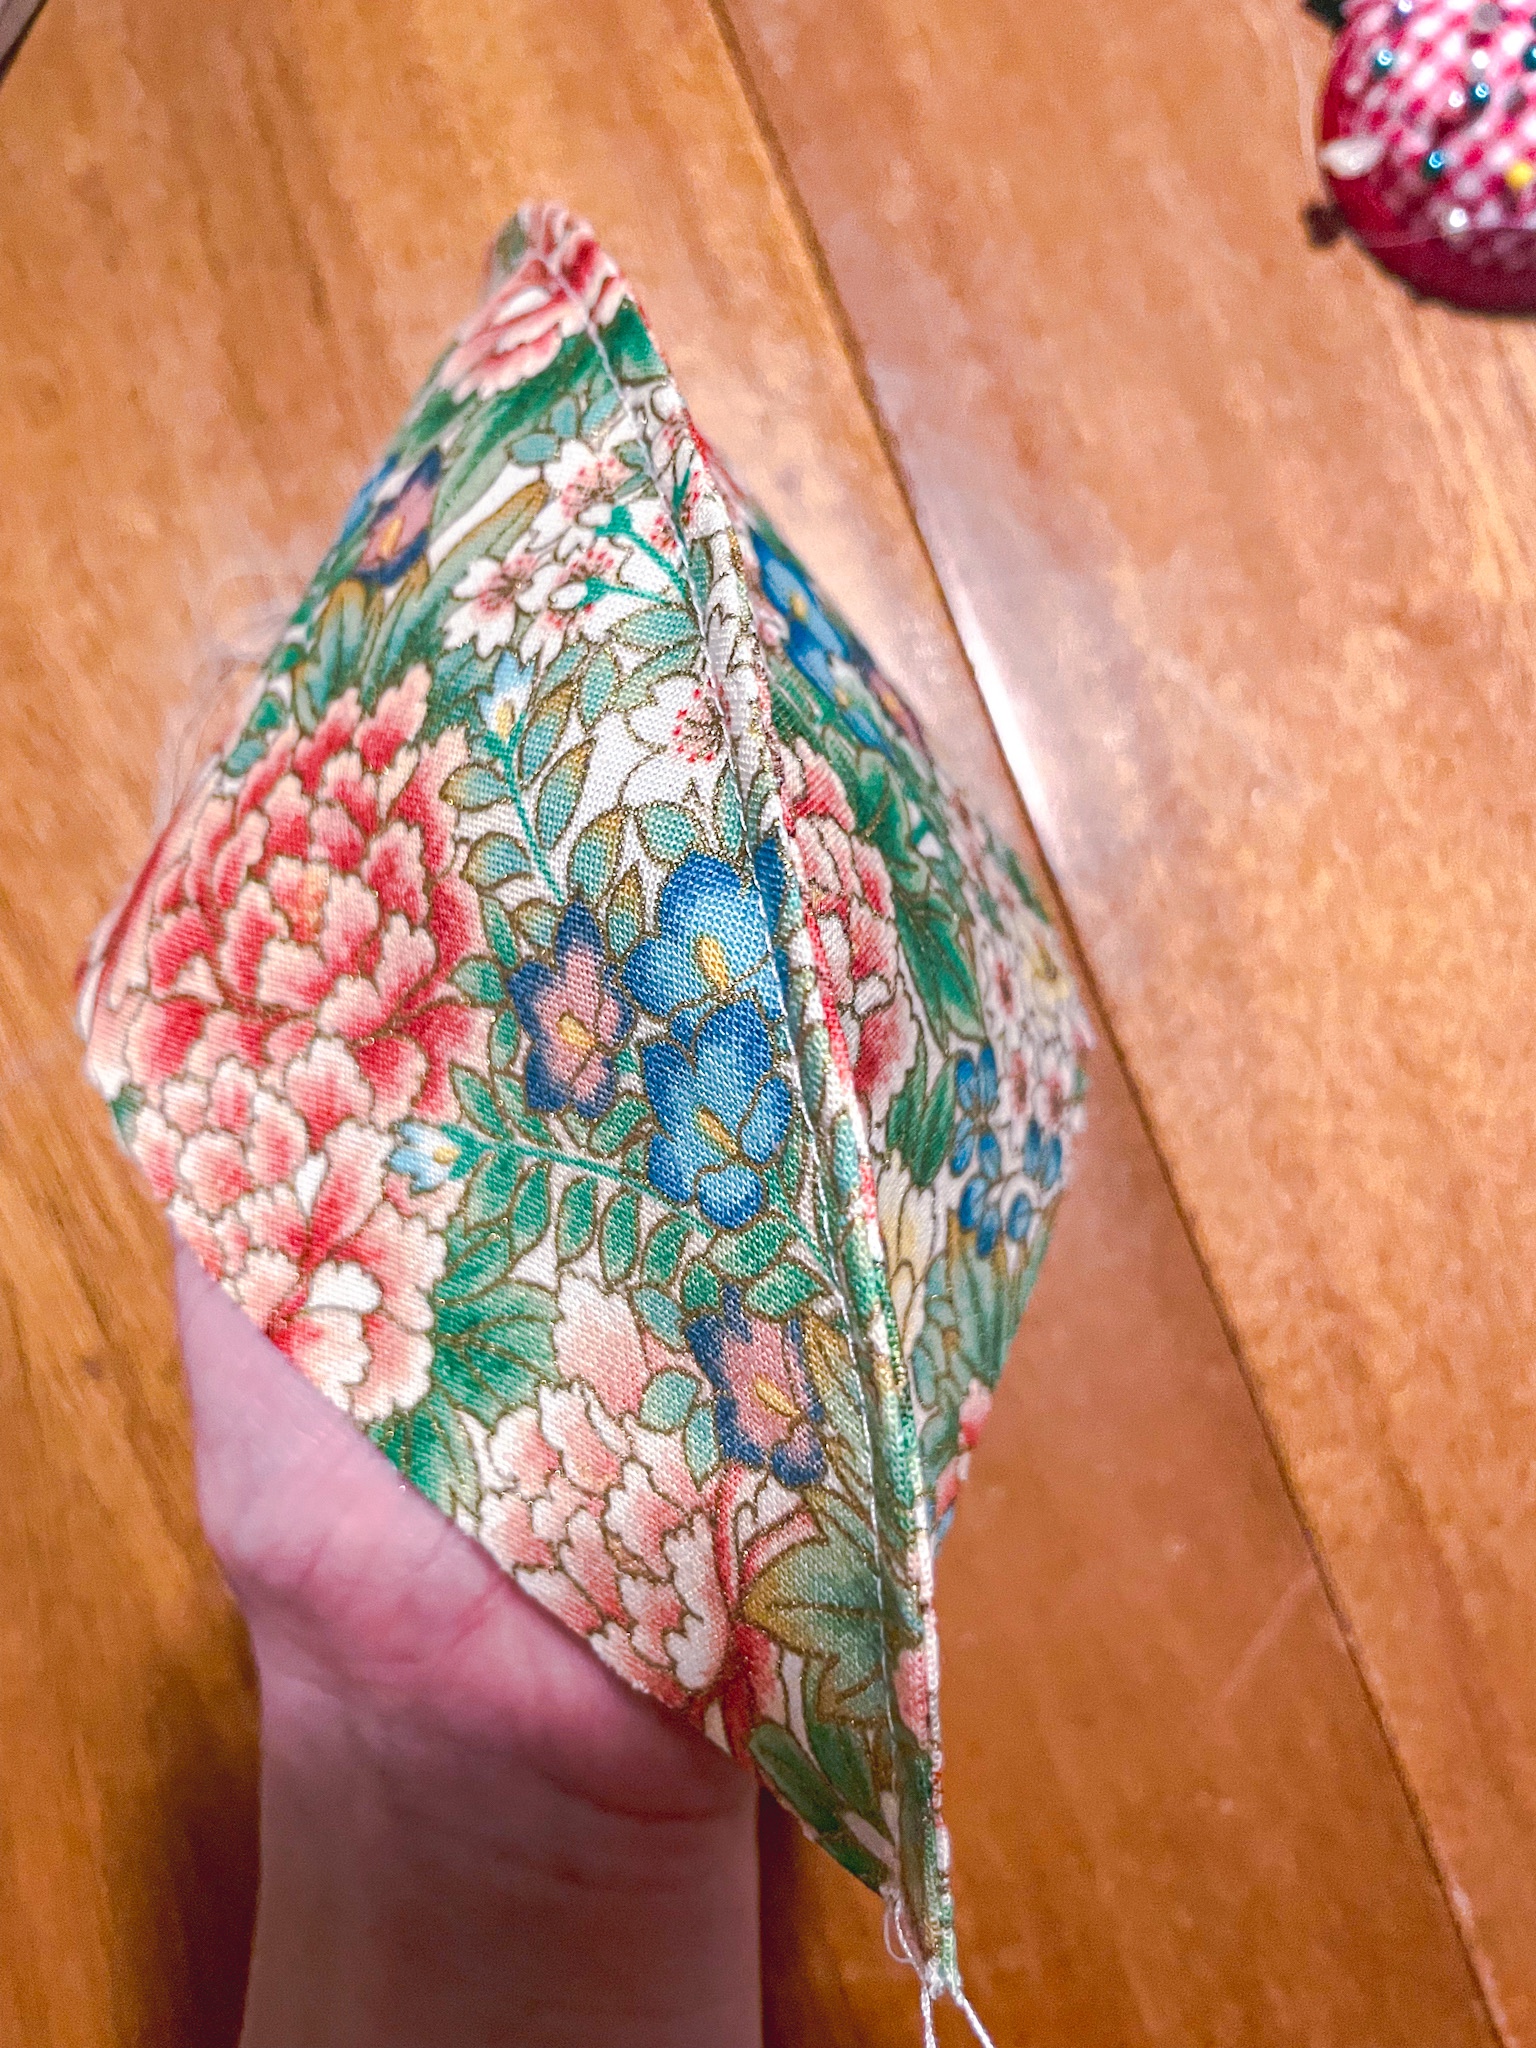
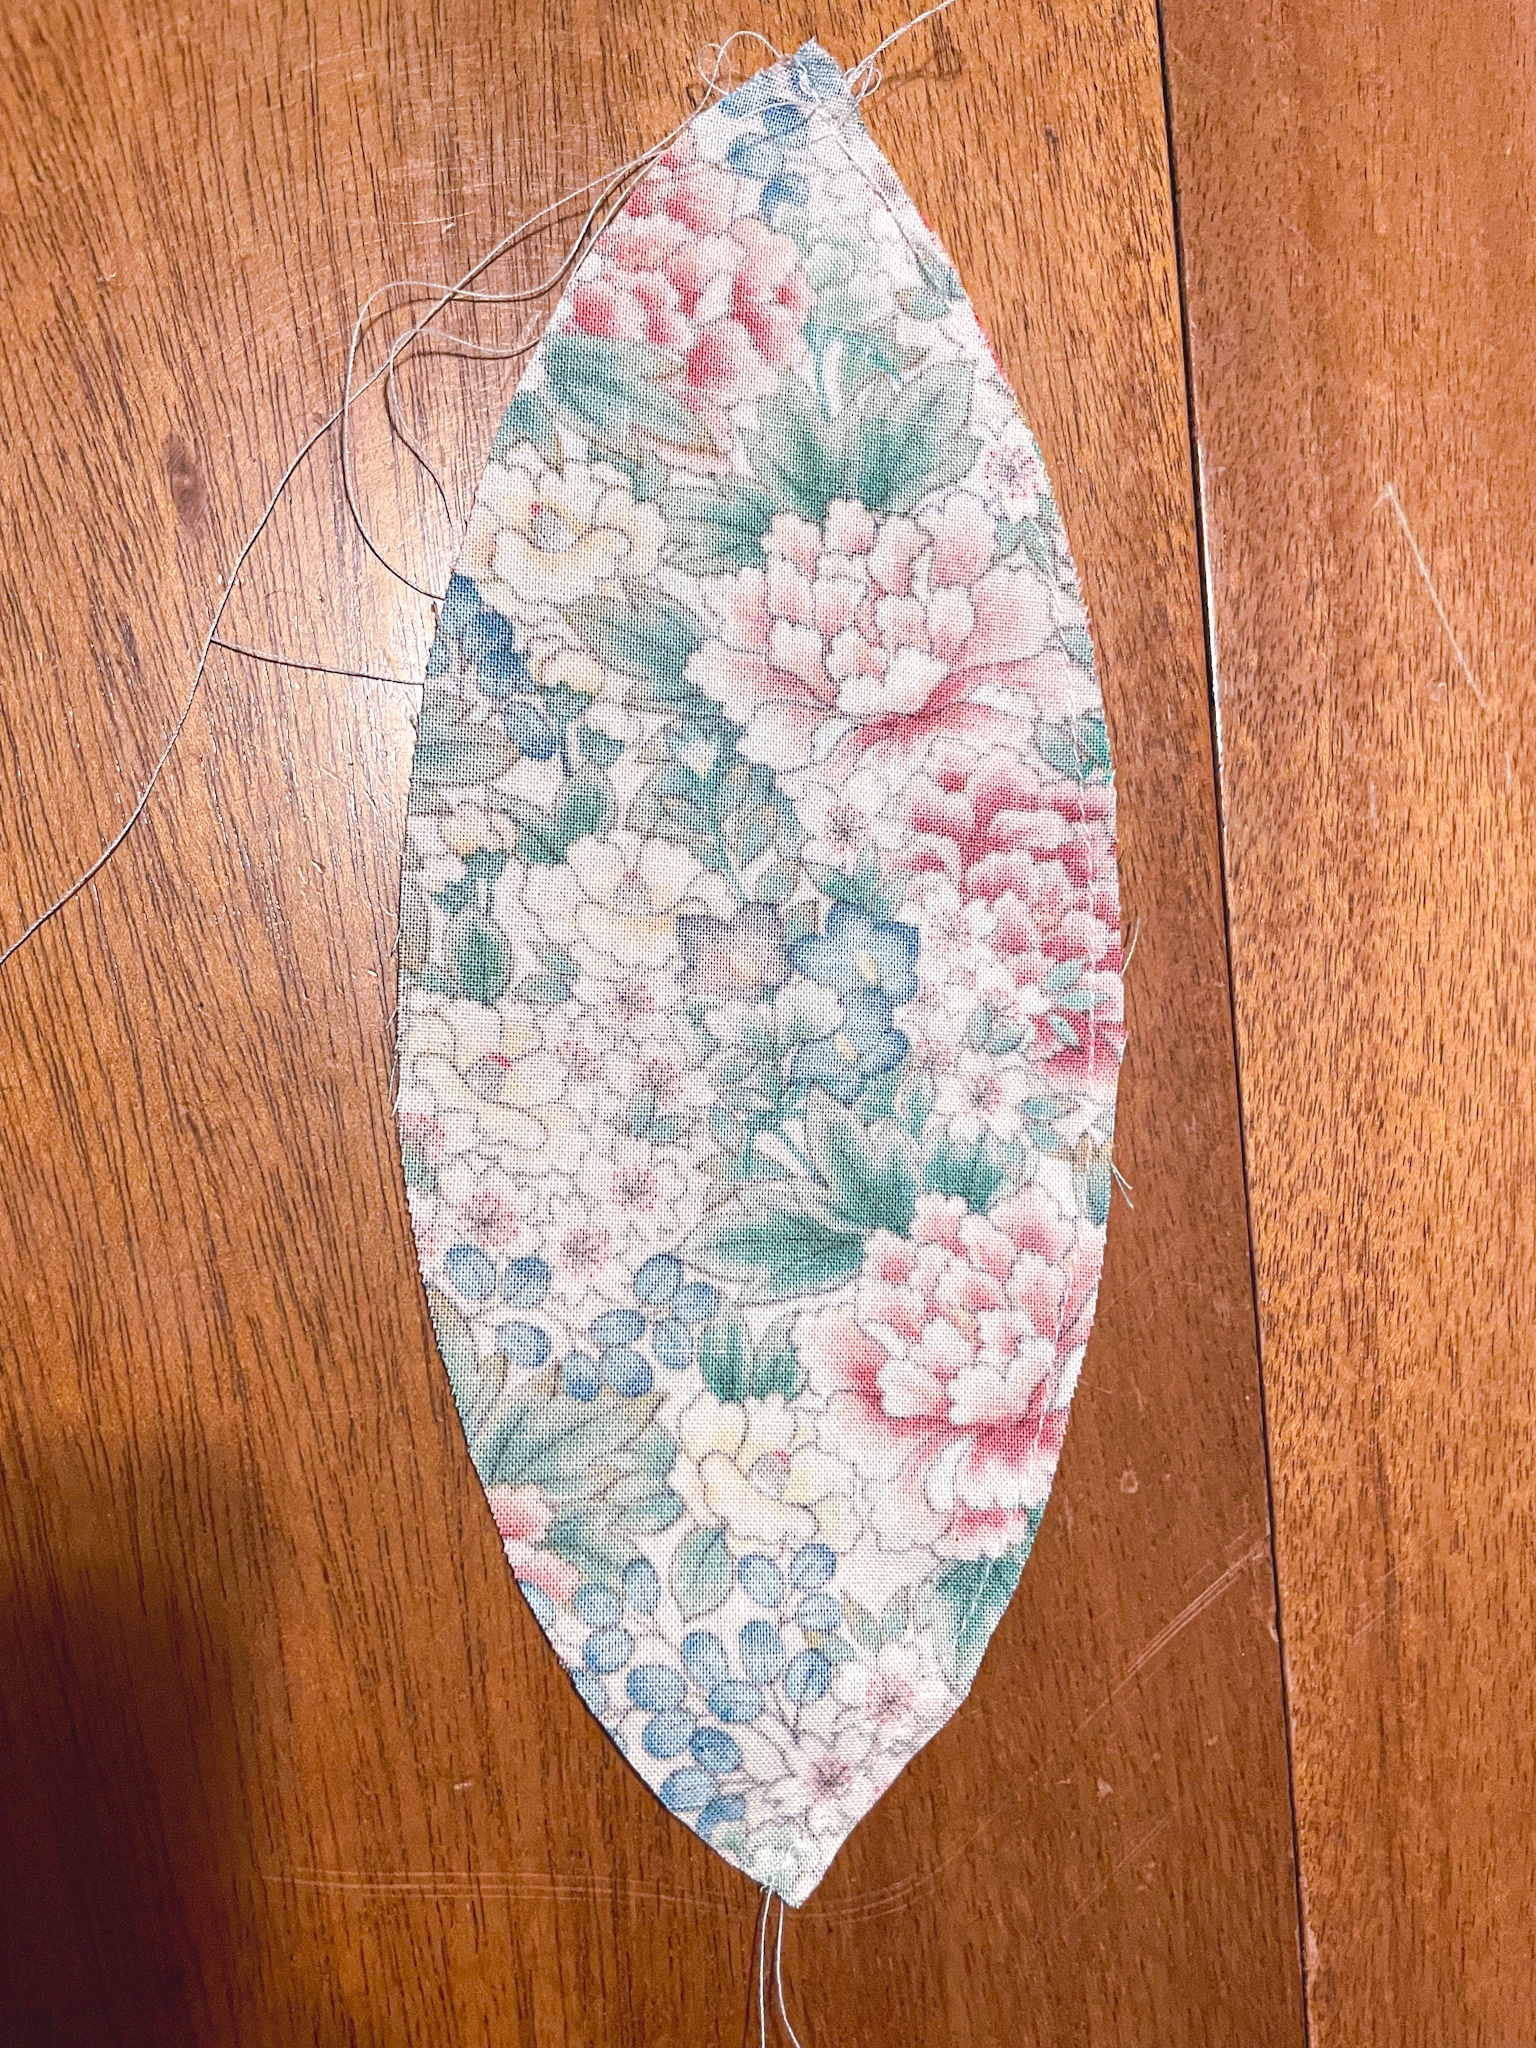
I love the look of French seams that are topstitched and wanted to incorporate these into my pumpkins. Open the pieces you just sewed together and fold on the seam and then pin. I then sewed the same side again with a slightly larger seam allowance of approximately 1/3”.

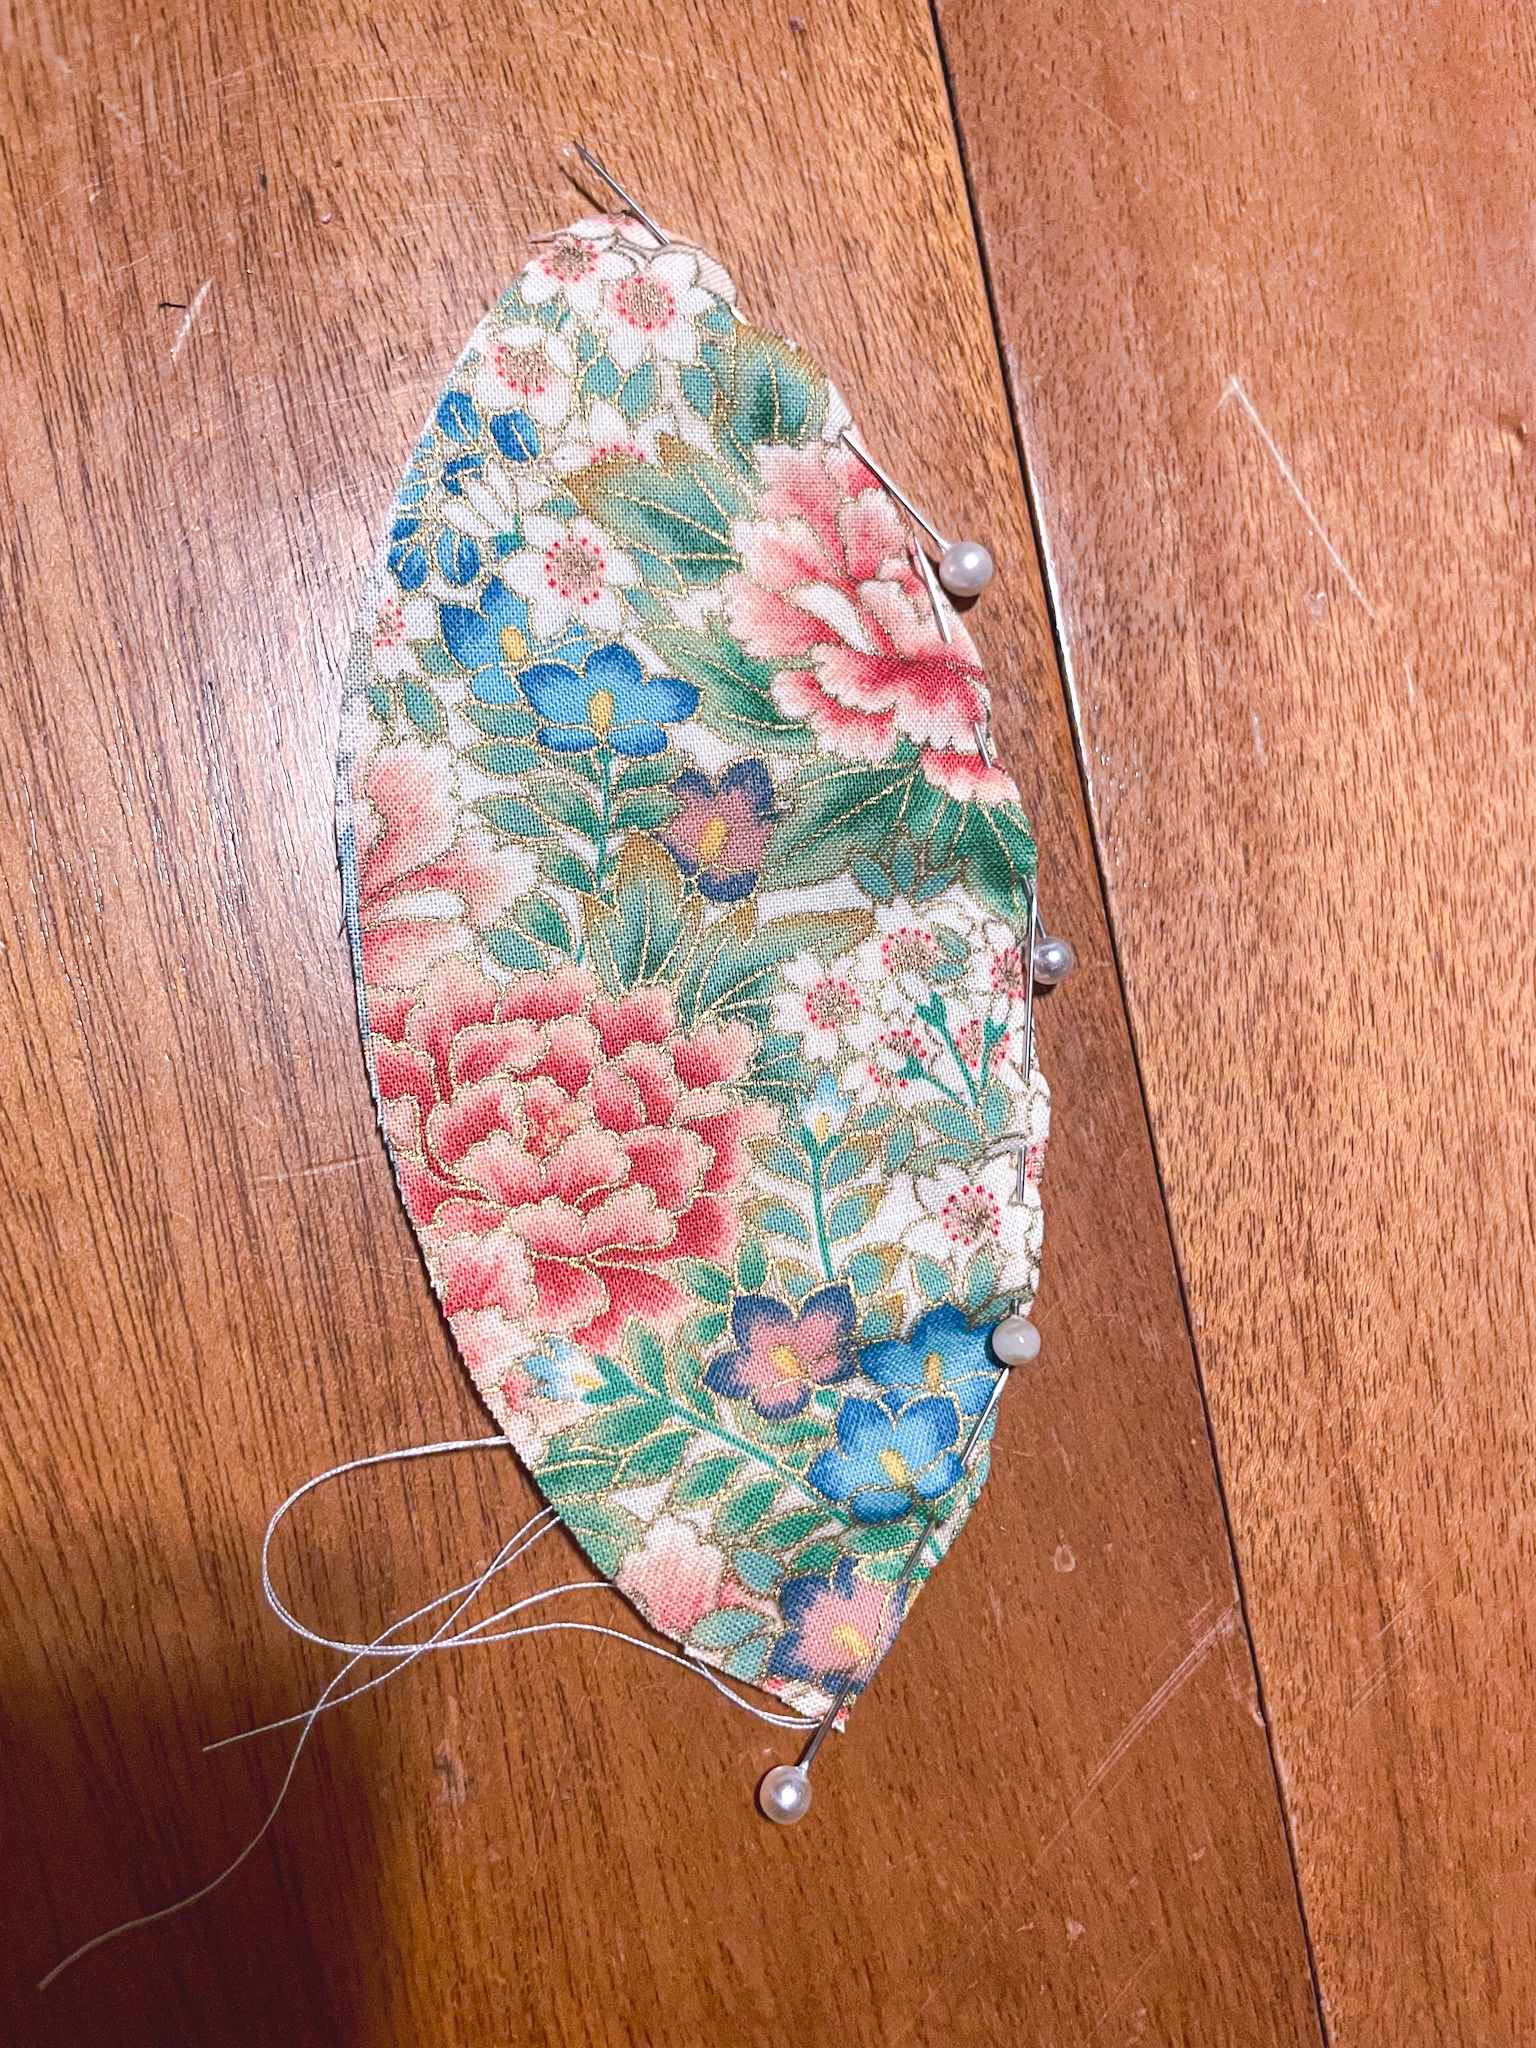
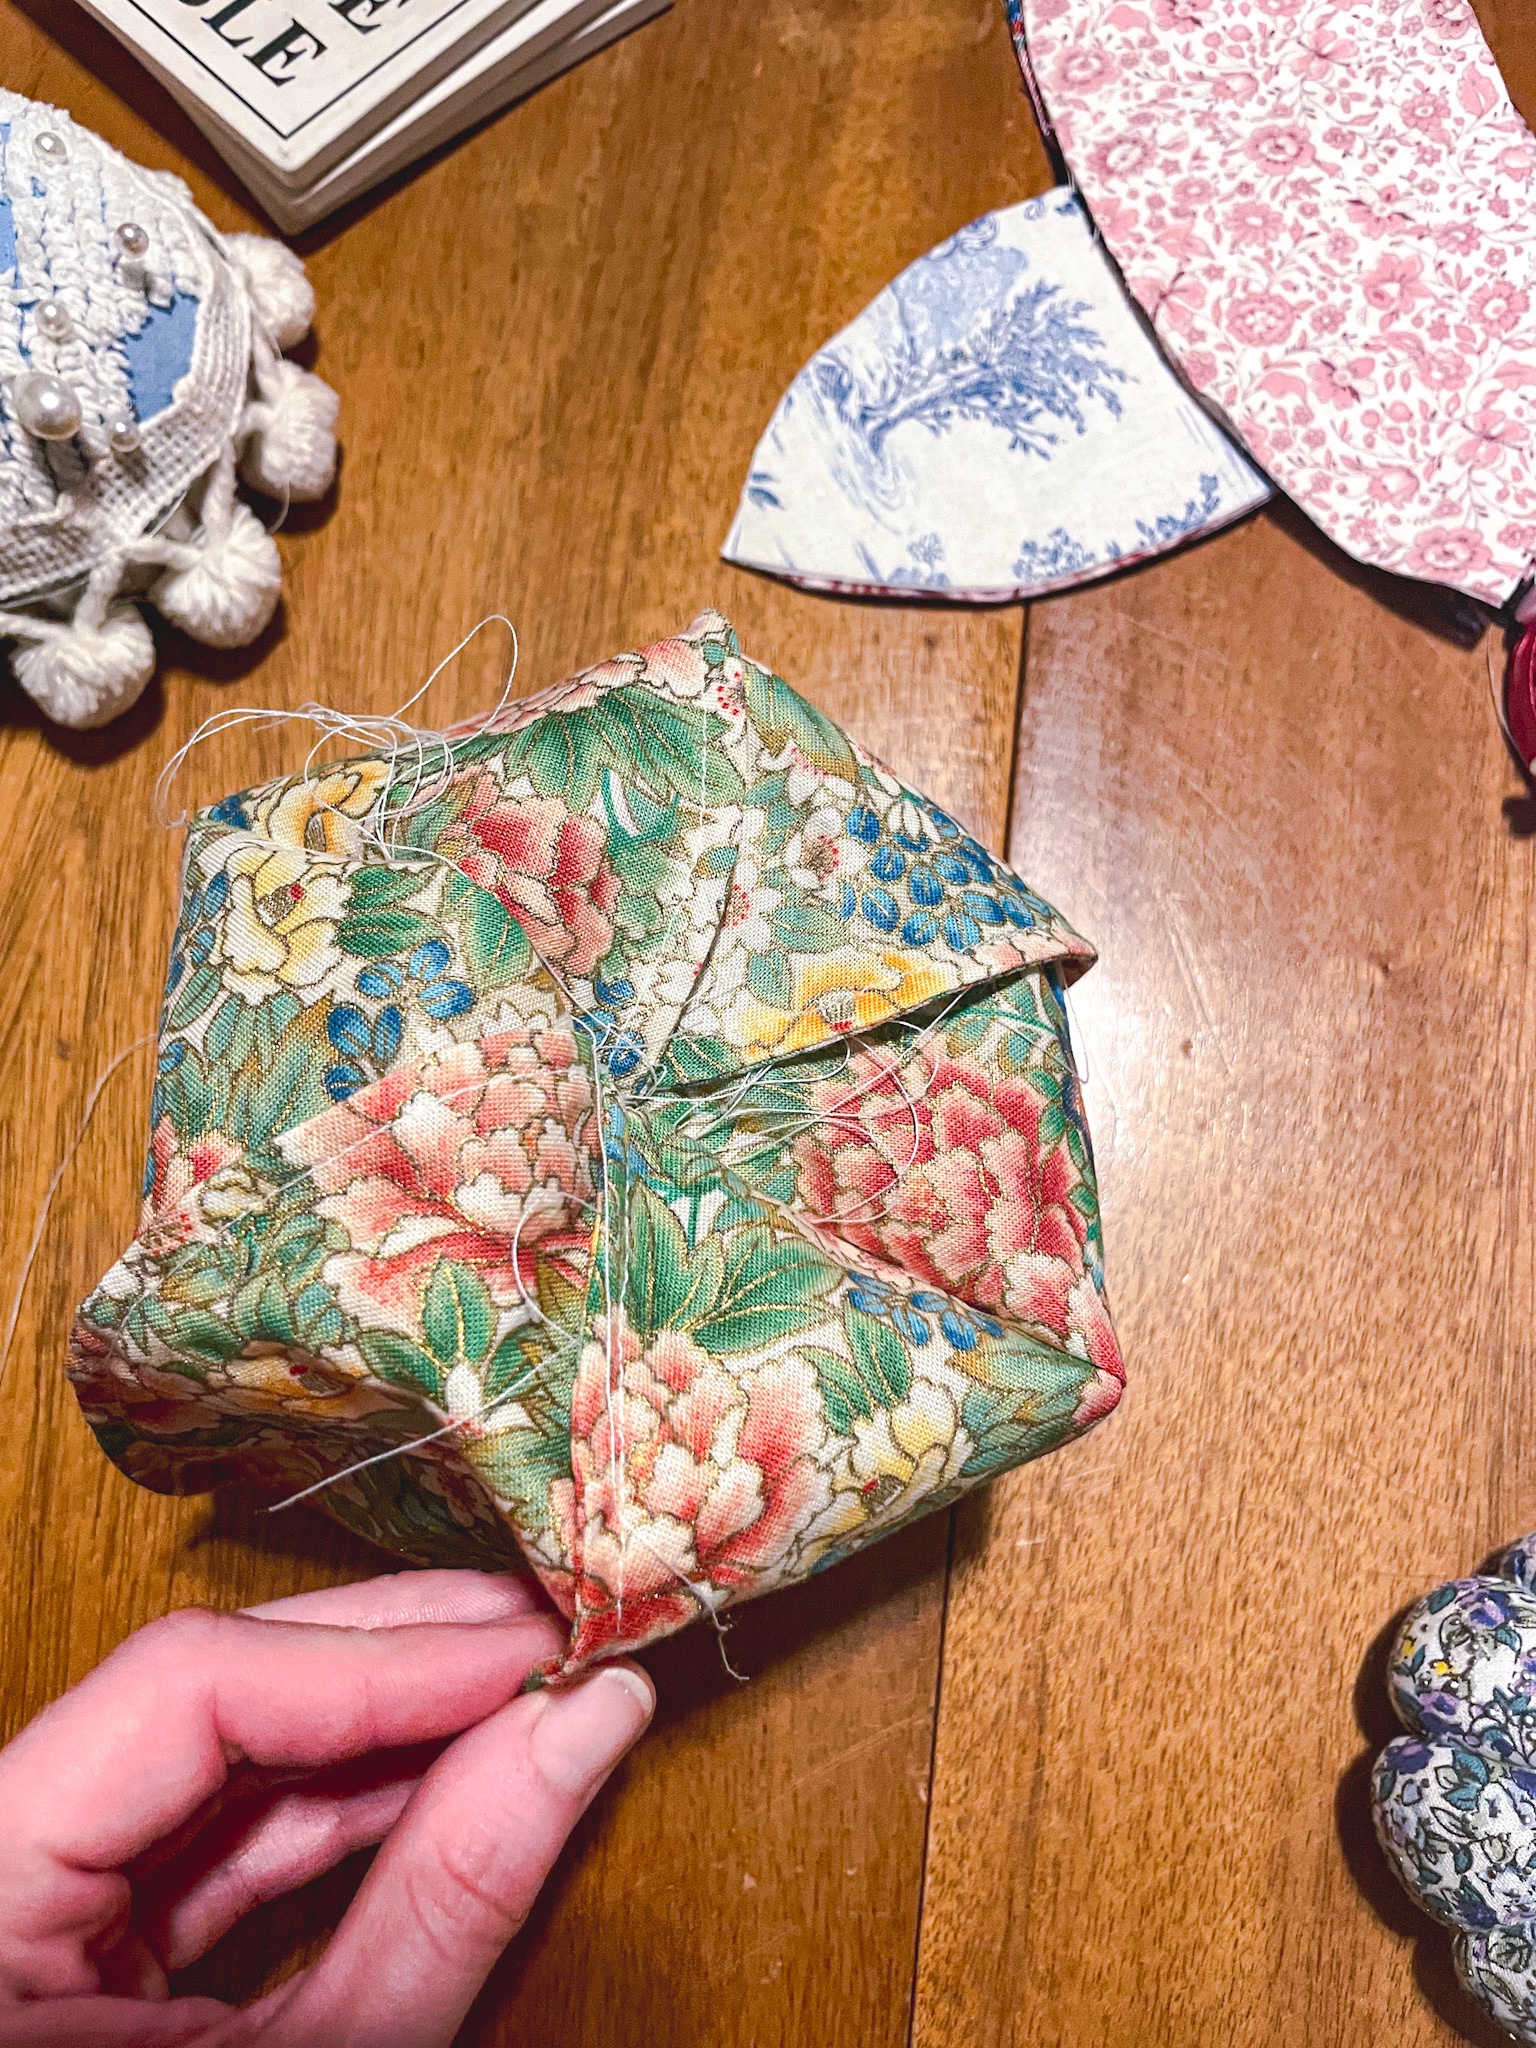
Pin a third side of the pumpkin to the unfinished edge of the pieces you have already sewn together. Flip over again and follow the steps again to create another French seam. You should now have 3 sides sewn together. Repeat steps above with the remaining 3 sides of the pumpkin so that you now have two separate sides of the pumpkin that are composed of 3 fabric pieces each.
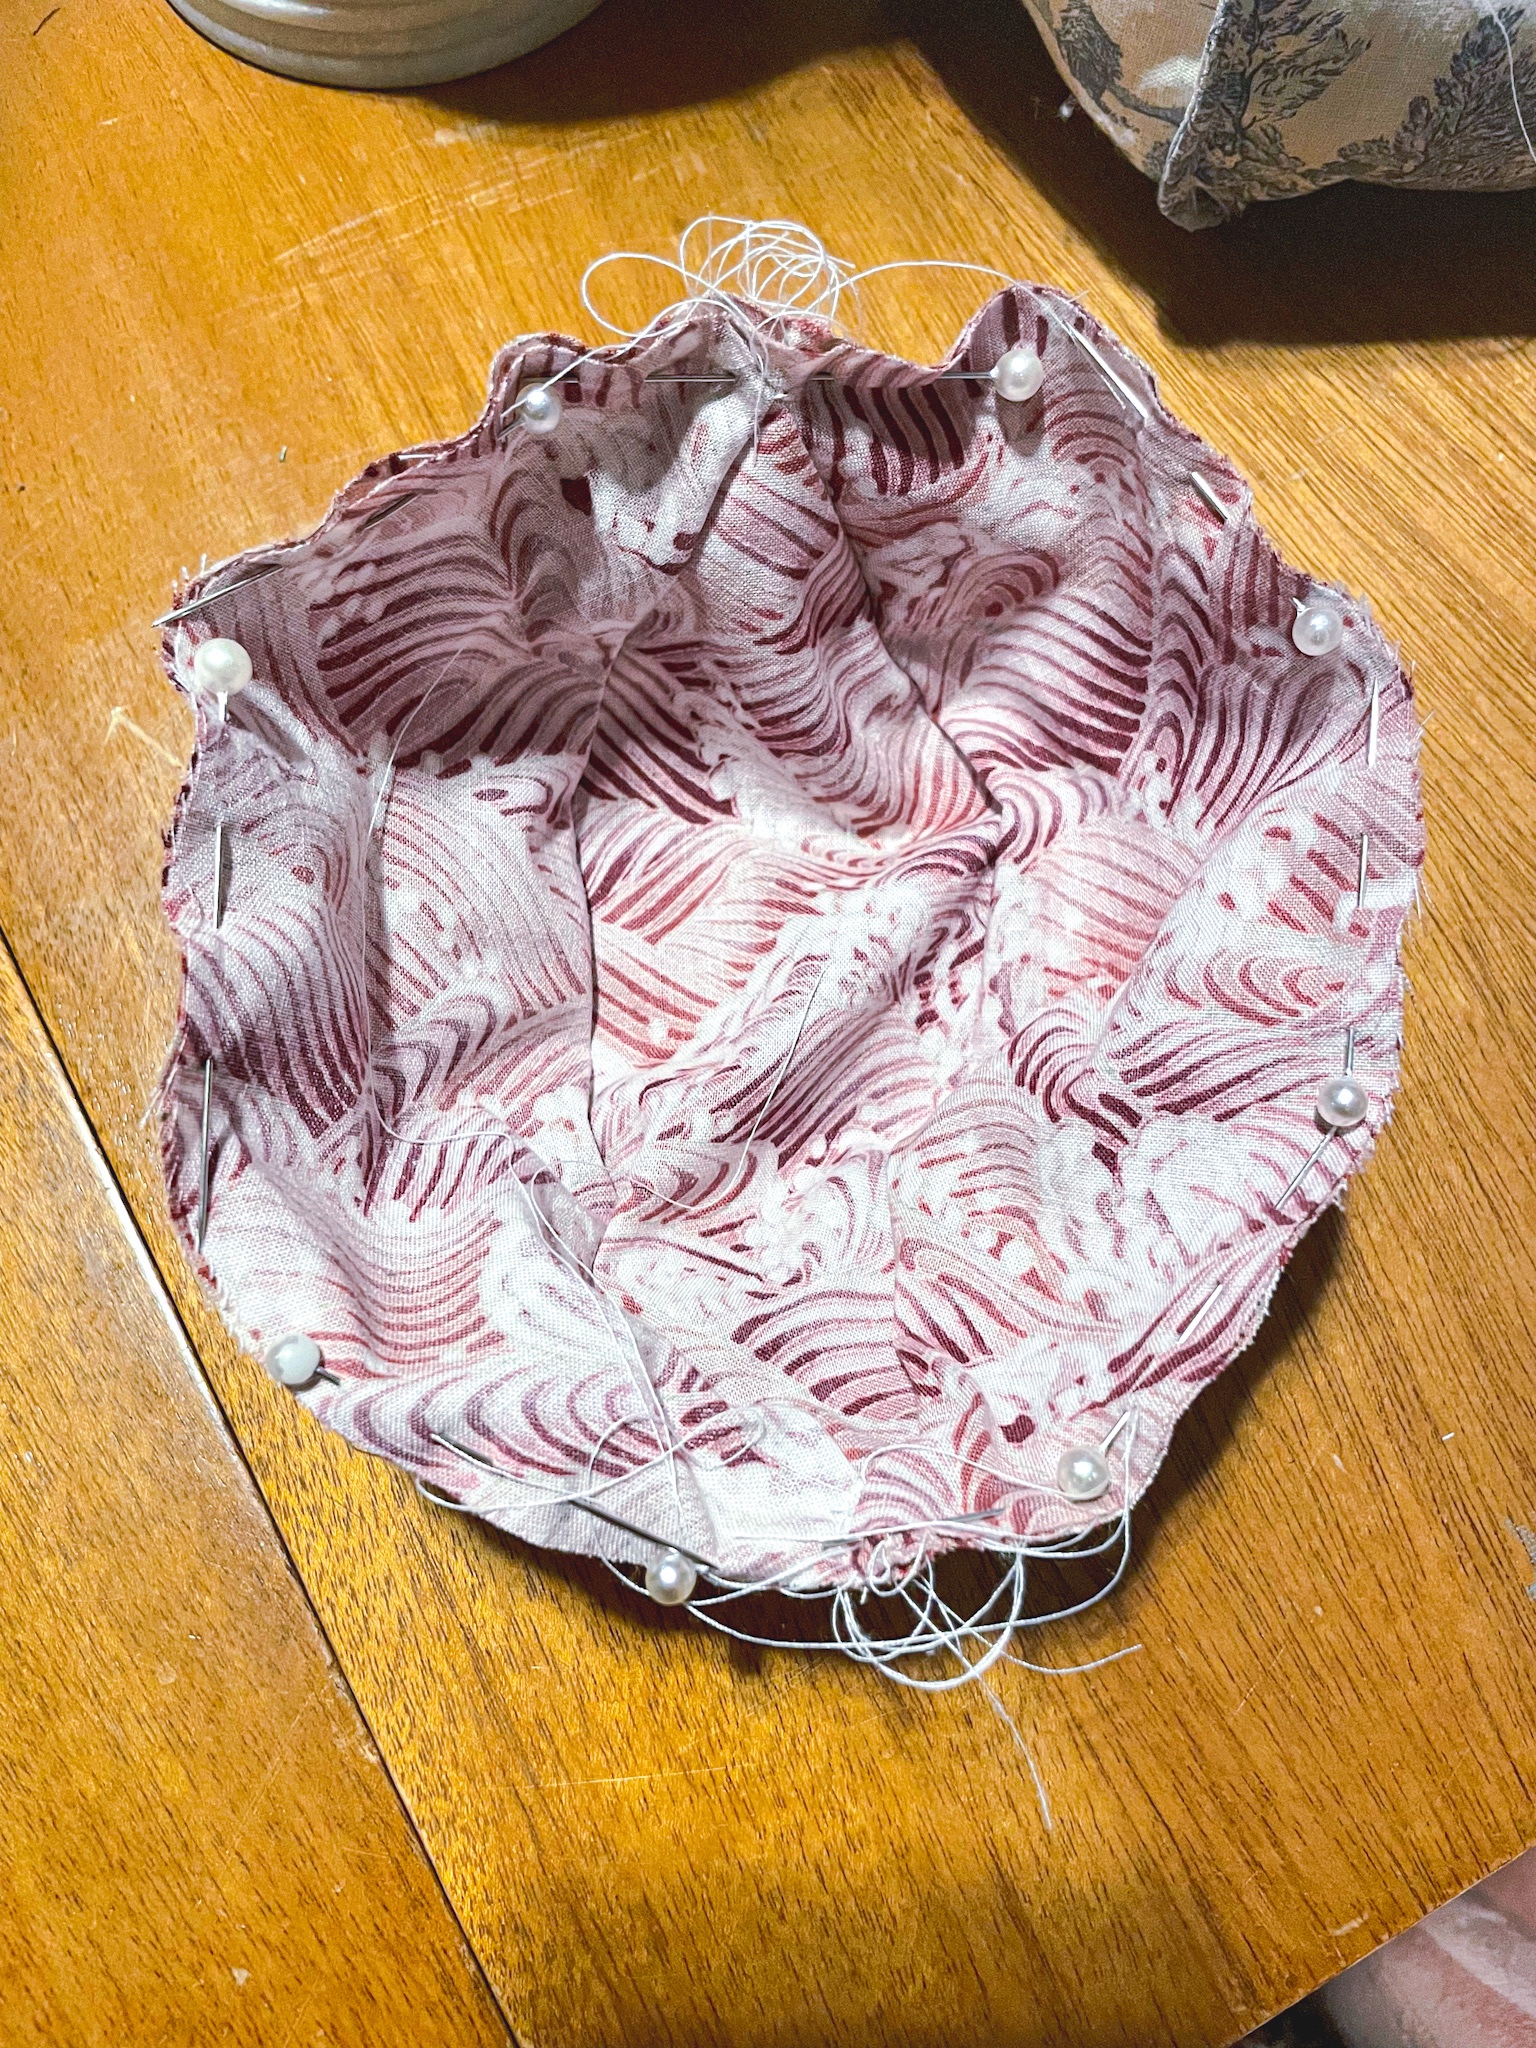
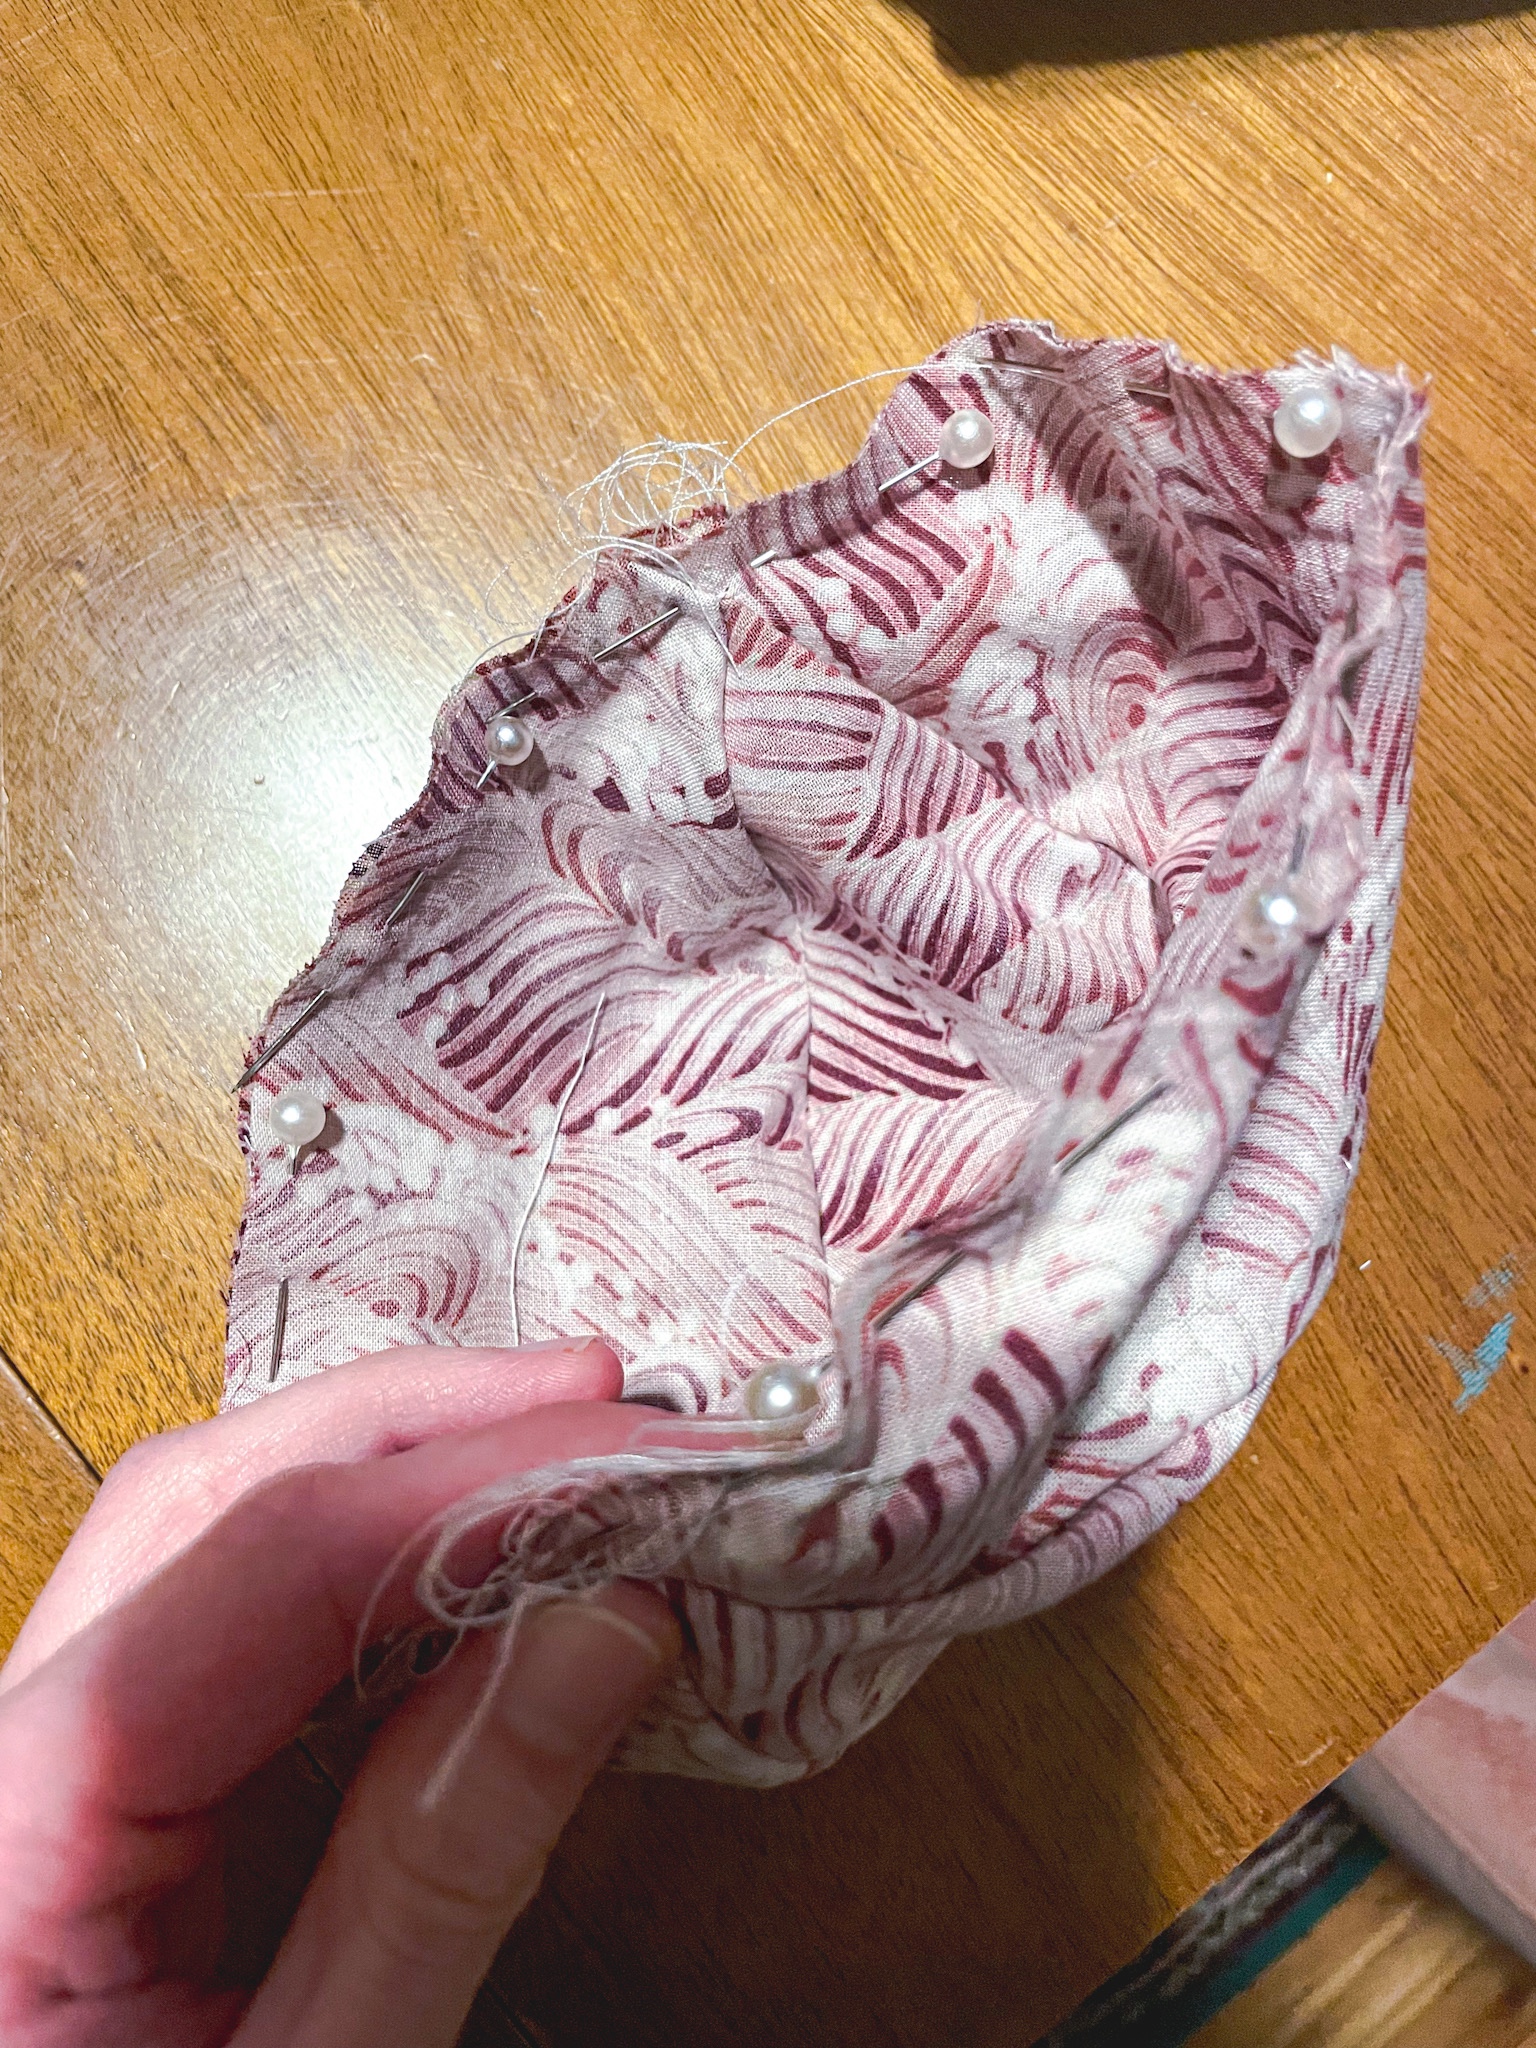

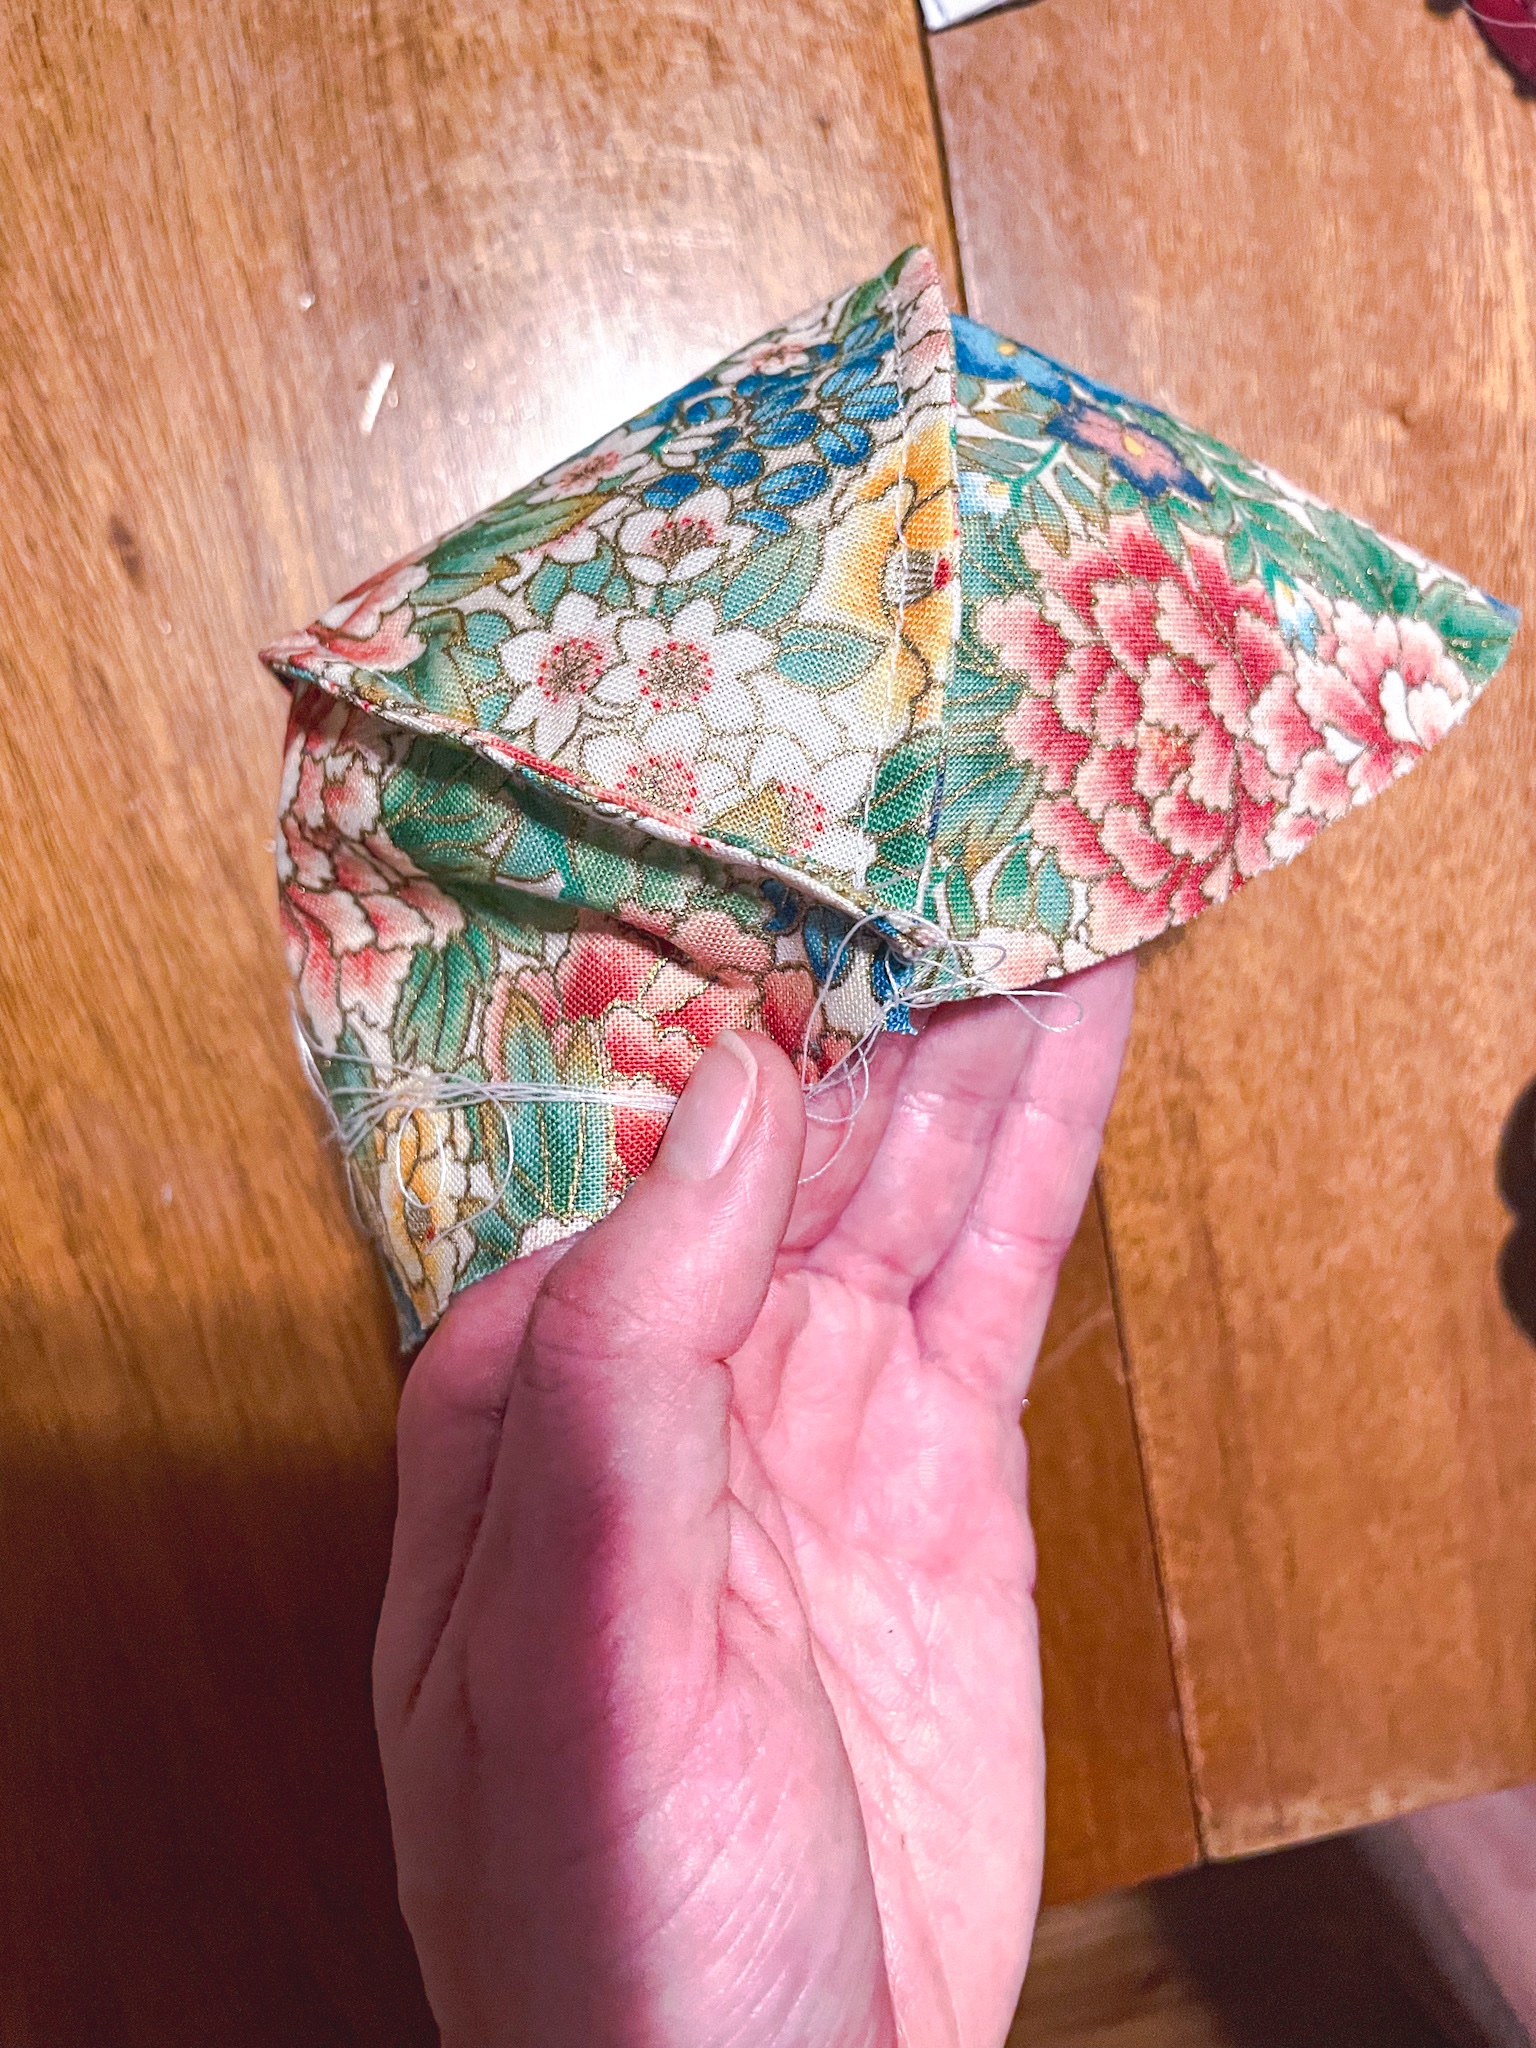
Put the right sides of the two pieces you have created together, the curved of each will fit inside of each other and pin around in a circle. Sew with the SAME seam allowance as you did when you put right sides together before (1/4”). Don’t sew around the entire pumpkin, instead leave a small opening near what will be the bottom of your pumpkin.

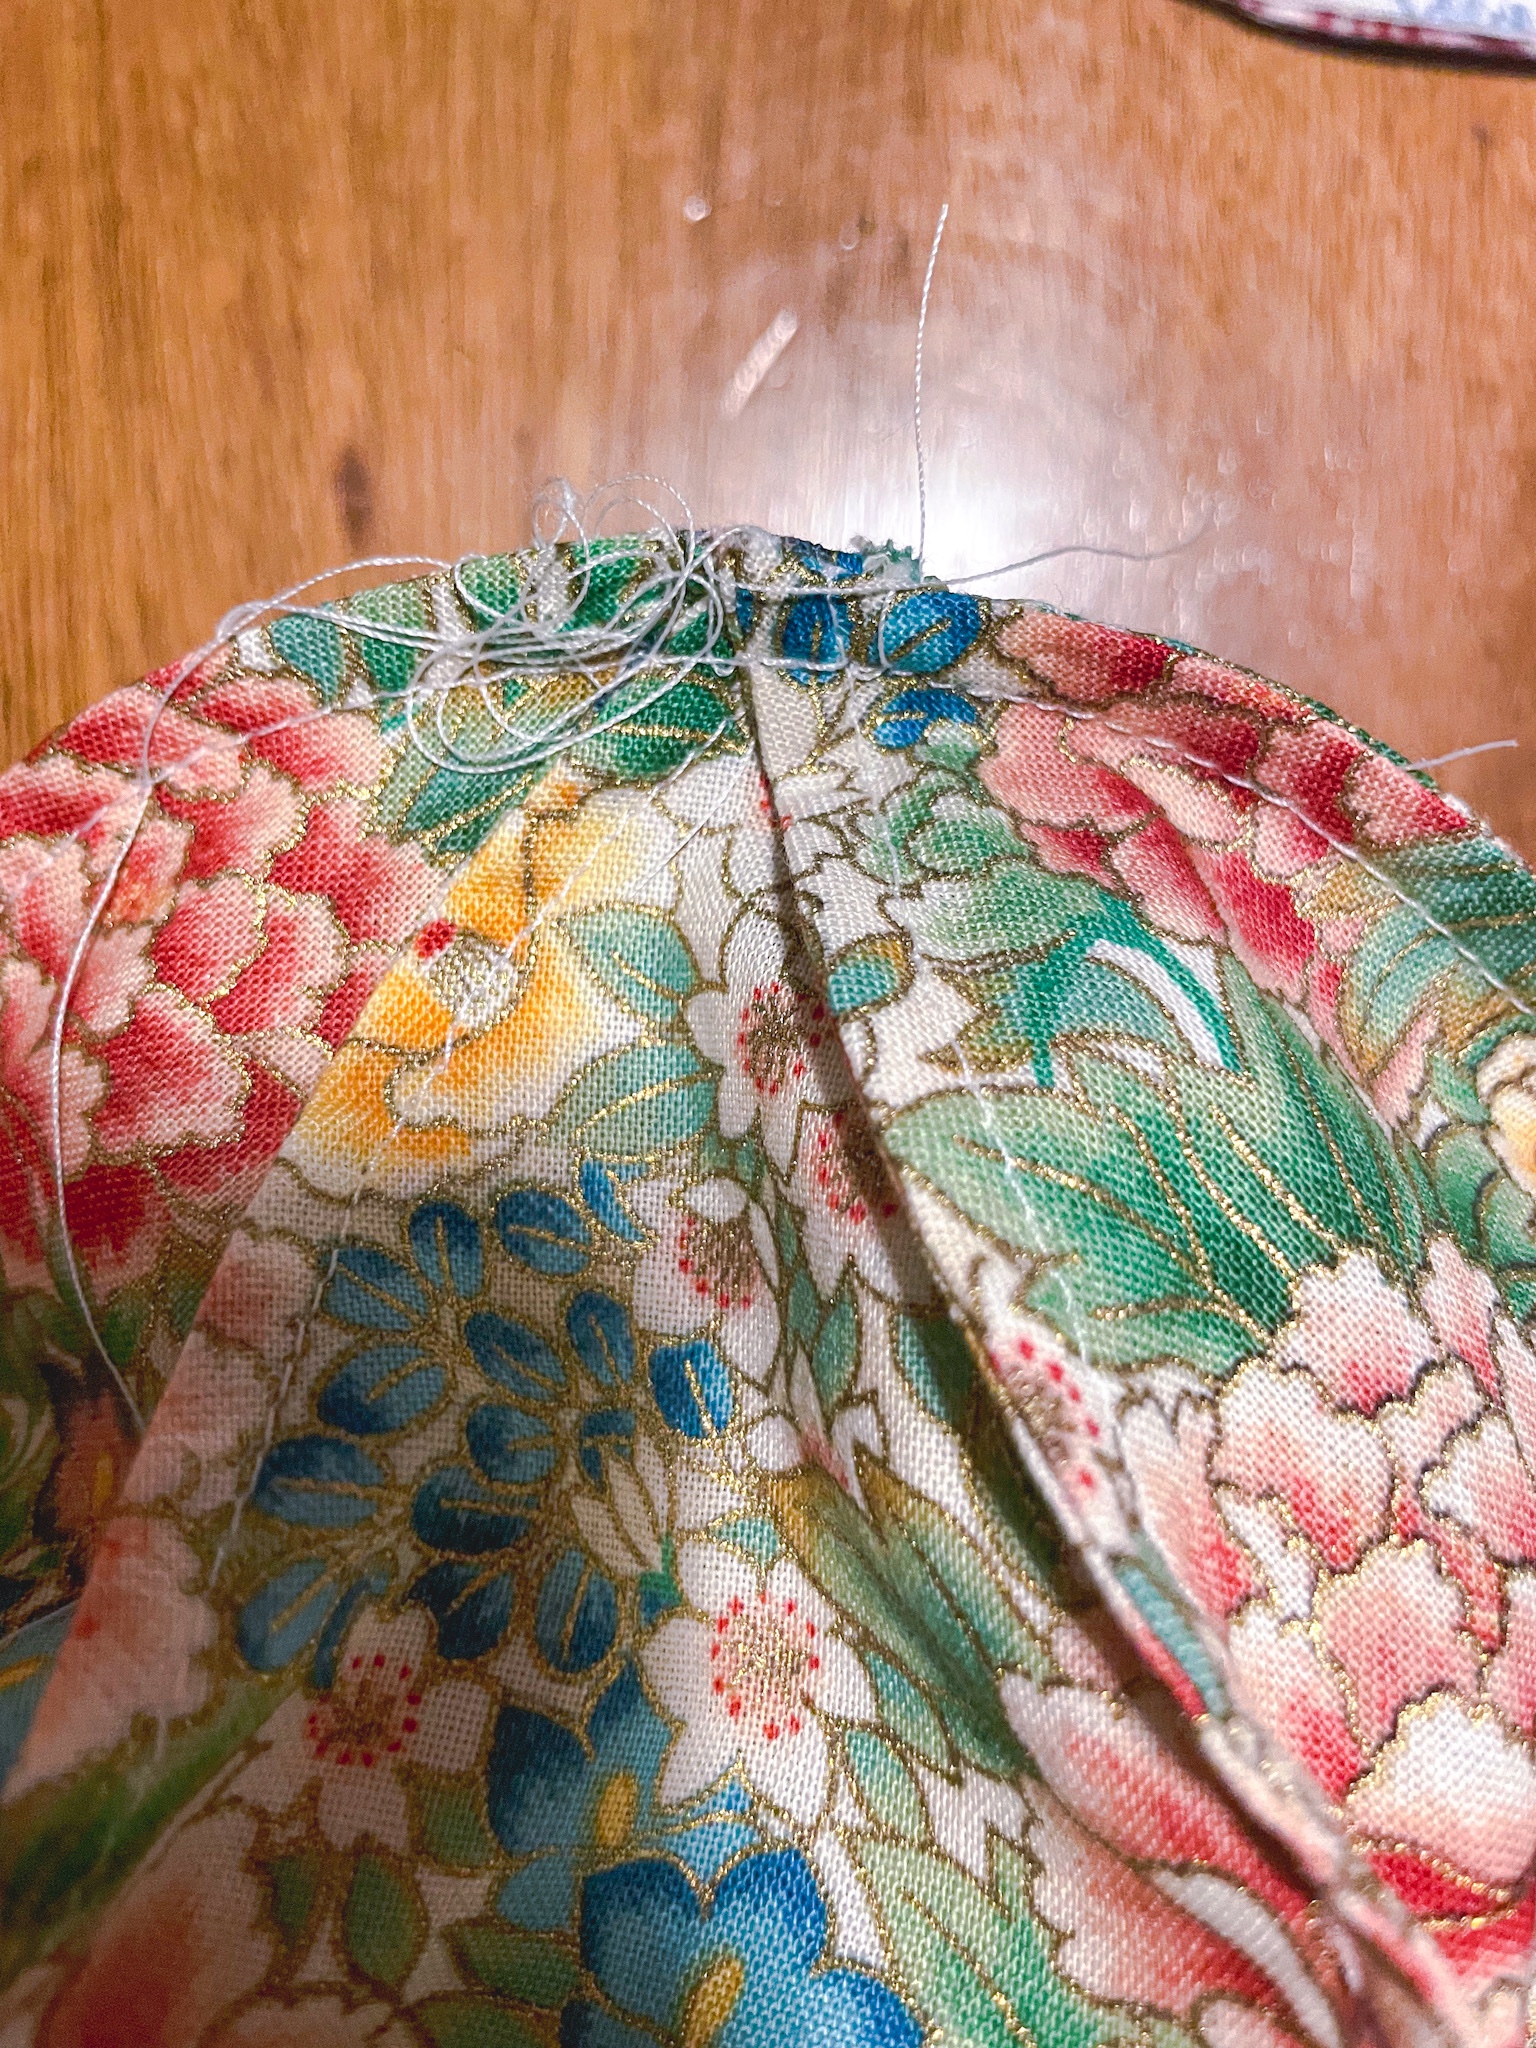
Flip your pumpkin right side out using the small hole. To make a French seam, fold on the seam you just made and pin all the way around. Then, using a slightly larger seam allowance as you did before for the French seam (1/3”), sew all the way around except for where you made the small hole – leave this open for stuffing, the larger the hole is, the easier and quicker it will be to fill. Once filled, pin the hole closed to match the rest of the seam. Hand sew the top stitched French seam and the top seam to match the rest of the seam (do your best, this doesn’t have to be perfect because it will be on the bottom of the pumpkin anyway).
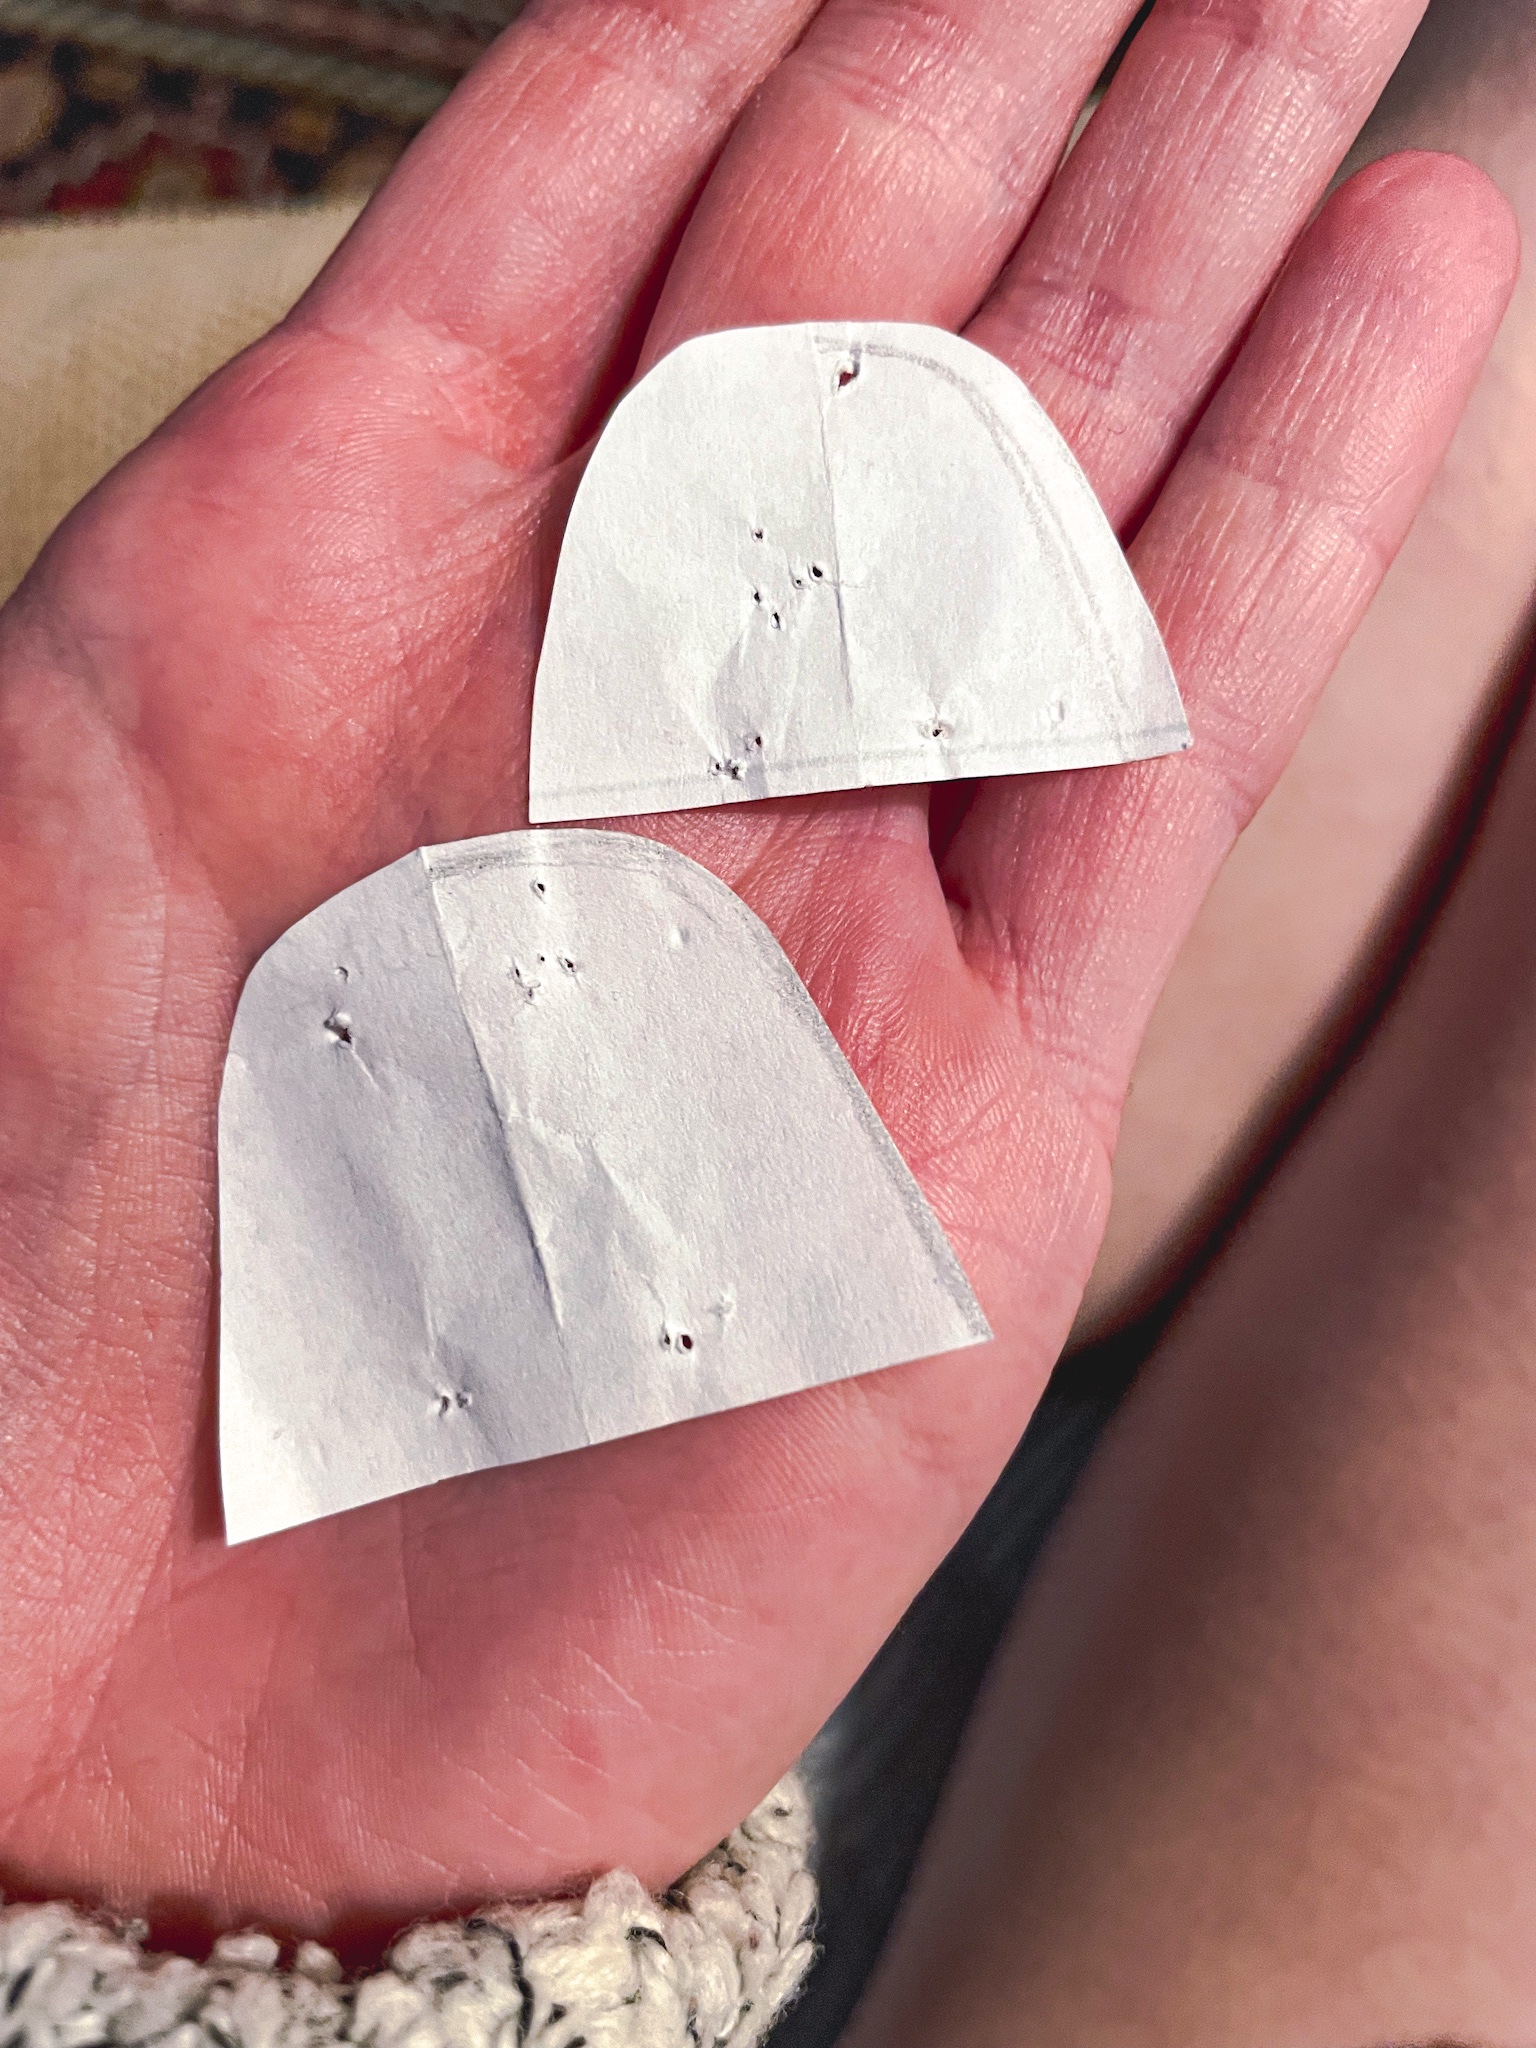
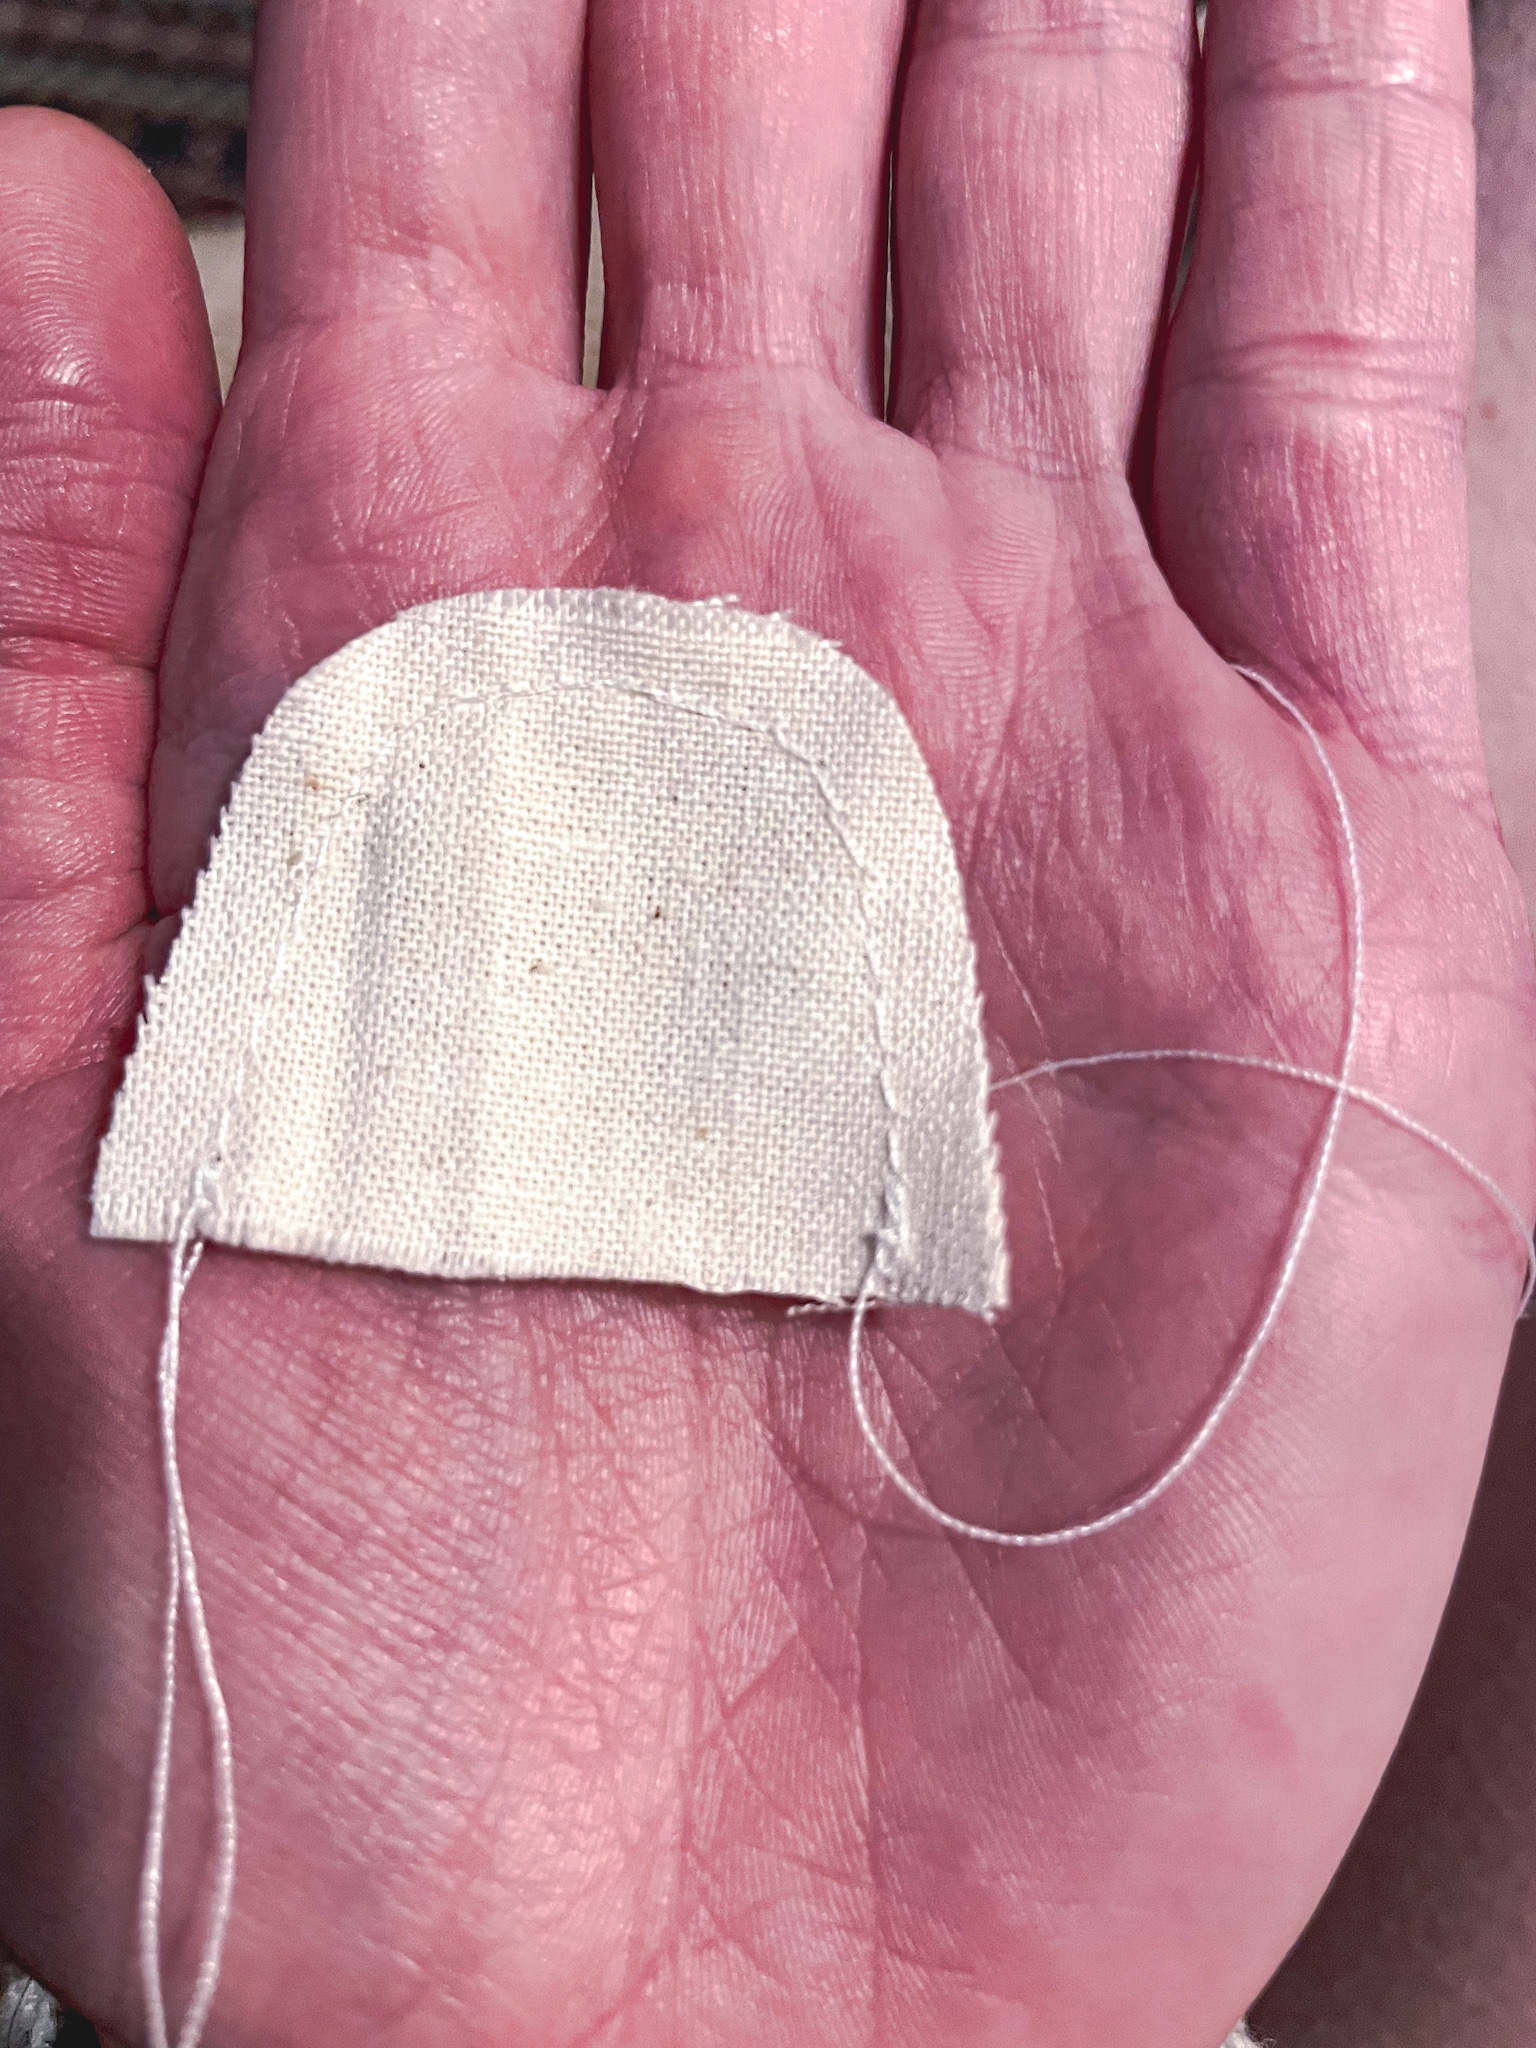
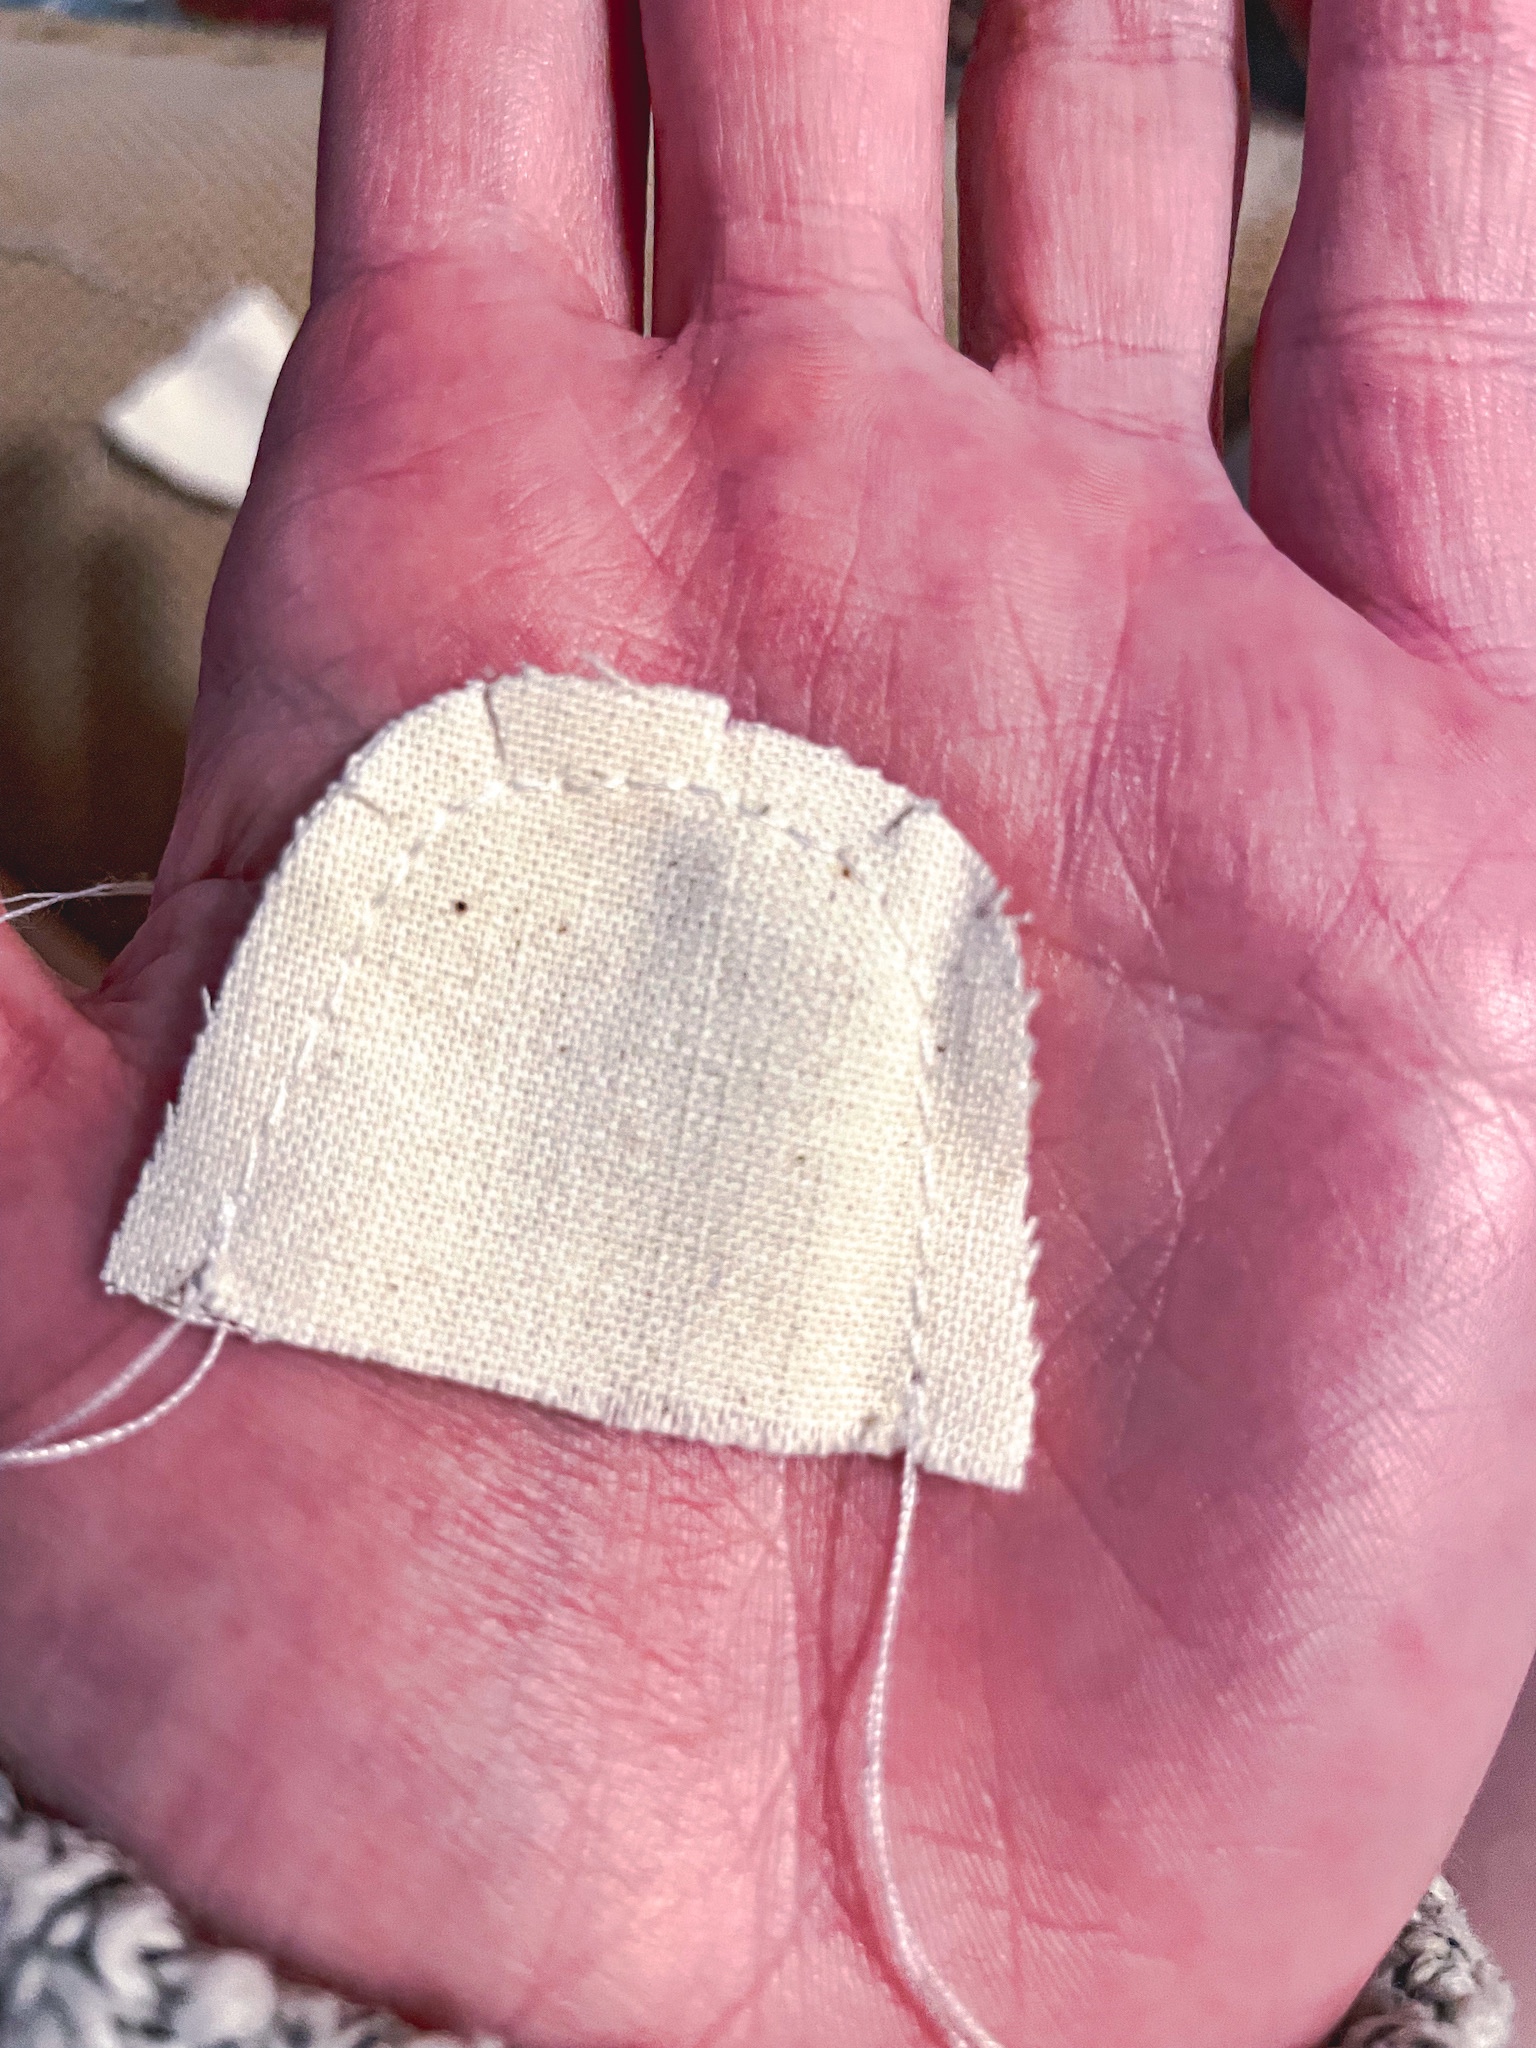
Now that the body of the pumpkin is complete, it is time to make the stem. I drew out a simple arched pattern on a piece of paper. For the larger pumpkins the stem was about 1.75” and for the smaller pumpkins, 1.25”. For each pumpkin, you will want to cut two pieces for each stem. Put the right sides of the two pieces together and sew around the arch, I sewed with a seam allowance of approximately 1/4”. Then cut 3-5 small slits along the rounded part of the arch – make sure not to cut past or too close to the stitching.
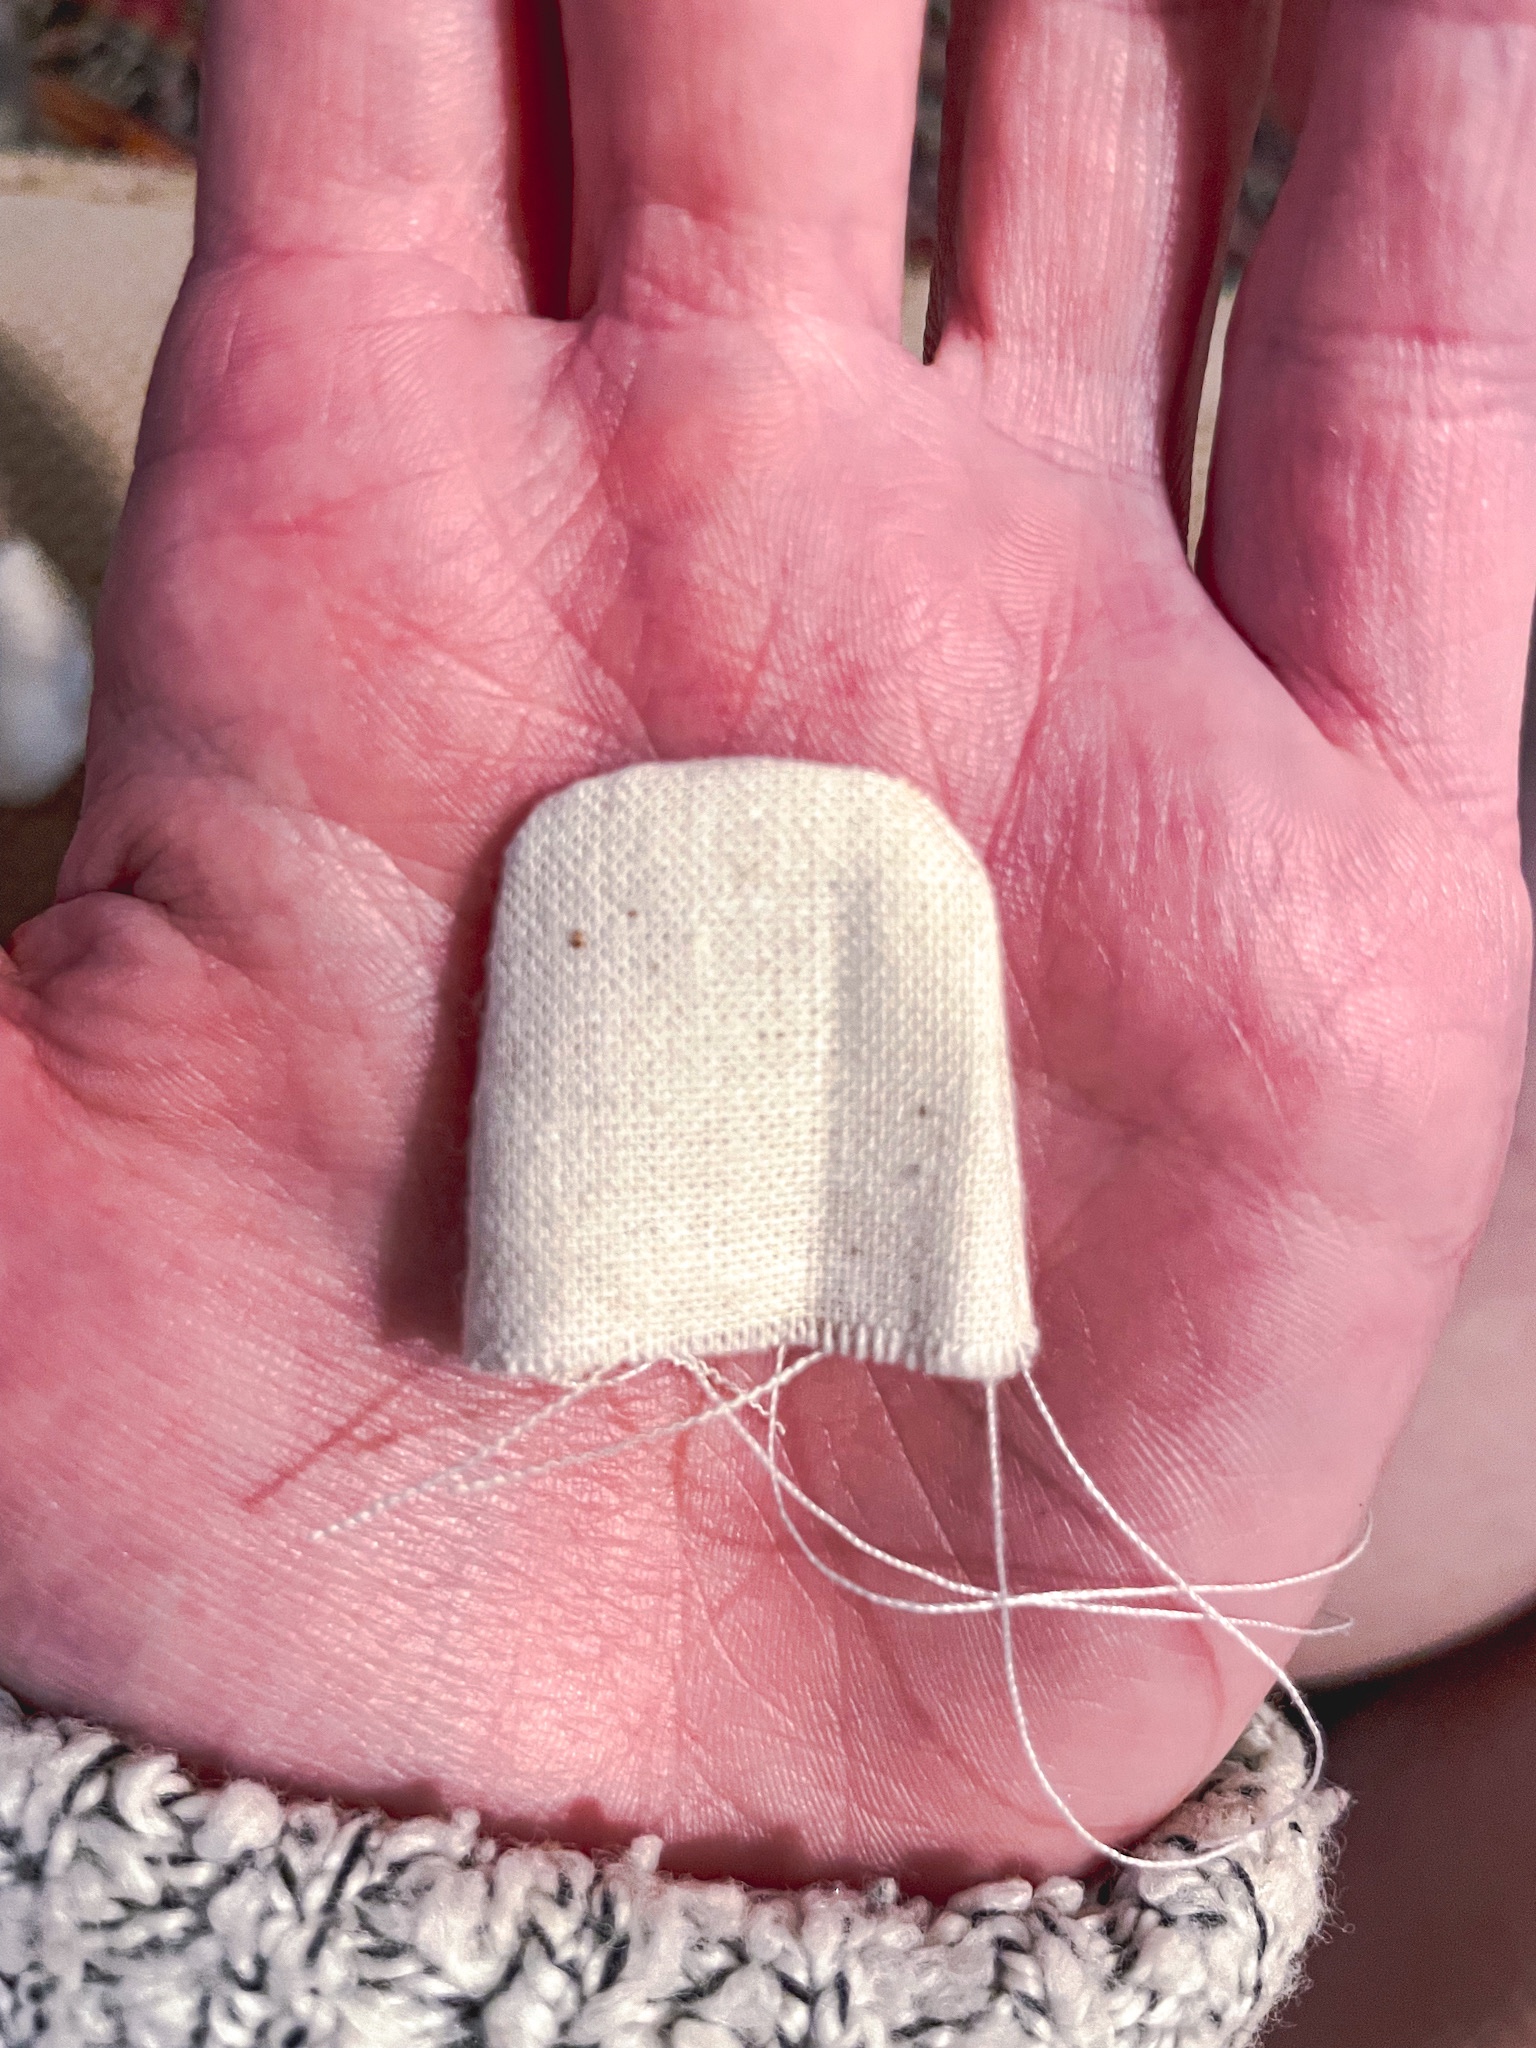
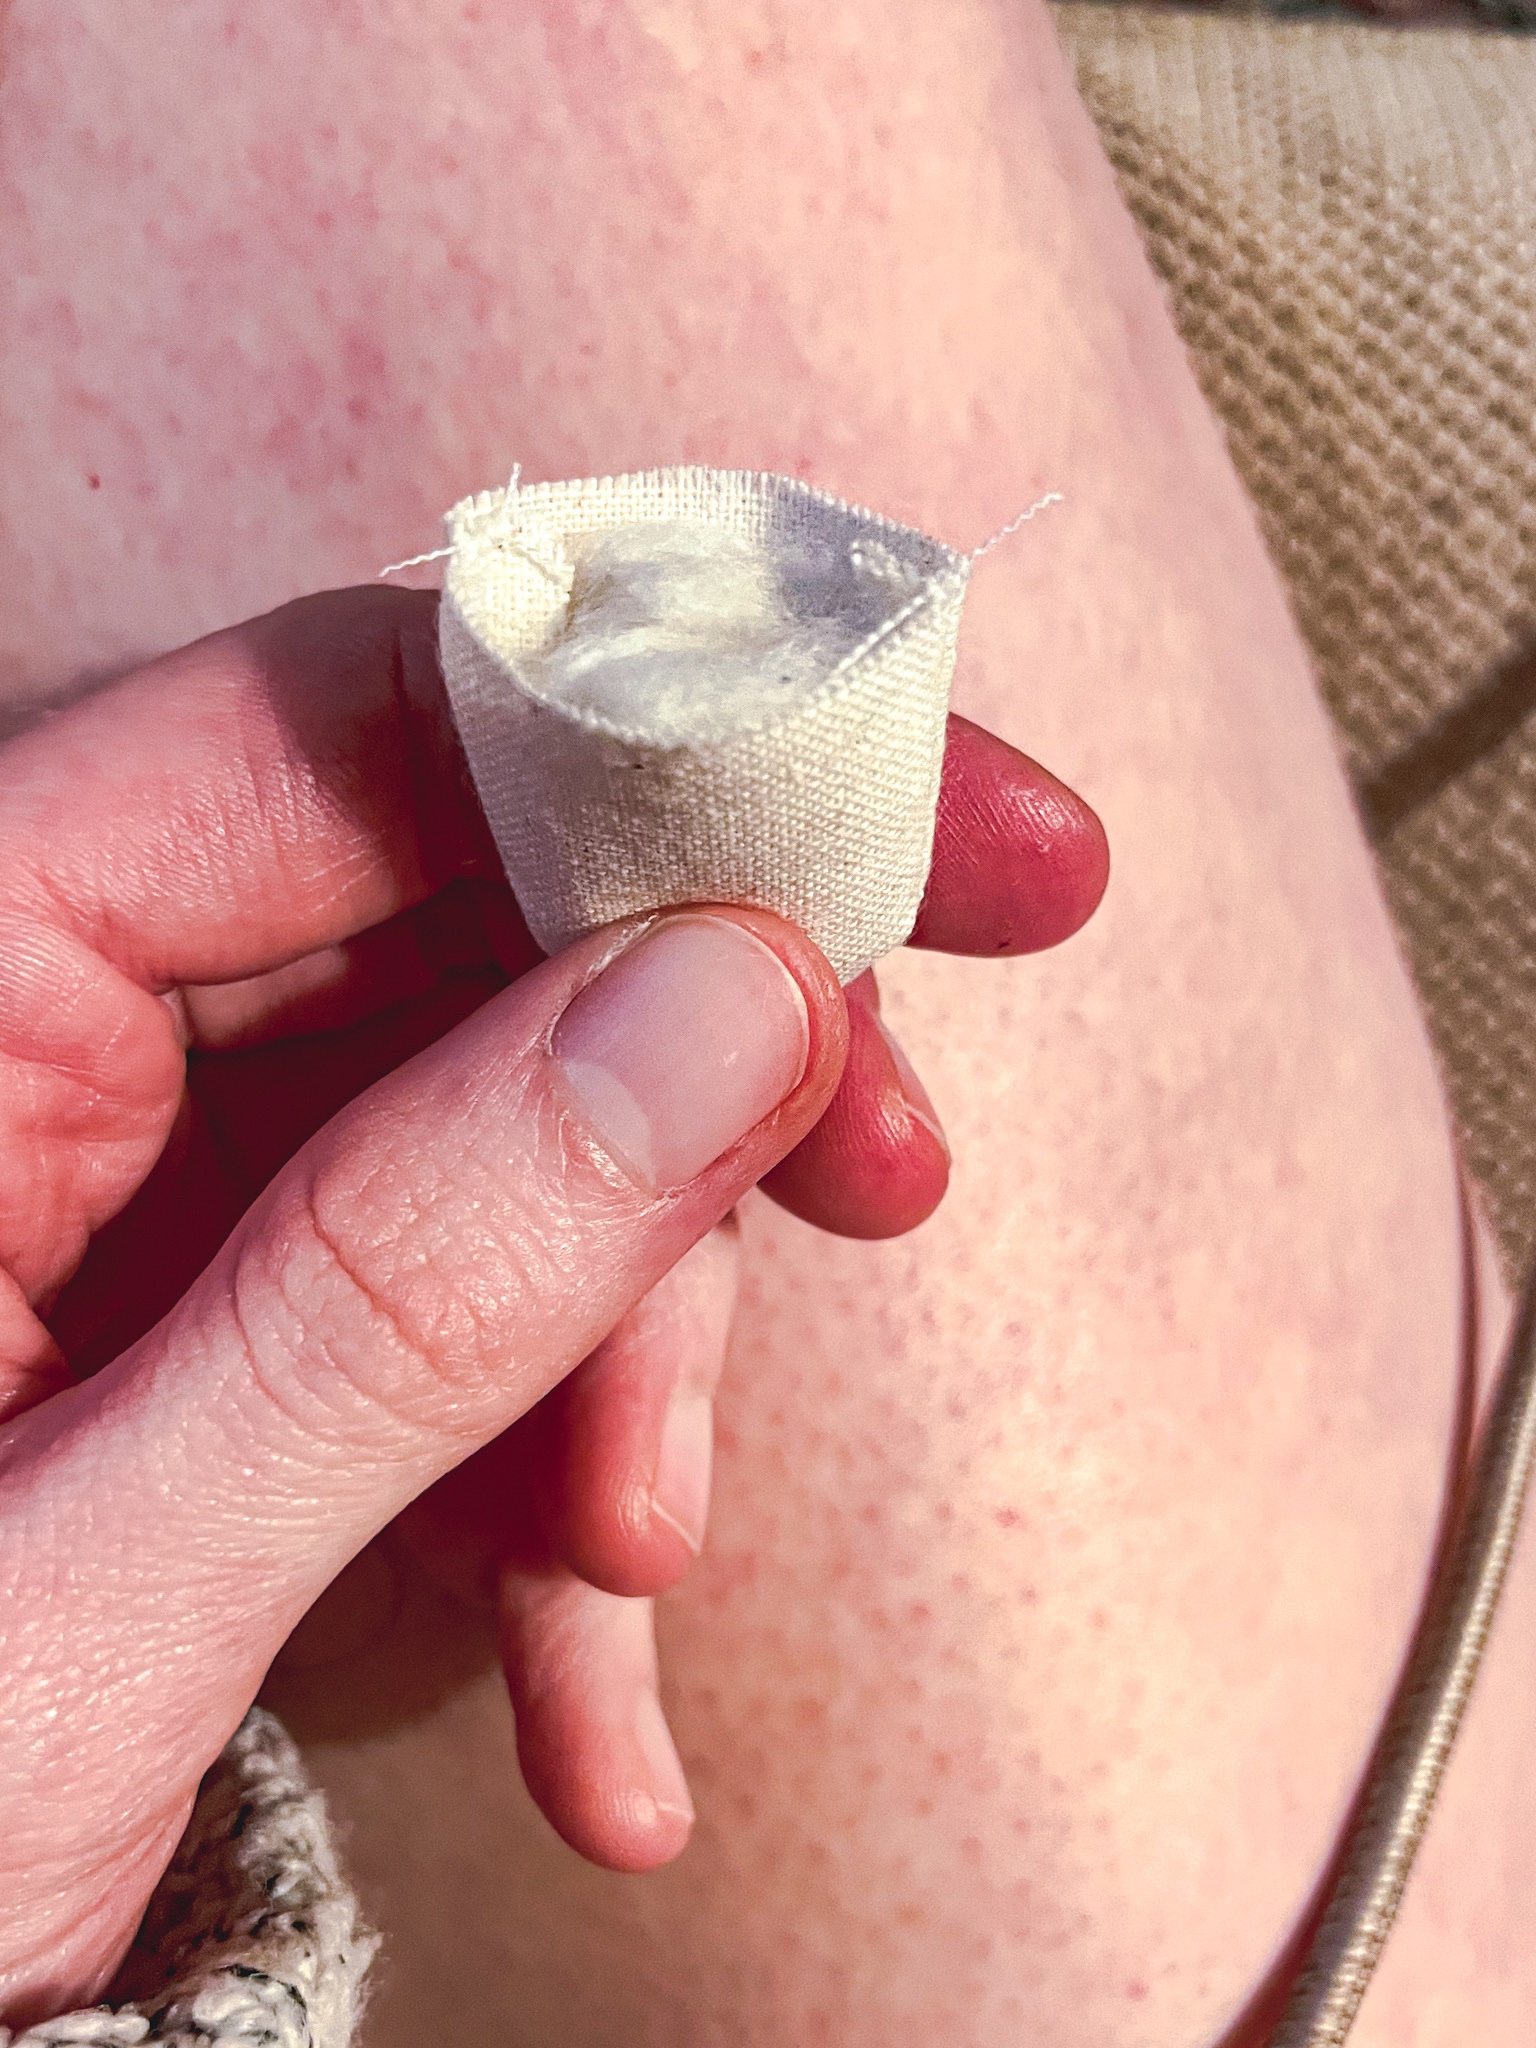
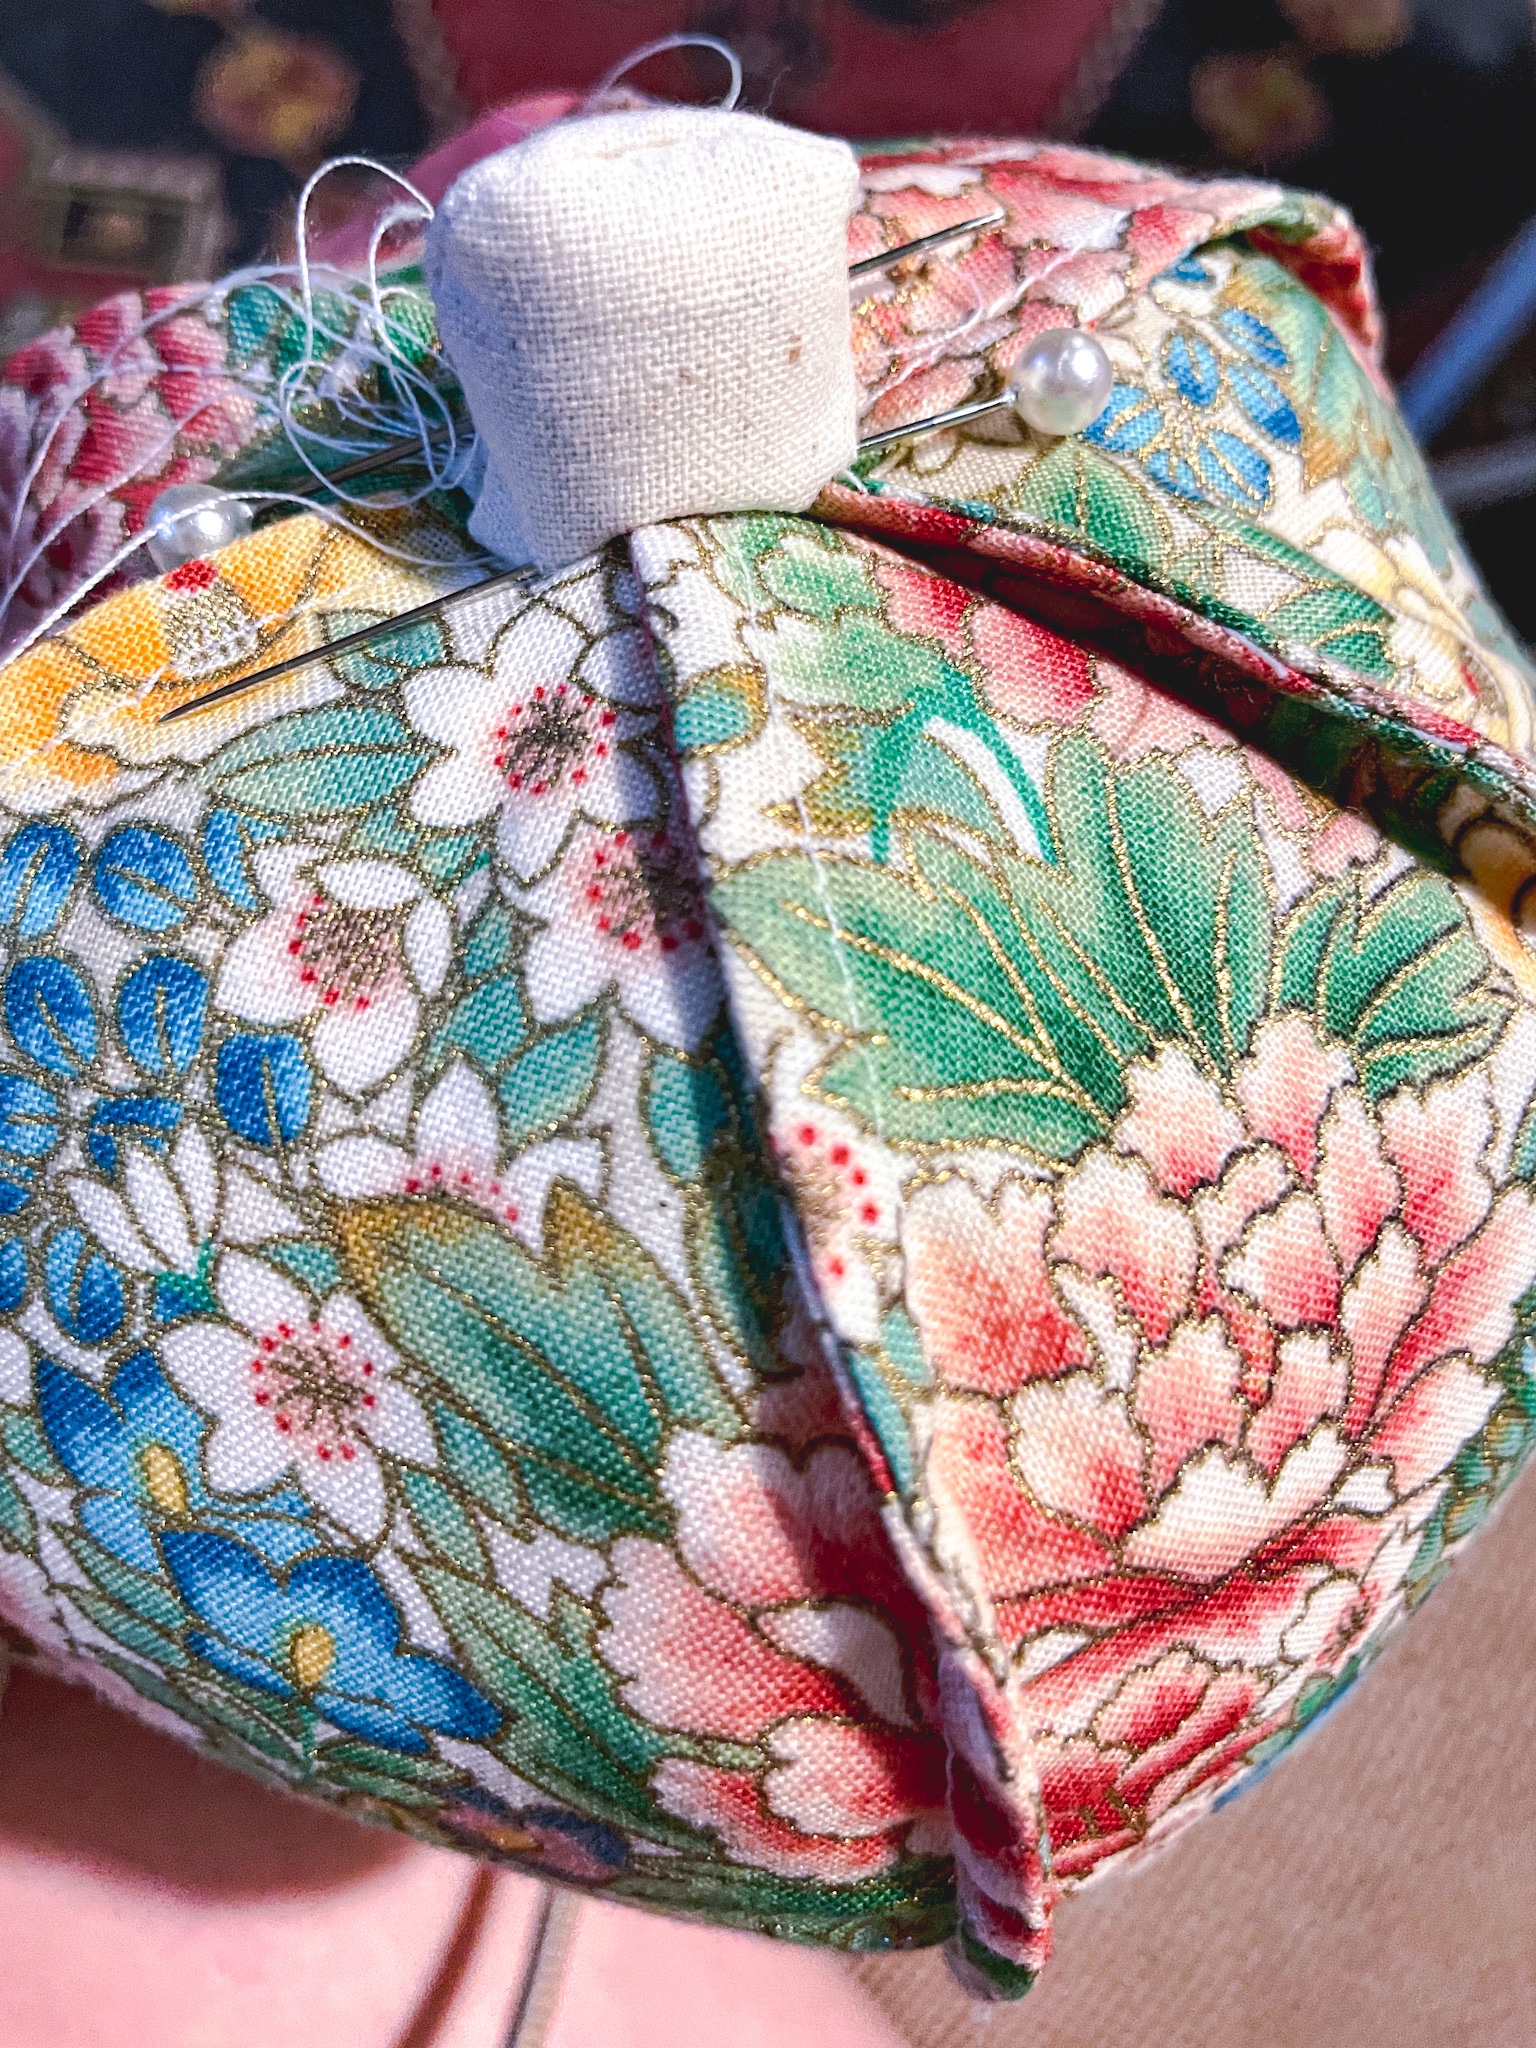
Flip the stem inside out and stuff with a bit of stuffing – the bottom should be open and have a tiny bit of space between the stuffing and the bottom edge. Hand sew the stem to the top of your pumpkin in a way where you cannot see the thread. It may be helpful to pin the stem to the pumpkin in order to aid in the hand stitching. Your pumpkin is now complete!