

I’ve been meaning to get this post up for a long time. Sorry for the delay, but LIFE, am I right?? Below I have written some advice and tips on how to create the gallery wall of your dreams. Please note, this is only guidance and NOT guidelines. I hate when people write articles listing the “rules” of gallery walls….byeeee. You are a beautiful human with your own life experience/taste/desires and the world is YOUR oyster, BABY. At the end of the day, if you choose to make a gallery wall, make it whatever the hell you want.
Wall to wall, floor to ceiling
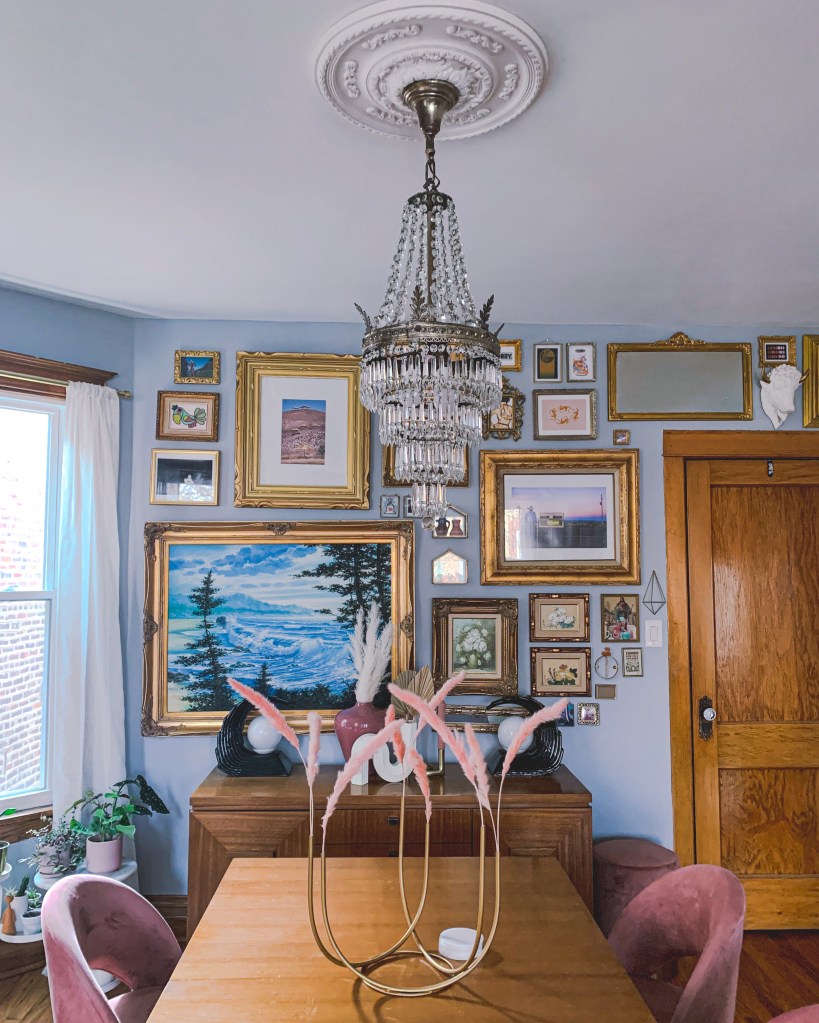
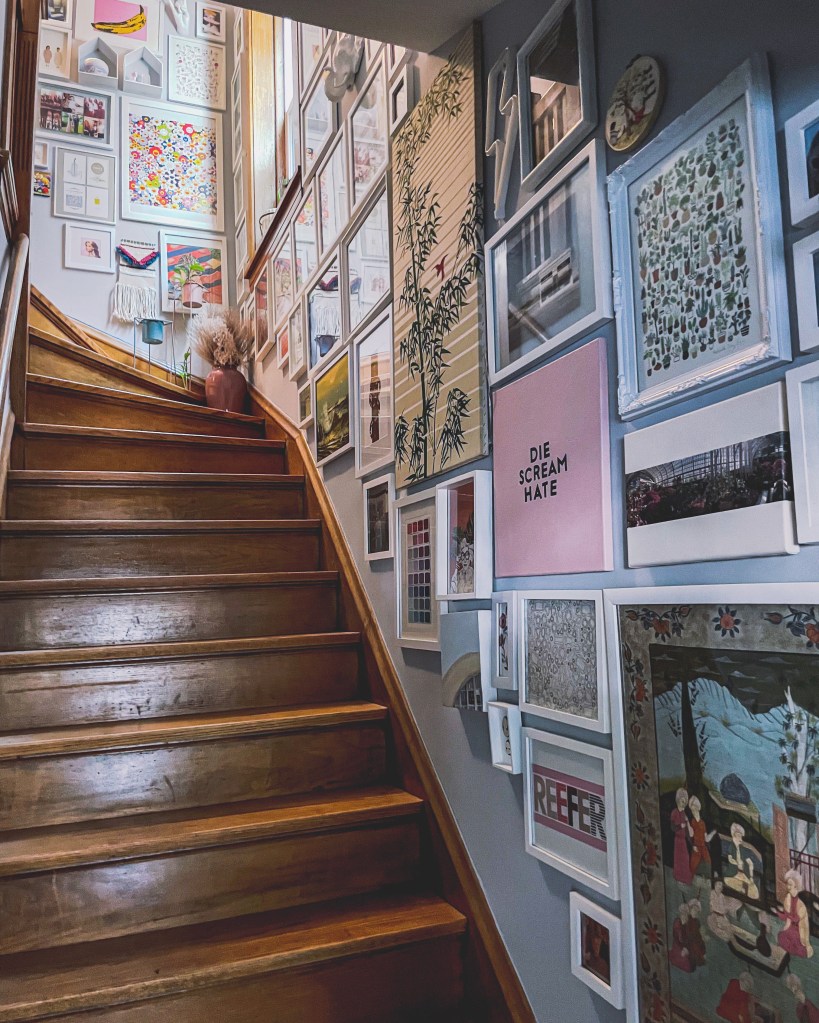
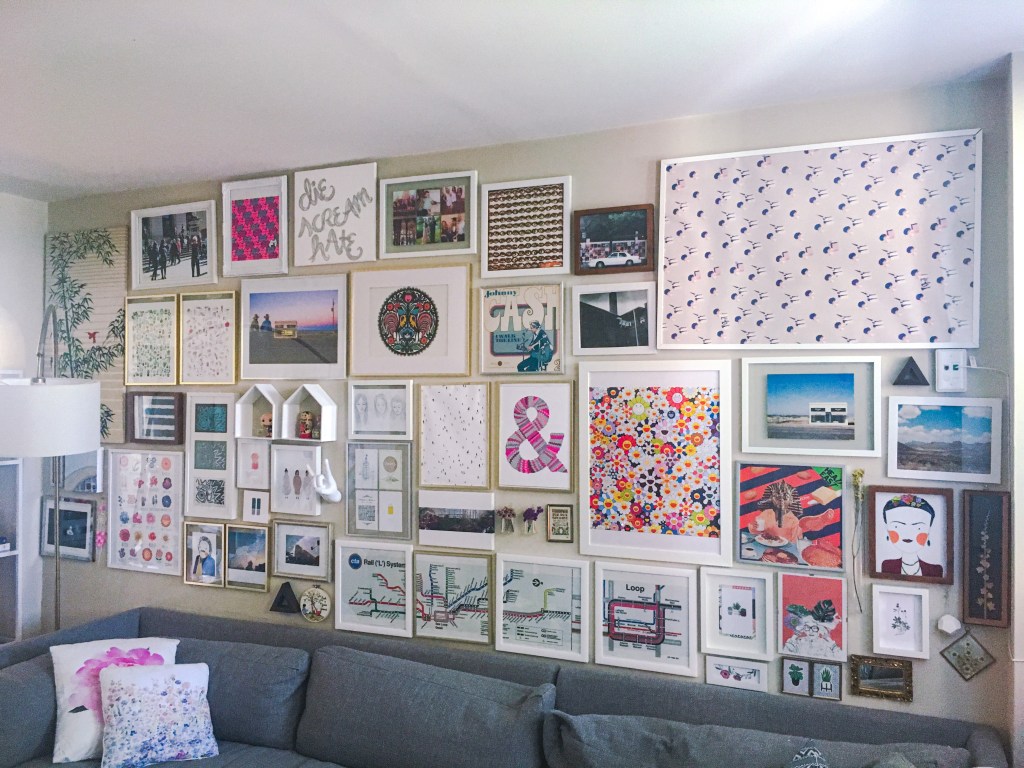
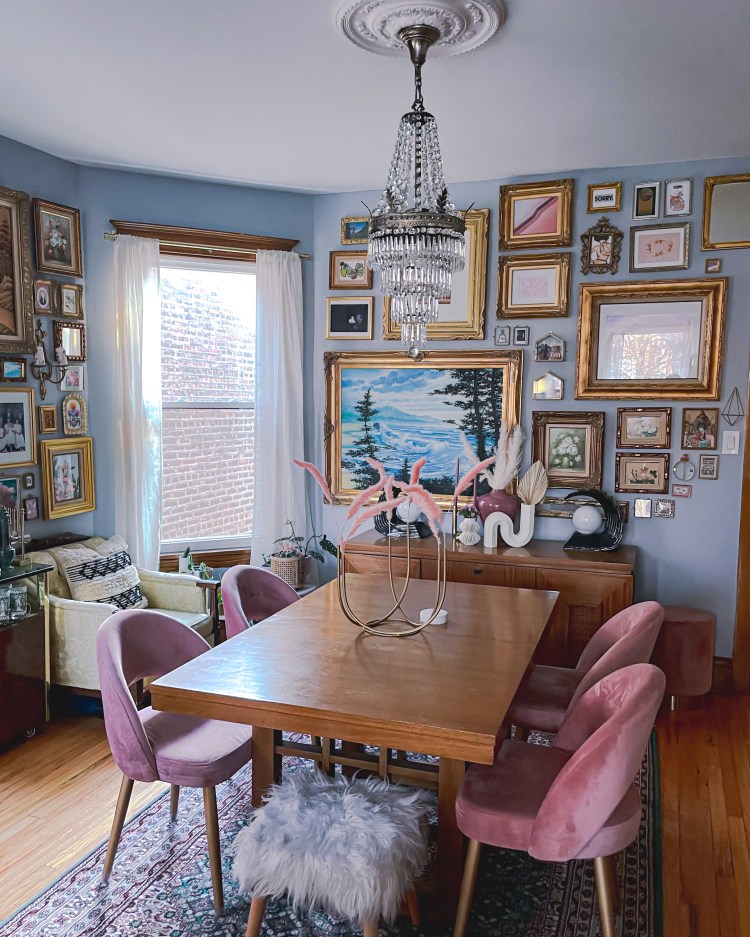
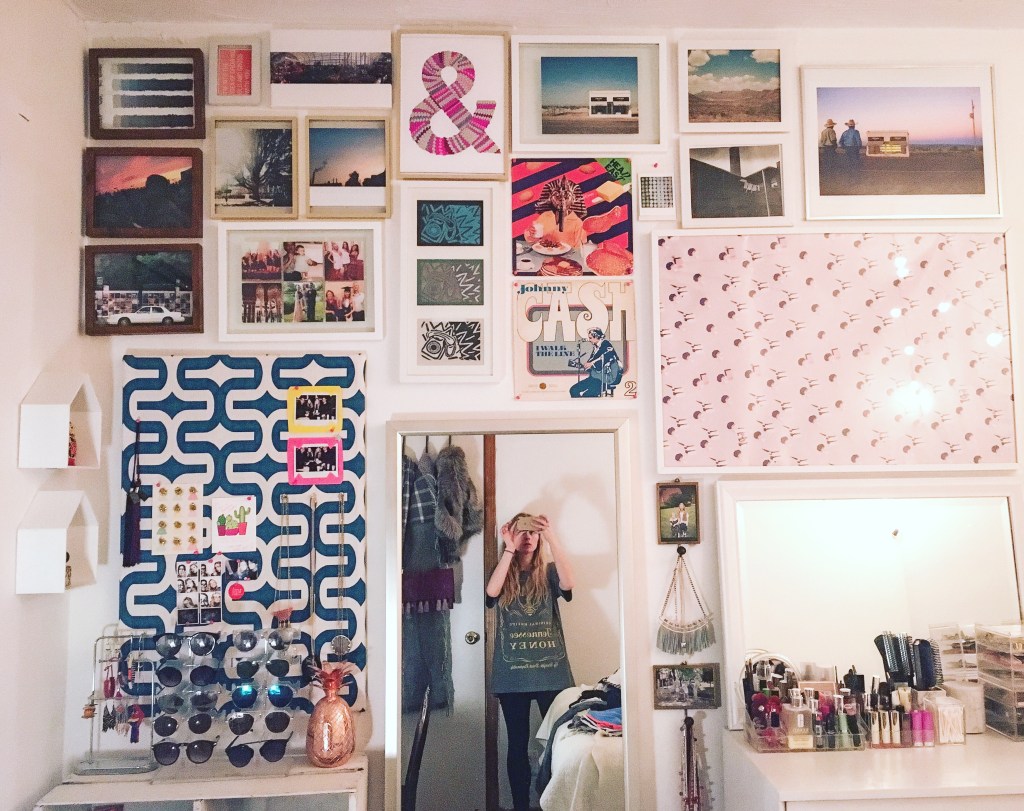
When creating a gallery wall, think outside of the proverbial gallery wall box (as in, literally making your gallery wall into a rectangle – unless that is what you want!!). As you may have noticed, expansive gallery walls are kind of my thing. Look at the shape of the room and the walls as well as the furniture within your room. Utilize space above doorways and windows for a unique touch. Add artwork all the way from the floor to the ceiling. Create a gallery wall in the corner of a room to wrap it in drama. Or, make a smaller scale gallery wall, or a gallery wall on a part of your wall that is only a few feet wide.
Visualize (on paper or in your head)
Any gallery wall guide I have read recommends drawing out your gallery wall. I never really do this unless I feel really stuck or have very specific, oddly-shaped pieces I want to use. Most of the time, I sort of just start going with the largest pieces, visualize in my head for the placement of the others, and, for lack of a better word, wing it (please see section about spackle if this is you).
Space it out on your own terms
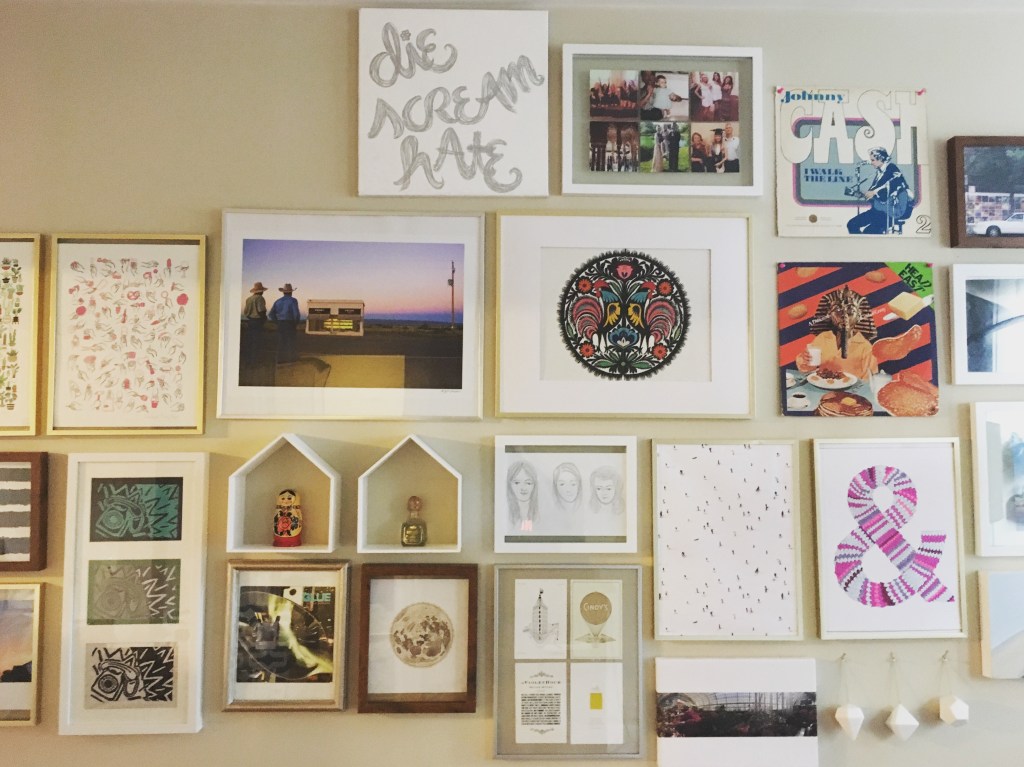
I can’t stand when I read tips on gallery walls and the author tells you to space them 3″ or more apart…who the hell made this random ass person the judge and jury of gallery walls, let alone anything. Honey, you are unique and you can space your gallery wall however your little heart desires. Some of my walls have artwork spaced 3″ apart, some 2″, some even less than 2″. With very small pieces I also often space them a little closer to other artwork even when larger ones are spaced farther, it just feels like it balances a little better than way.
Use a ruler (or a big ass yard stick)
The best way to evenly distribute artwork is to use something to measure the spacing and where you will install nails or screws. Measure the space between artworks, and also measure the back of the artwork to where to the hanger would sit on the screw or the nail. I often use a pencil to mark the top of a painting on my wall (very lightly, or just slightly below the top so the picture will cover the mark) and then measure to the saw tooth hanger or picture wire. Then I measure the same distance from the original mark on the wall and make a mark where I’ll drill a hole (plaster walls mean a drill 🙂 DO NOT use a hammer with plaster walls unless you want to be surrounded by some swiss cheese looking sh*t 😦 womp womp).
Start with the largest pieces first
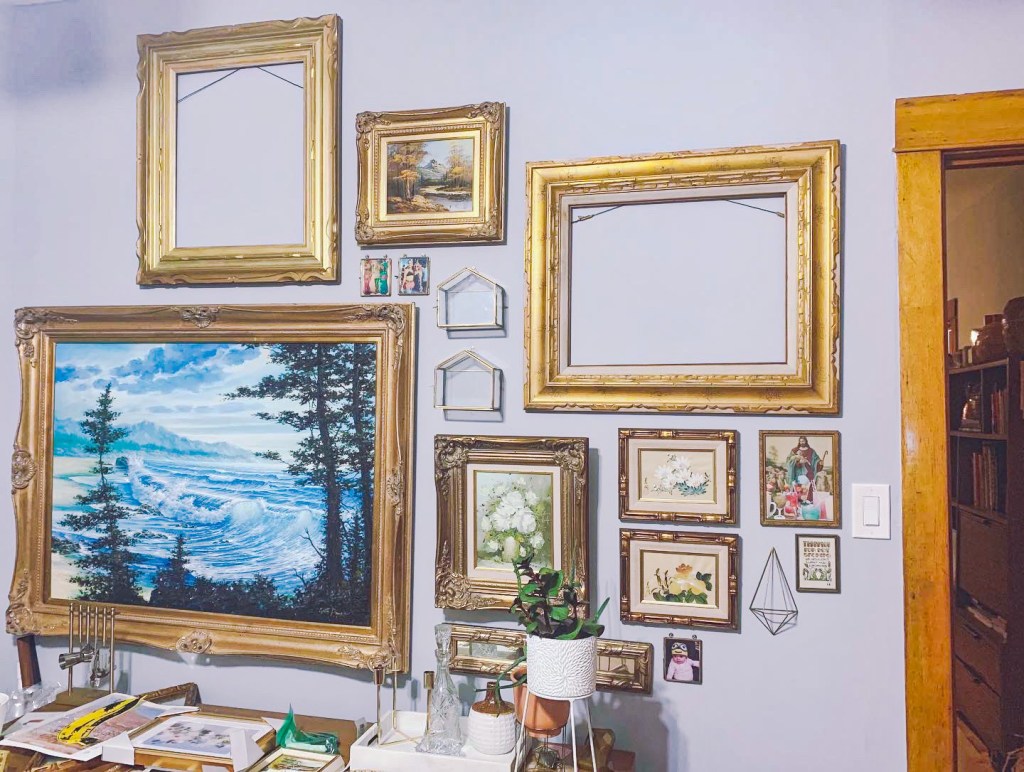
Whether you are a planner or more spontaneous, I would recommend starting with the largest pieces. The largest pieces will likely be the focal points of your wall, so you will want to pay the most attention to these. It is also much easier to add in smaller pieces as your wall comes together than to try to squeeze in a large piece when you don’t have much space left.
Create cohesiveness….but not too much
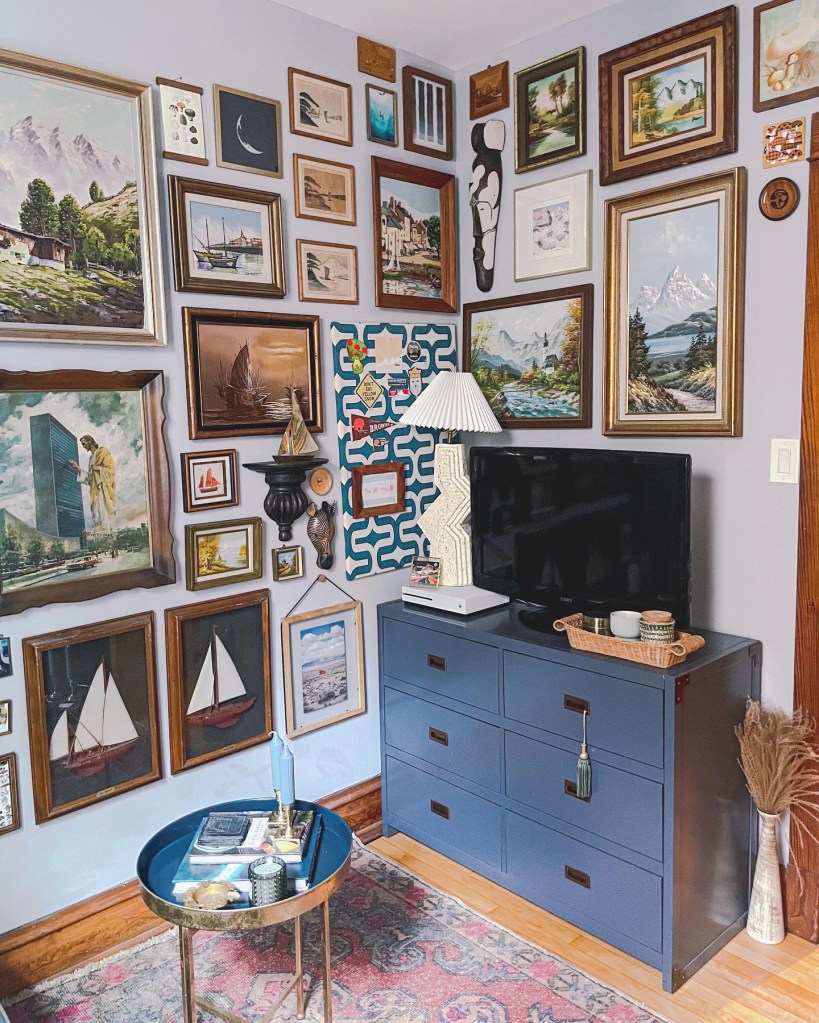
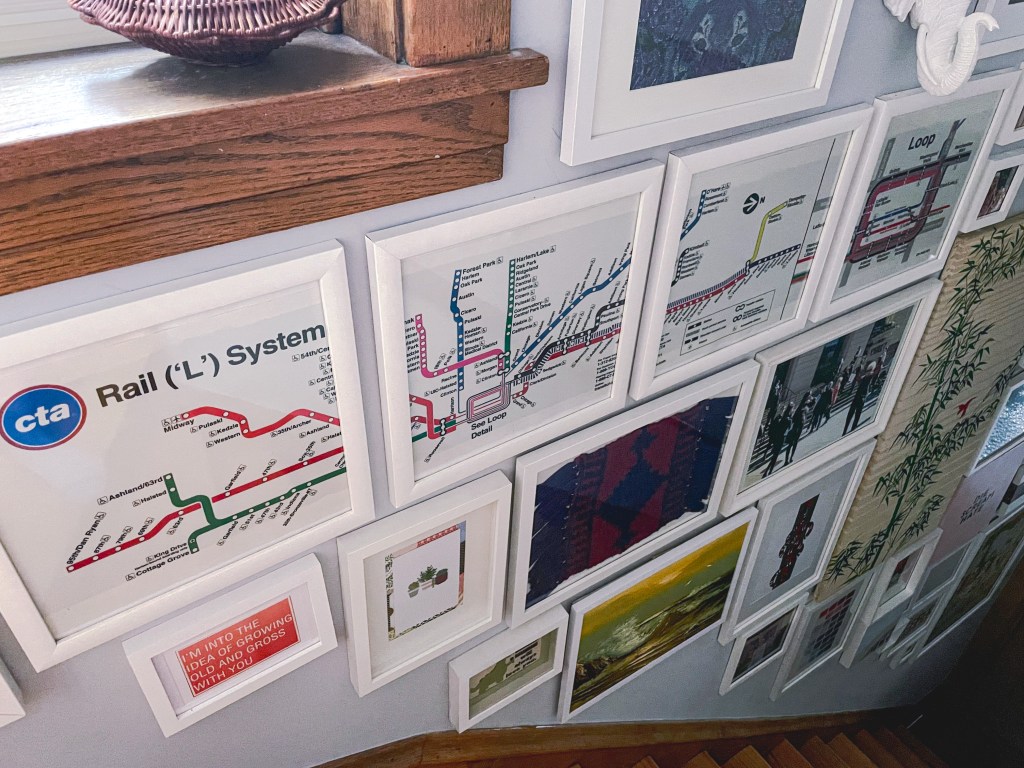
It’s always good to have somewhat of a theme with your gallery wall (emphasis on the somewhat). This could include frame color (all gold, all white, shades of blue, black/white or other color combos), frame material (various shades of wood, all metals), artwork themes (all landscapes, all portraits, a nautical theme, florals, etc), artwork scale (all large, all small), or some combination of these elements. Personally, I like my galleries to have some cohesive elements, but not be matchy-matchy. For example – if you are doing all portraits, add in paintings along with cute/funny cartoon portrait prints, silhouttes, photographs; if you are doing all white frames, add in frames with different textures, materials, shapes, shades of white, off-white, cream.
Buy frames first and then artwork
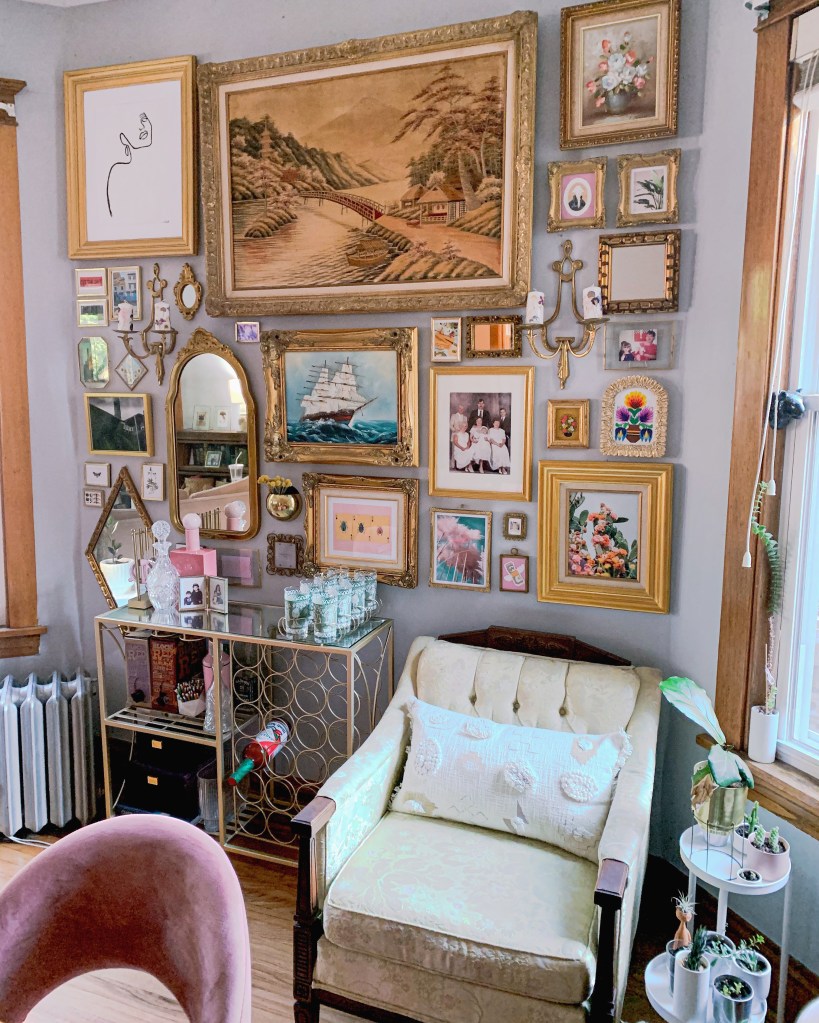
It can be a lot easier to find frames that work with your wall first – whether it’s the size, color, shape, or material. You don’t always have to buy a fully framed artwork, although definitely search for those too. When you are in need of specific sizes of frames to fill a certain space, searching for just the frame first can be easier and if it comes with artwork you don’t like, you can always change it out. Additionally, mirrors are always a stylish and easy space filler!
You don’t have to have all your pieces right away
There is no reason you need to have every single piece ready to go before you start hanging. I literally never do this. It can also be better on your wallet to wait, so you can use what you have and see what else you want to add later on or buy things when you find good deals. It also can feel like your gallery wall grows with you and your life if you are able to collect over time and add meaningful pieces from trips or other experiences.
Don’t stick to only rectangular paintings/prints
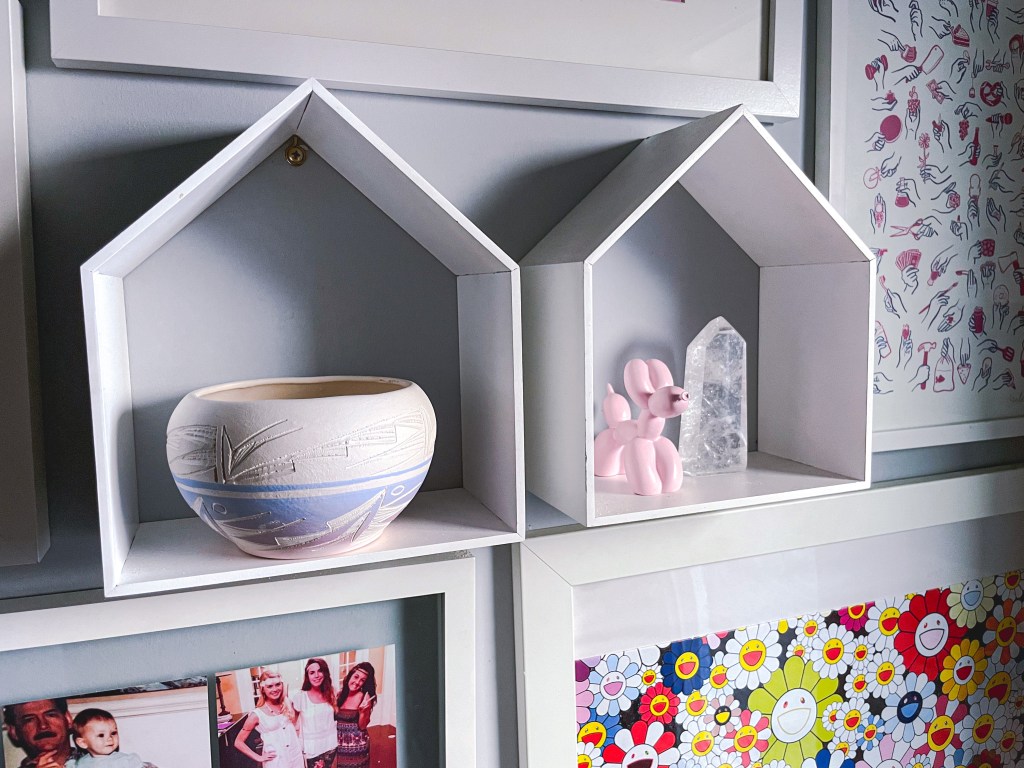
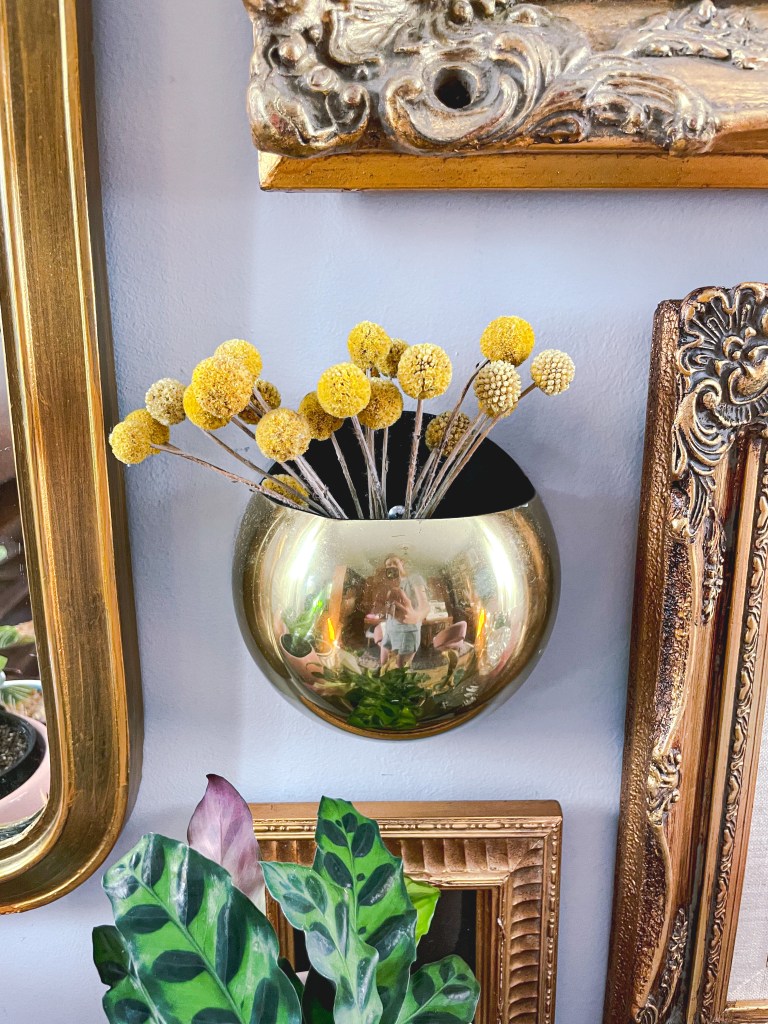
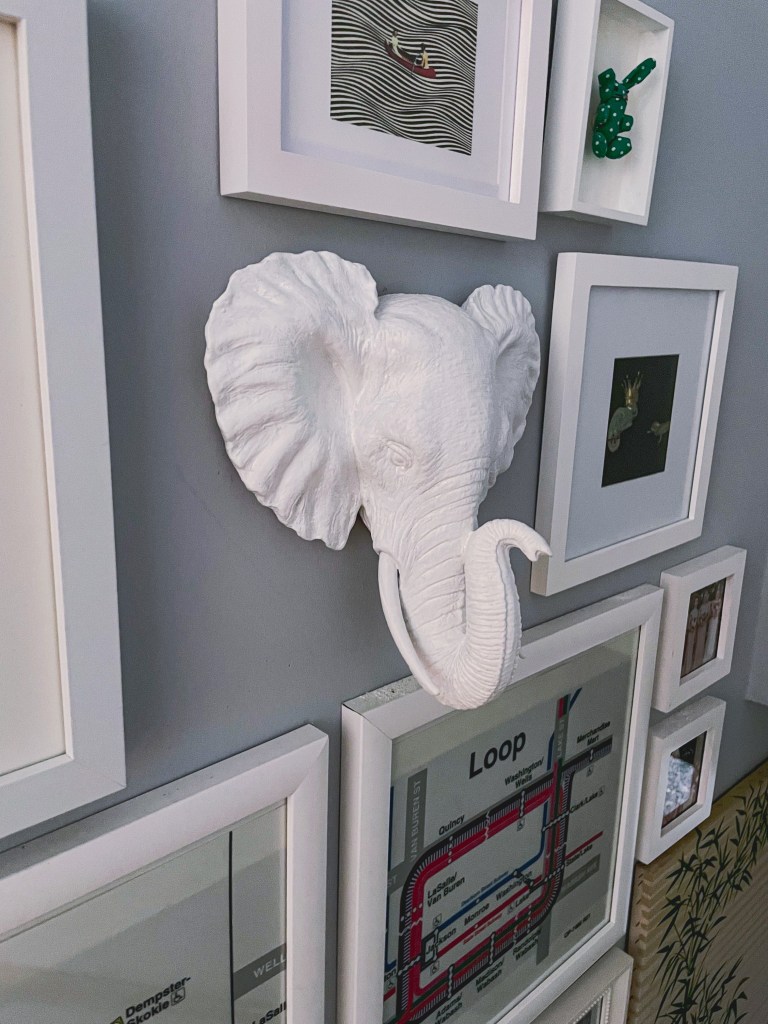

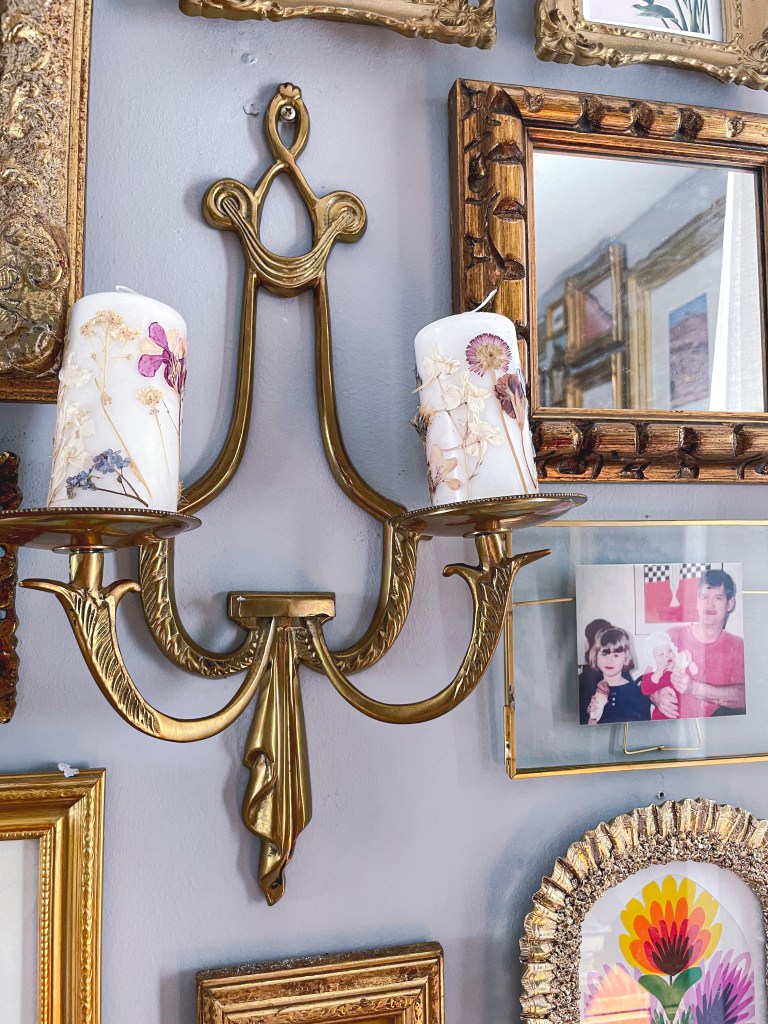
Add arched mirrors and frames, circular frames. Heck, don’t even stick to frames. I love adding in small shelves, mini curio cabinets, relief artworks, wall hung sculptures, shadow boxes, sconces, wall vases and planters, etc. This adds depth and interest to your wall.
Add sets of matching artwork
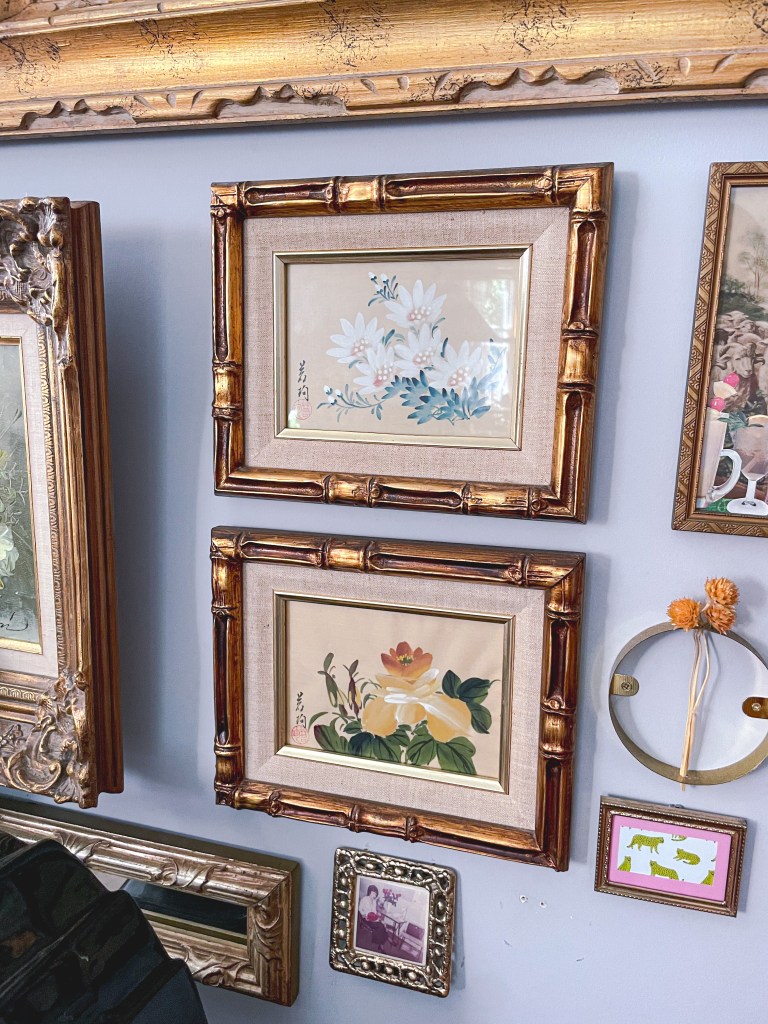

One of my favorite things to do within my gallery walls is add pairs of artwork or groups of 3+. This is another way to add an unexpected touch to your gallery wall. When hanging sets, imagine them as one large artwork all together unless you don’t plan to place them next to each other.
Get that spackle on deck
If you make a mistake, or don’t like how something looks – it’s going to be ok, you’re still great. Some of the best parts of my gallery walls have come from mistakes. And I have even had to rework some parts of my gallery walls more than once. Get yourself some gallery wall insurance, AKA:
- Spackle/patching medium (I recommend storing opened spackle containers in a zip lock bag to keep it from drying out)
- Putty knife
- 220 grit sandpaper block (you can use regular sandpaper sheets as well, I just find the block way easier to work with)
- Wall paint that matches the current color of the wall (if you rent, ask your landlord if they can tell you the brand and name of the color – they may even have some extra paint you can have!)
Below are my instructions for patching holes. I have developed this method over many many months of trial and error and a deep love-hate relationship with patching medium:
- This step is more for people who use a drill and screws because screws can sometimes come out of the wall and leave an uneven, jagged, protruding hole. Use the 220 sandpaper to sand the wall where the hole is located to get it as smooth as you can.
- Apply the patch/spackle over the hole. I find it easiest to apply with my finger.
- Use a putty knife to smooth the patch/spackle over the hole.
- Finish off with a little bit of sanding with the 220 grit sandpaper block to get it even more flush with the rest of the wall.
- Paint over the patch – ooo honey, look at you fixing walls and sh*t, you belong on HGTV you little handyperson!
Sourcing frames
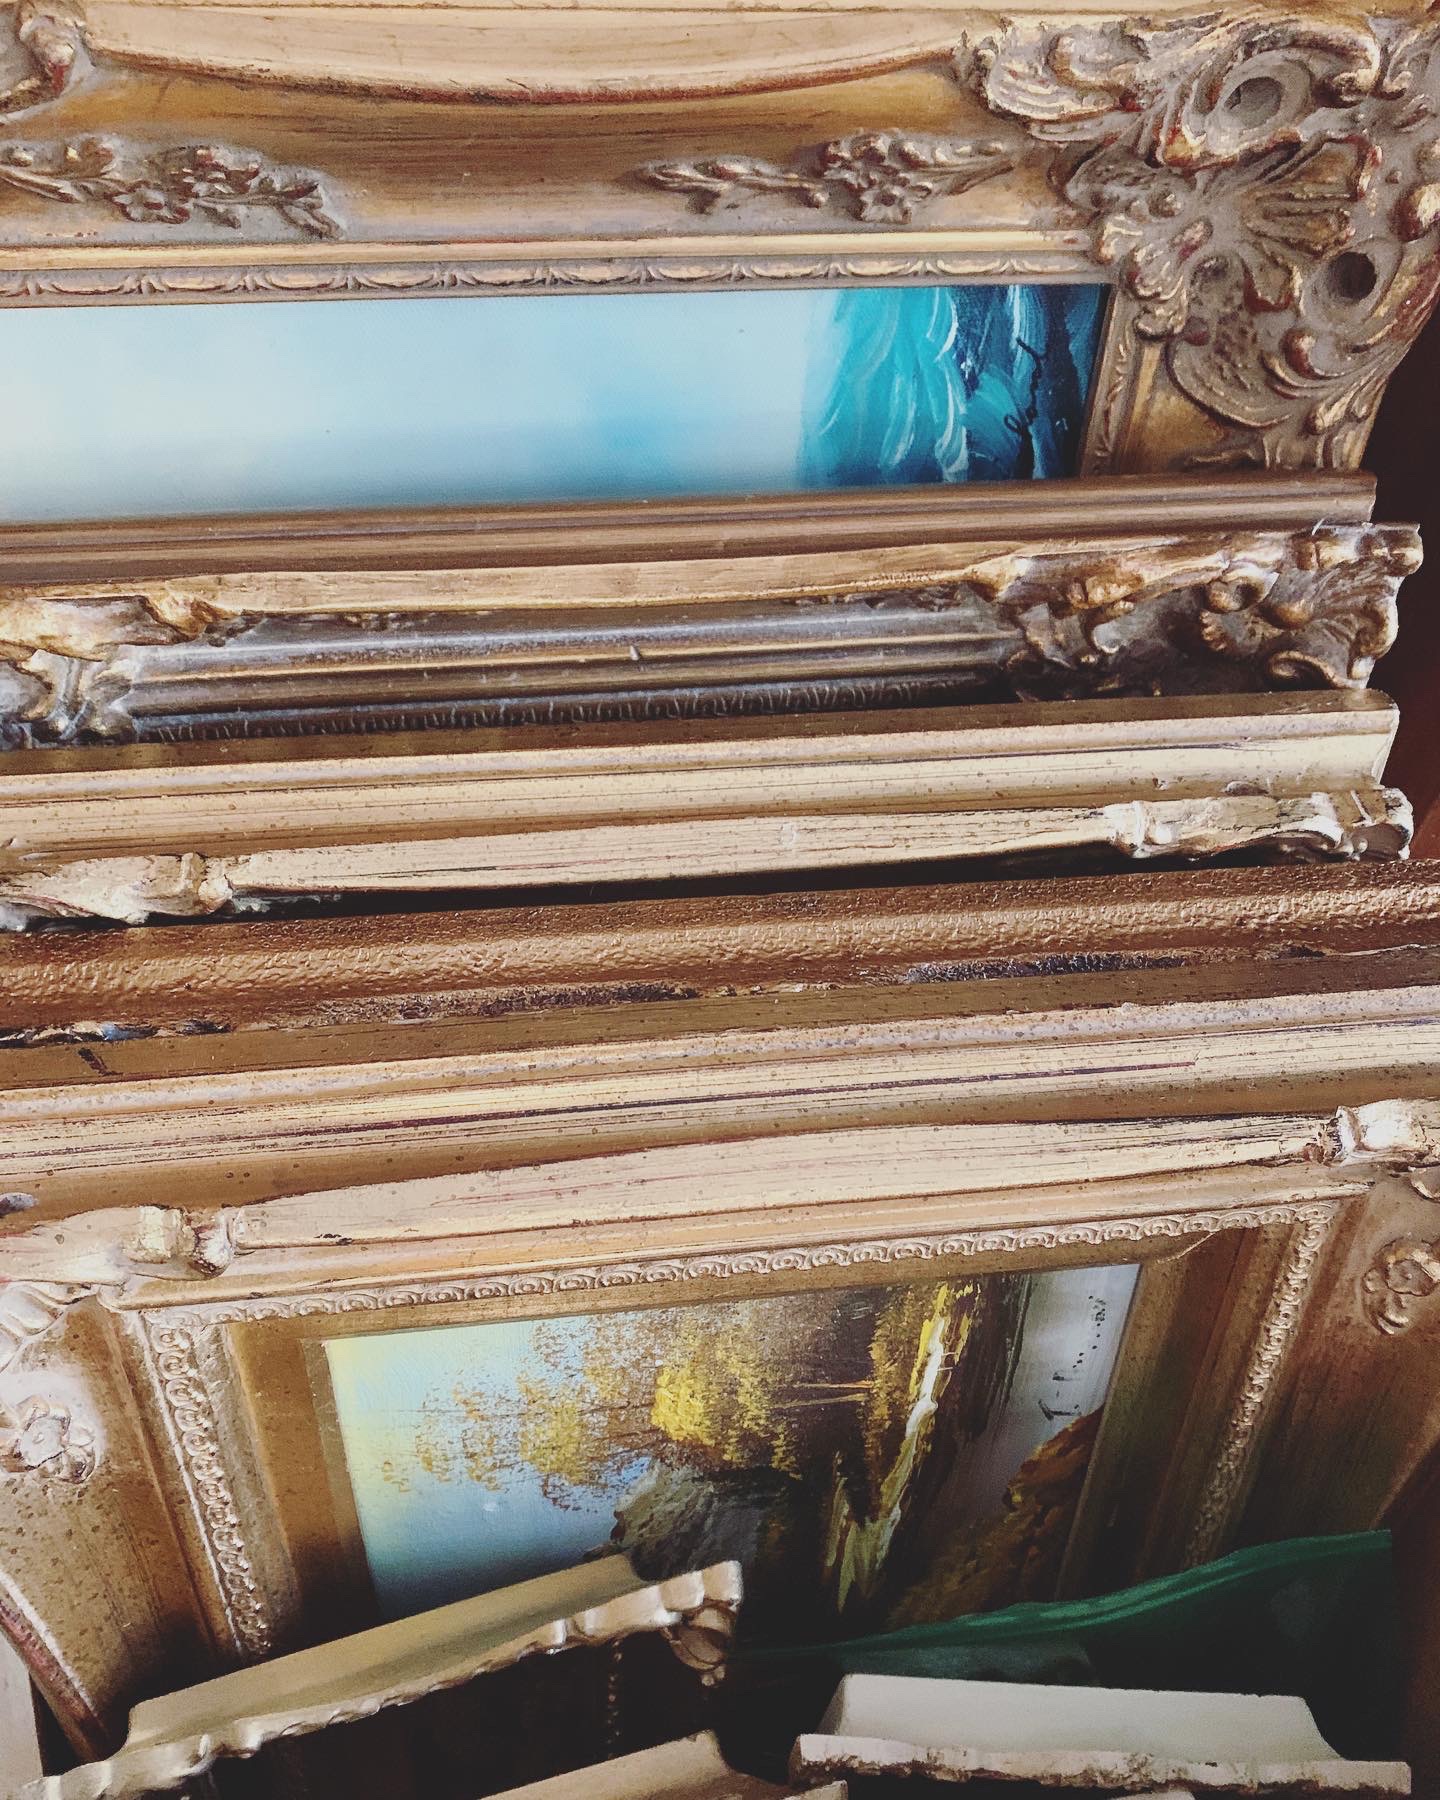
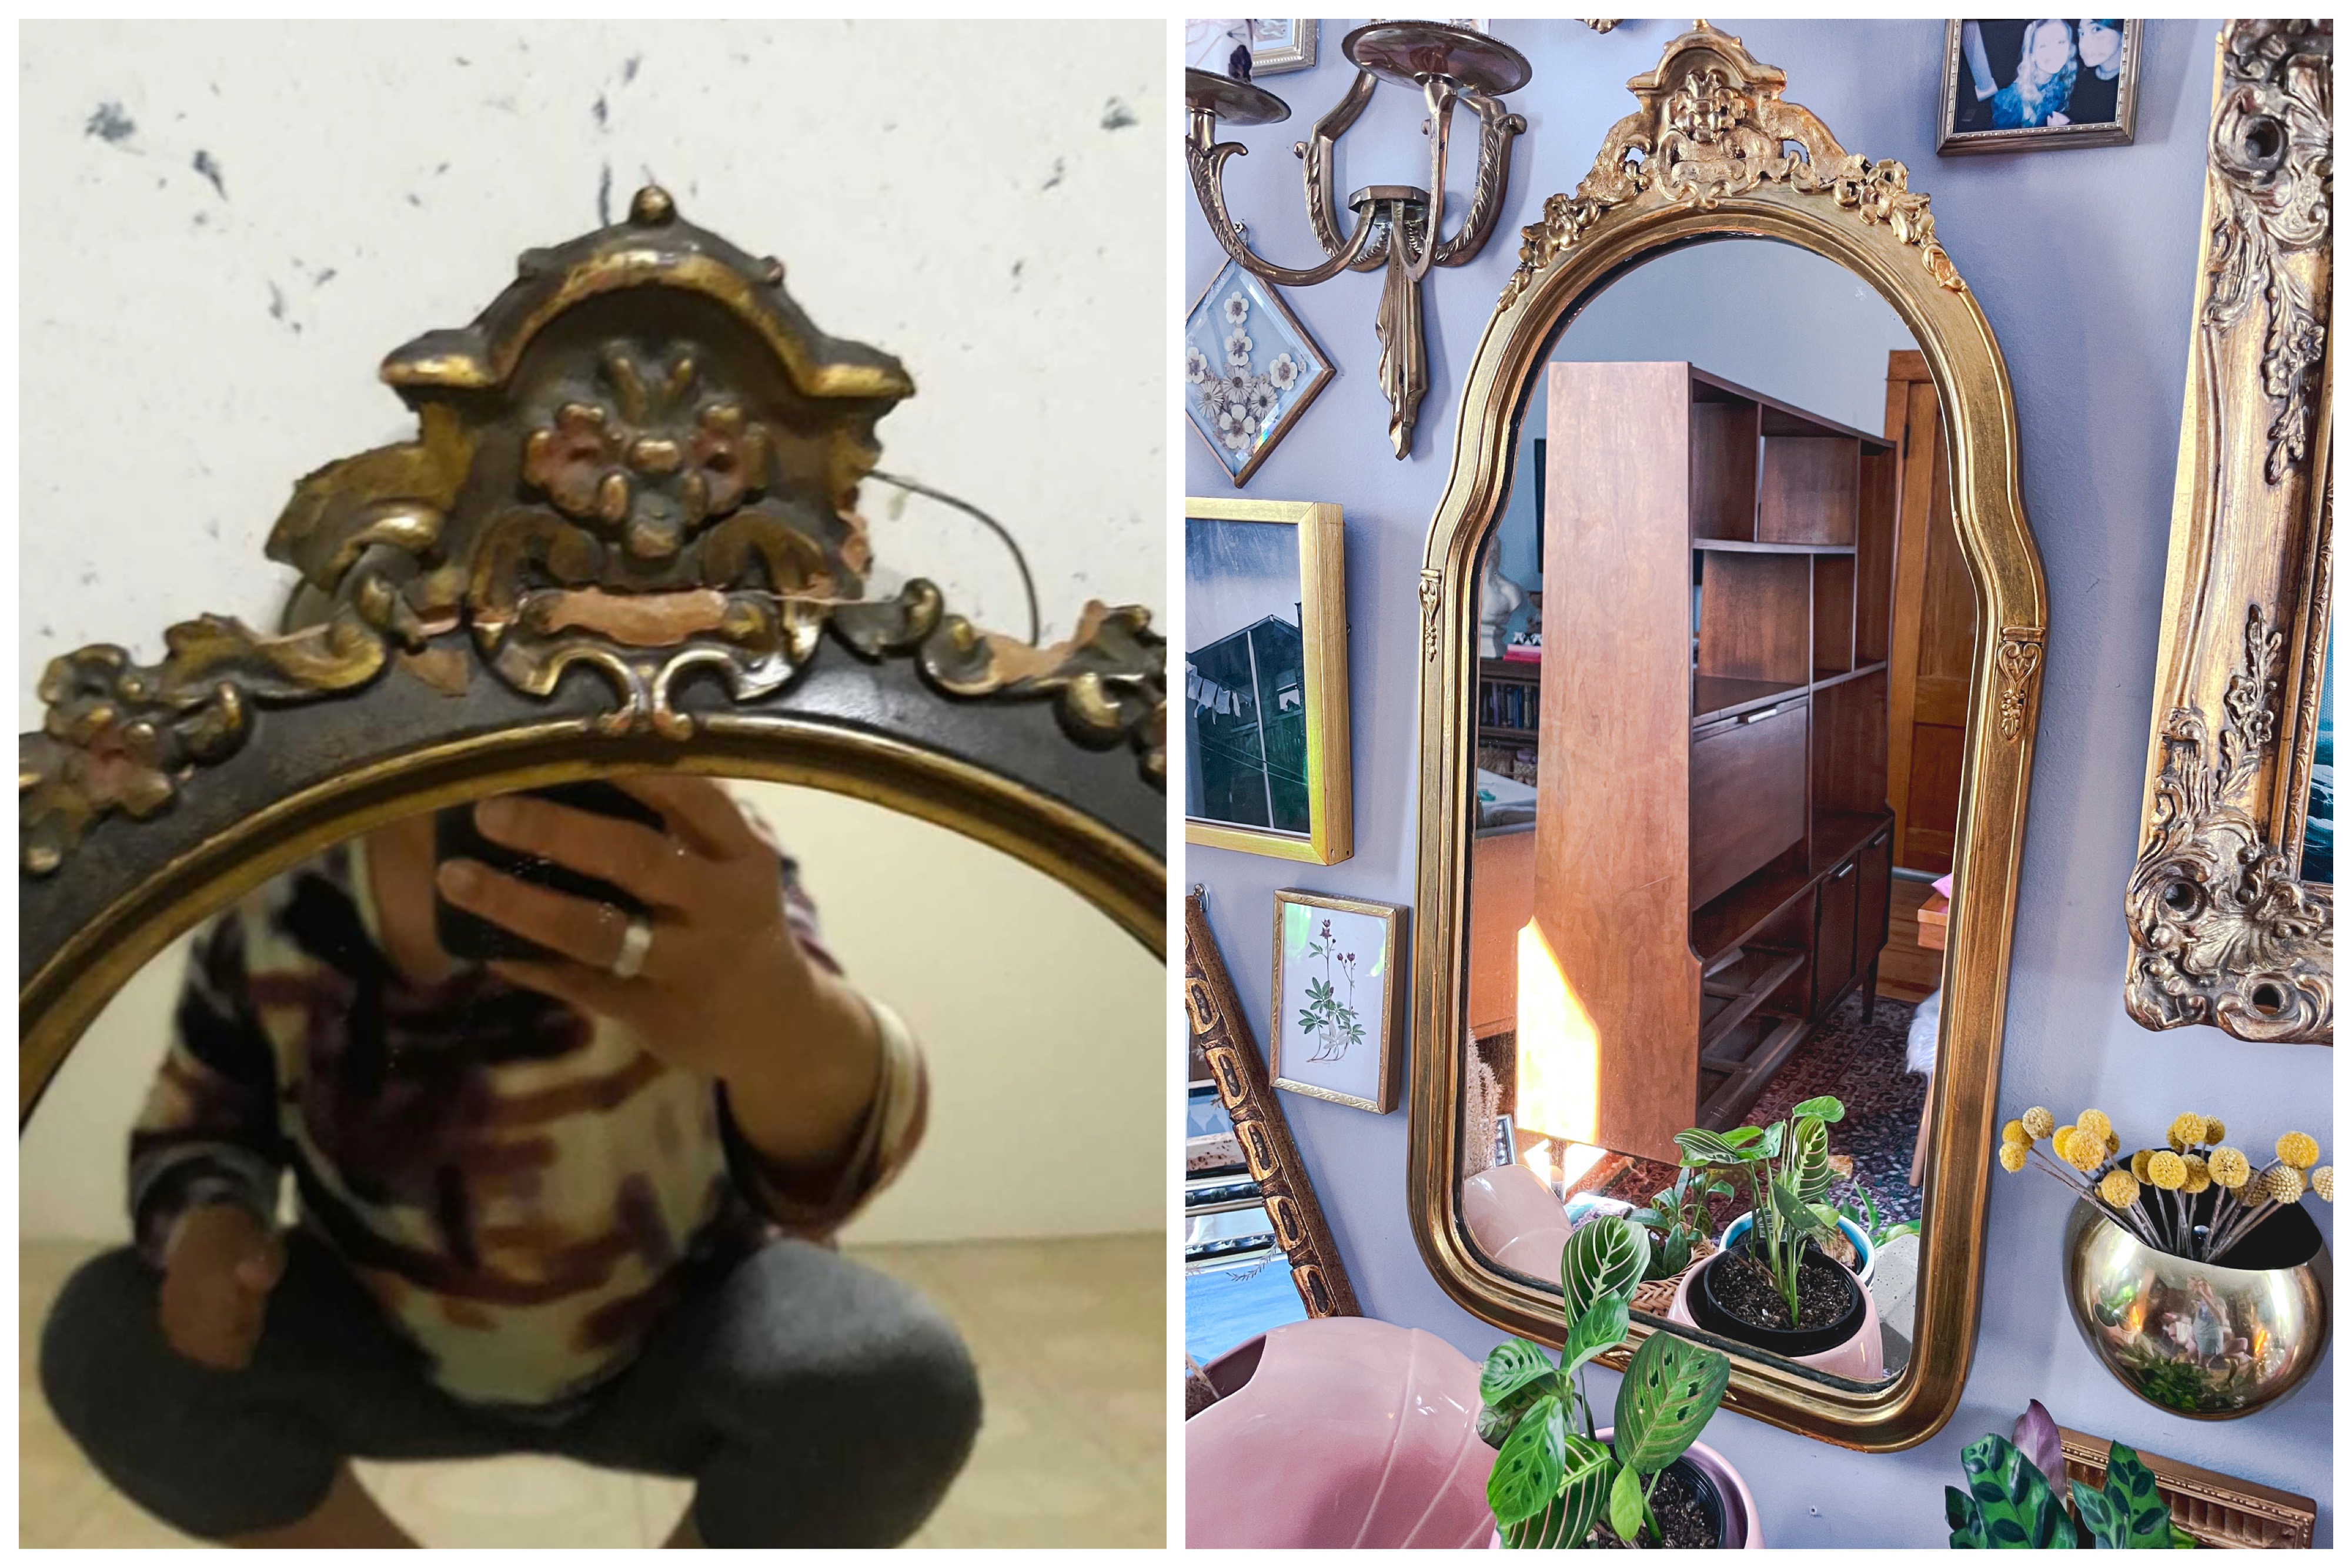
My go-to places for sourcing (vintage) frames in order from cheapest to most expensive price points (although there are definitely exceptions, I am just going off of my experience) are thrift stores (not talking about the bougie ones, I am talking about the ones where you sometimes dig through things and immediately yearn for a shower), Ebay/Facebook Marketplace (I find that I can frequently find good deals on both, although there are definitely overpriced items as well), and Etsy (Etsy can be pricy, but there are items I’ve gotten for a steal on there). Make sure you are looking at the bones of the frames rather than the frame in its current state. It is extremely easy to paint frames, polish brass, add hanging wire or hooks to the back, etc. One of my proudest/jankiest moments – I once fixed a mirror with air dry clay that I then primed and painted (see above).
Art doesn’t have to be expensive
This was a card I got from a family member. 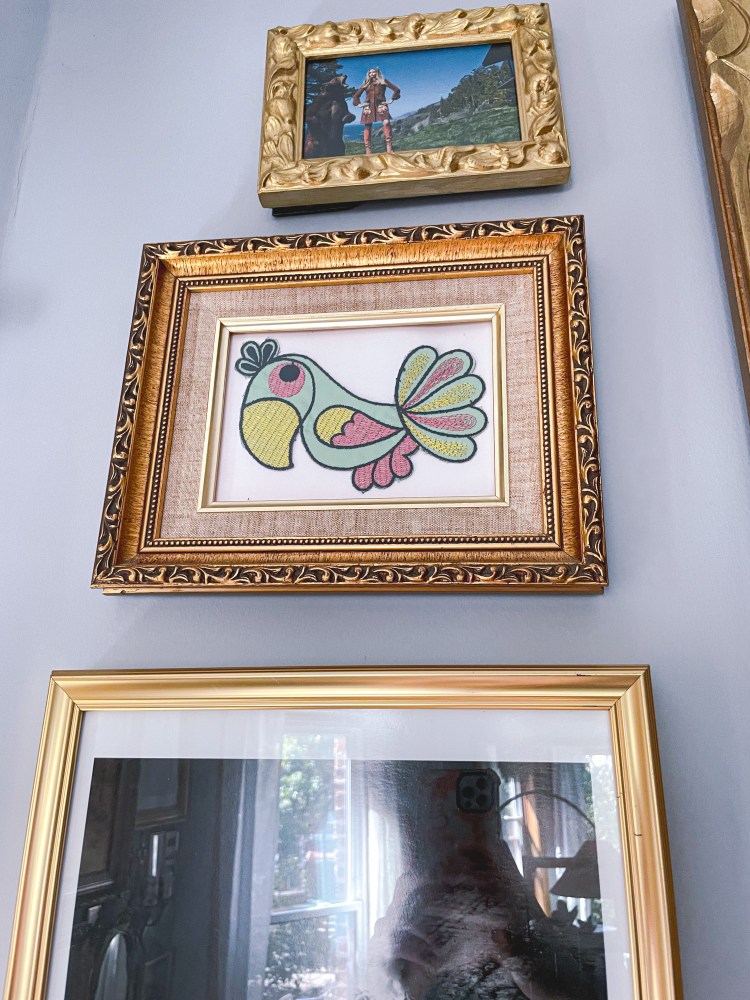
A funky patch I found at my grandma’s house after she passed away. 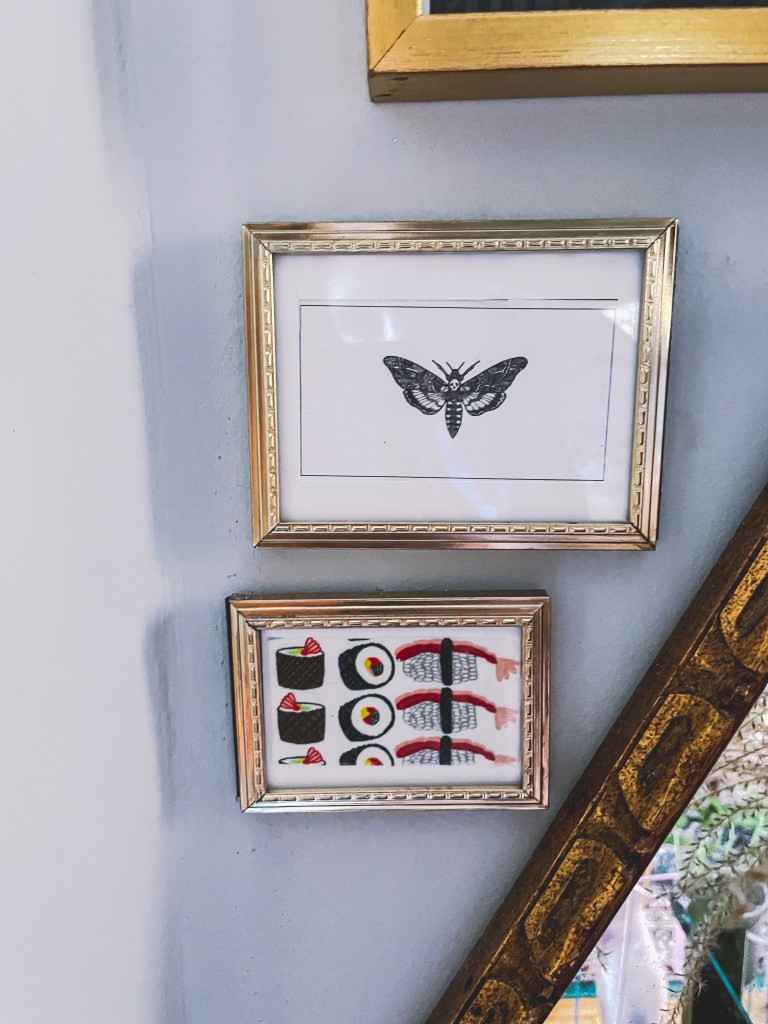
The dragonfly is actually a business card some random person gave me. The sushi is a small piece of really cute patterned fabric I had laying around. 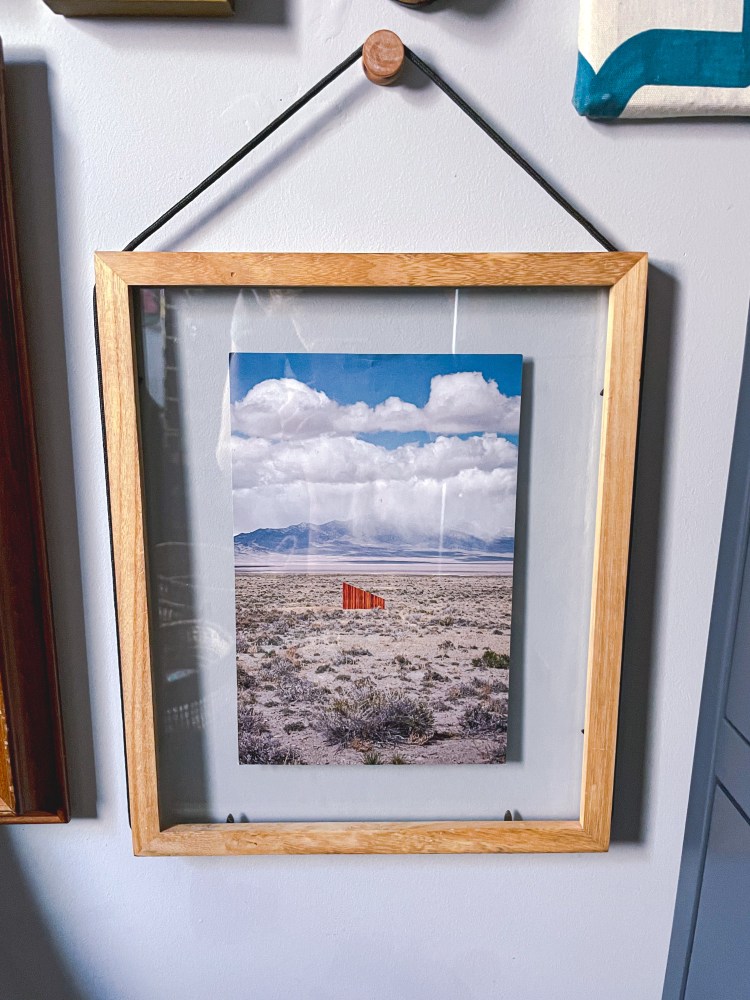
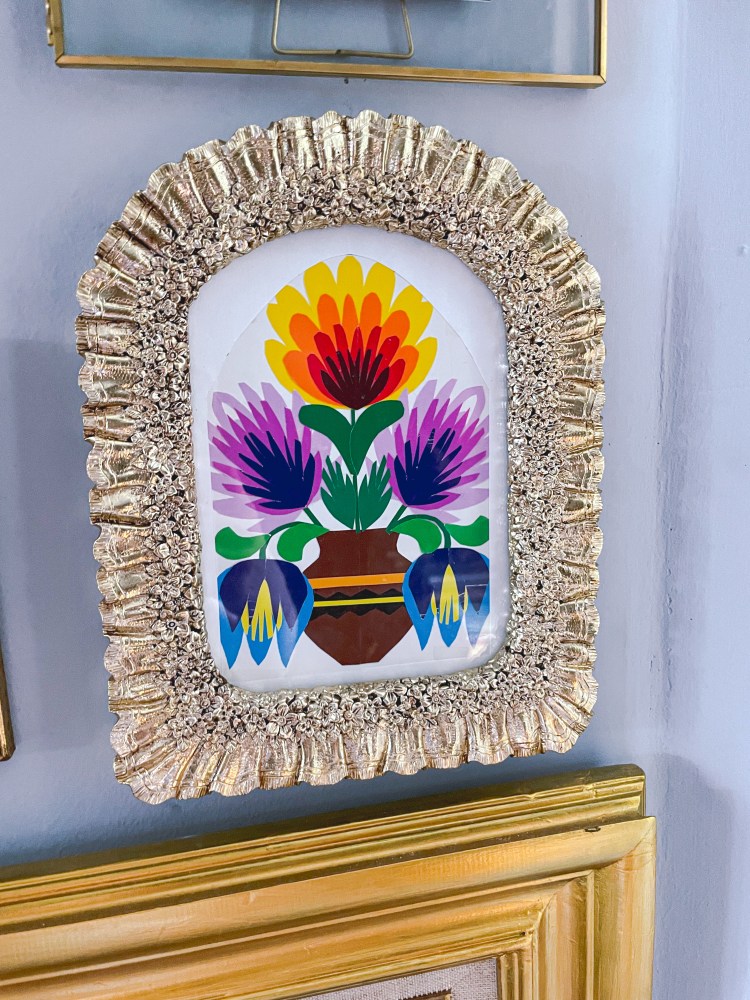
An image I cut out of a magazine years ago. 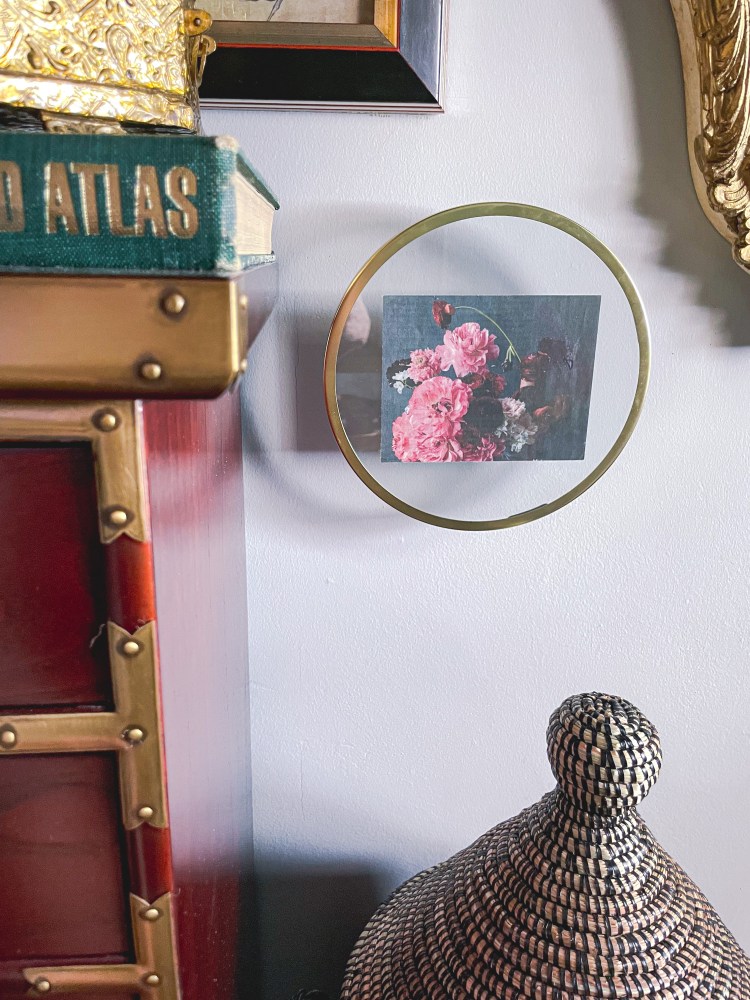
I cut this image of flowers out of a newspaper. 
A photo I took when I was in Morocco. Minimally fancy printing a la Walgreens. 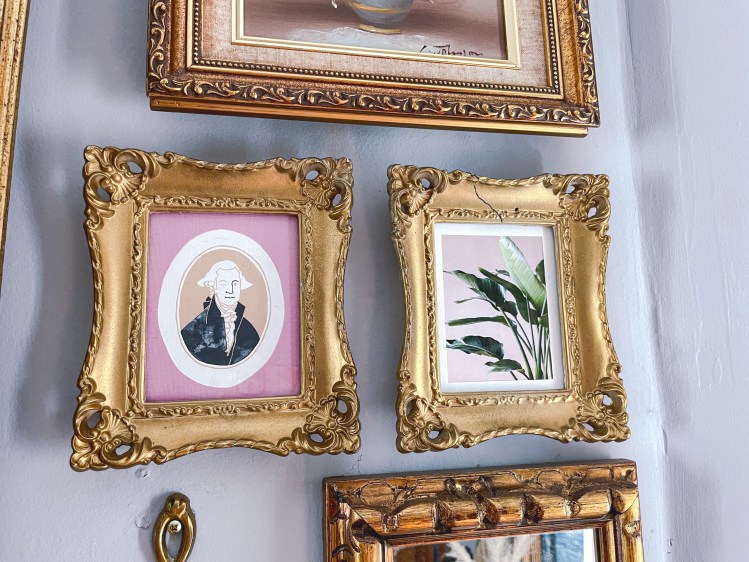
The George Washington was a cardboard coaster I got from George Washington Bar in the Freehand Hotel in Manhattan. The plant picture was a little post card that came in the shipping box of a purchase I made from a small boutique. 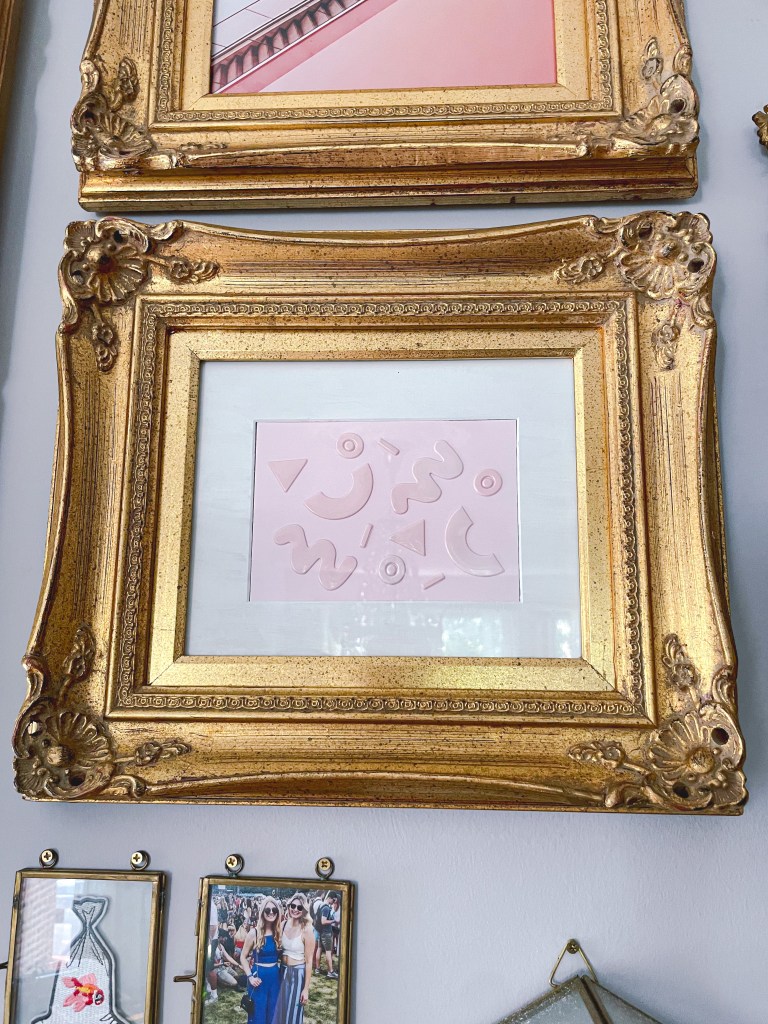
This is a sticker sheet I got from the Festive Collective in Logan Square, Chicago. I just loved how the puffy stickers looked against the background. 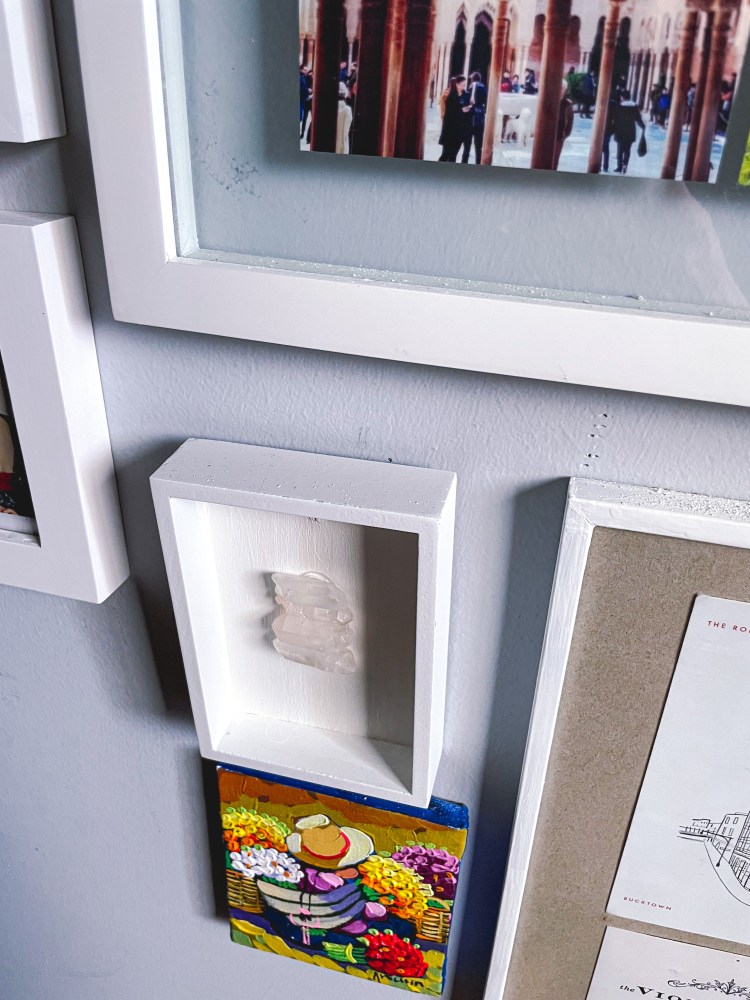
I had some small crystals around the house that I didn’t know what to do with so I used some adhesive to attach them to a tiny shadow box. 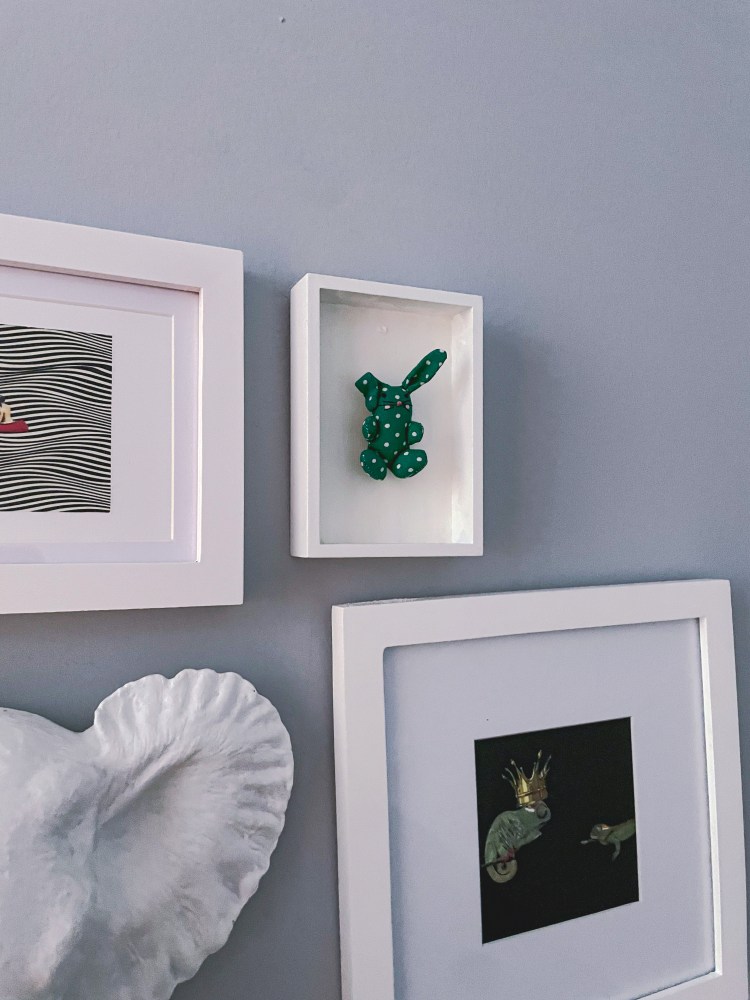
This was a pin I got from my mom as a kid, I also used some adhesive to attach it to a shadow box. 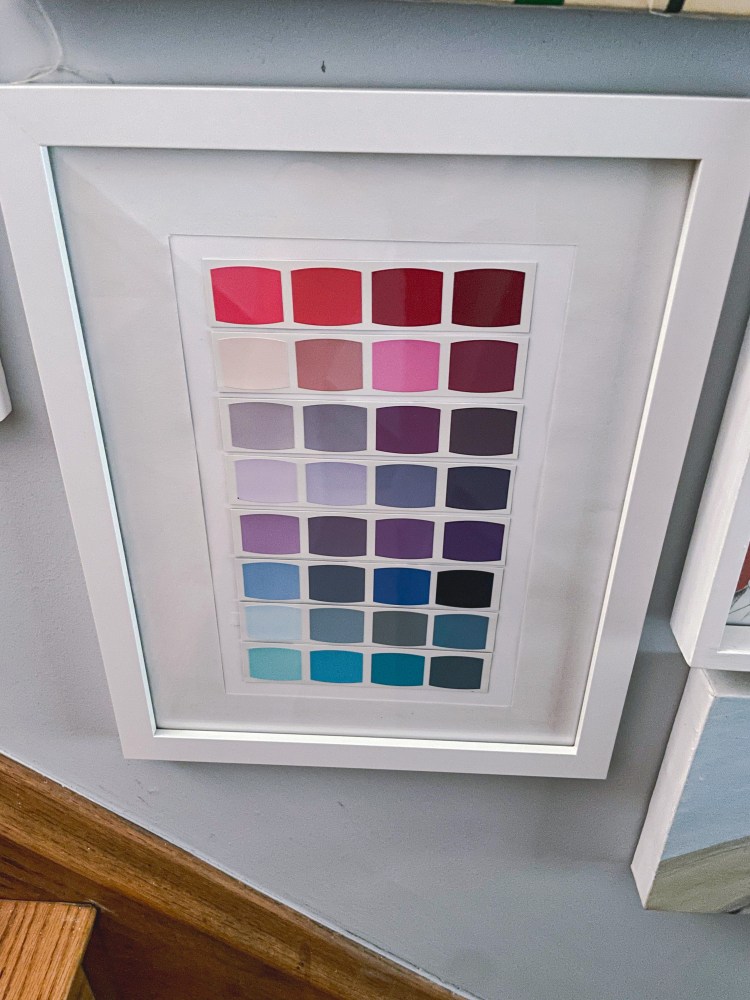
I got a paint booklet from Sherwin Williams when I was deciding on paint colors for a dresser and used the samples to create this gradient artwork. 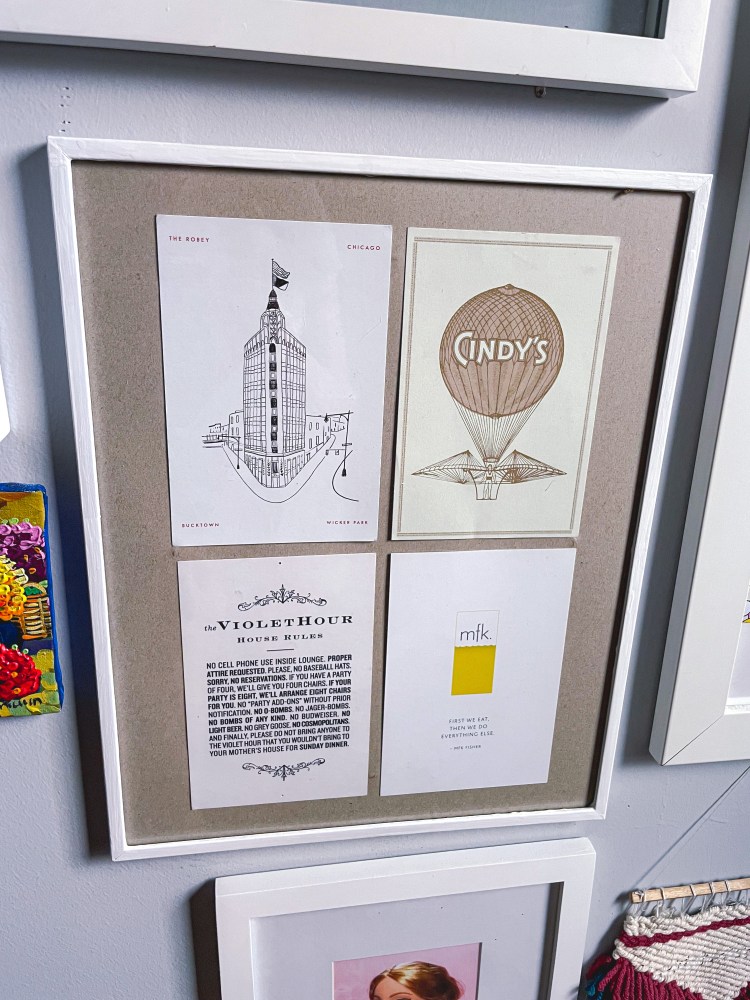
These are cards I got from restaurants and bars I love around Chicago.
I actually have a lot of “artwork” framed that I got for free. I love collecting coasters and post cards from restaurants and bars and I have framed some of these. I have even framed business cards. I framed my own photography (ok those cost like 20 cents to $3). Other cool ideas for items to frame: artwork you made yourself (even the least artistic people can make simple art, I promise), stickers, make shadow boxes of cool items you have laying around that you don’t know what to do with (I’ve done this with crystals, pins, etc), a cool piece of cloth (fun texture or pattern), patches, buttons, dried or pressed flowers. The possibilities are completely endless (did you notice how many times I used “etc” in this post?). Another great resource for inexpensive art is Etsy, you can purchase image files of prints and photographs and print them yourself – many files can be purchased for less than $5. I print mine at UPS.
