

Hello! I’ve had a crazy and very busy few months, but I finally found some time to share my latest DIY project – a large (like, really large) pedestal planter.

Supplies:
- planters: I am linking the ones I used here. You can use your size of choice, smaller planters work great if you want to make a table-top version).
- Gorilla Glue: I used the original Gorilla Glue formula which is great for heavy duty projects. You can use other superglues, but personally I am obsessed with most formulas of Gorilla Glue. You can literally stick things together that you wouldn’t have thought you could in your wildest dreams….unfortunately for me this normally also includes my fingers.
- spackling/patching compound: I always use 3M’s patch plus primer. Not sure if it is the best out there, but so far has worked well for me.
- primer: Normal wall primer is great, here is the one I used. If you are painting a surface that is polished or smooth, make sure to get primer that works on all surfaces such as tile primer (you can also sand the surface before priming).
- paint of your choice: normal wall paint works, you can pick whatever finish you like. The blue paint I used is satin and the pink paint I used for the design is flat (matte).
- felt furniture pads: Not required, but recommended, especially if you plan to place on wooden floors or floors that easily scratch.
- sandpaper: choose something with a medium to higher grit, as these are less abrasive and good for finishing.
- newspapers, cardboard boxes, or an old tablecloth/shower curtain to protect your floor or other work surface (if needed)

To begin, prime and paint the top of the planter you will use as the base. I actually ended up deciding to paint the planter a different color than the purple after this step, but as long as you aren’t indecisive and always changing your mind like me, this is easier so you can get coverage on the bottom and you have less of a chance of painting your floor (hahaha).
Once you do that, attach 4 felt furniture pads to the bottom (or more if you would like). I used a dot of Gorilla Glue on the bottom of each (be warned if you have never used Gorilla Glue – a little goes a LONG way!!!) to permanently secure the pads as I have found the adhesive that comes on the pads is not super strong.
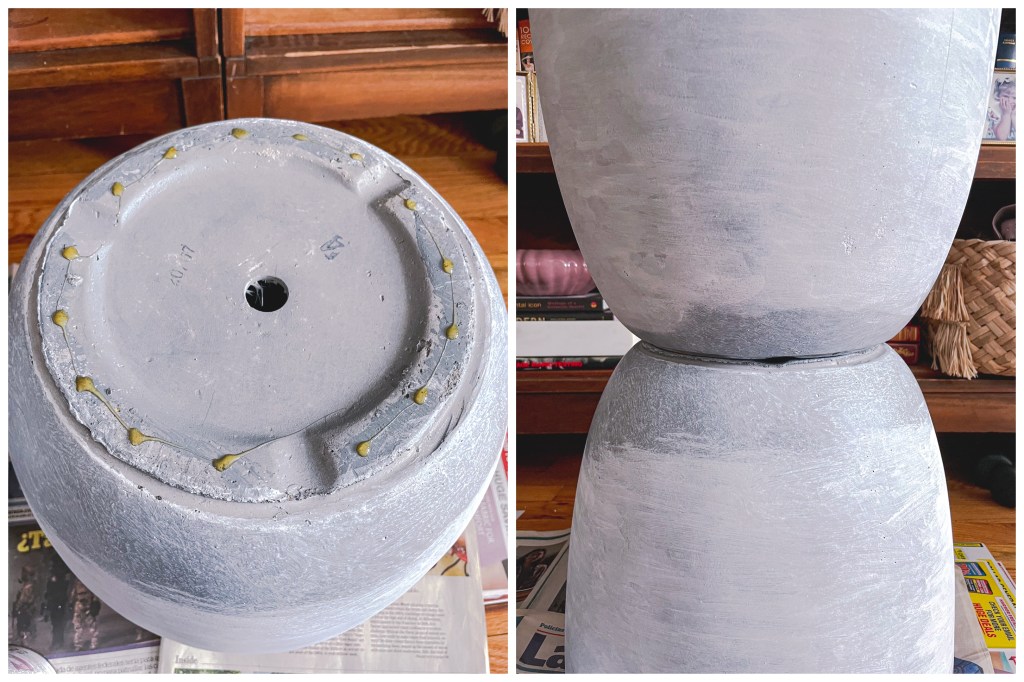
Once the glue under the felt pads has dried, flip over the base and put small dots of glue on the top. You can see the planters I chose have a rim (at what used to be the bottom) so this is where I placed the glue, otherwise place the glue at the spot where your planters will sit on each other. Place the other planter on top of the base and line them up as evenly as possible.
Let dry for about 30 minutes, then prime the full planter. One coat of primer should be fine, but if the planters you chose are a color that is very bright or different from the one you are using to paint over it, you may want to do two coats.
In the seam where the two planters meet and are sitting on each other, use your finger to apply spackling all around the seam. Smooth it out with your finger as much as possible. Let it dry for 30 minutes to 1 hour. This required multiple applications for me (like probably 10 hahaha), but I am not great with spackling so maybe you can do it in one or two applications if you are better with it. I also used 220 grit sandpaper to smooth any bumps in the spackling once it was dry.
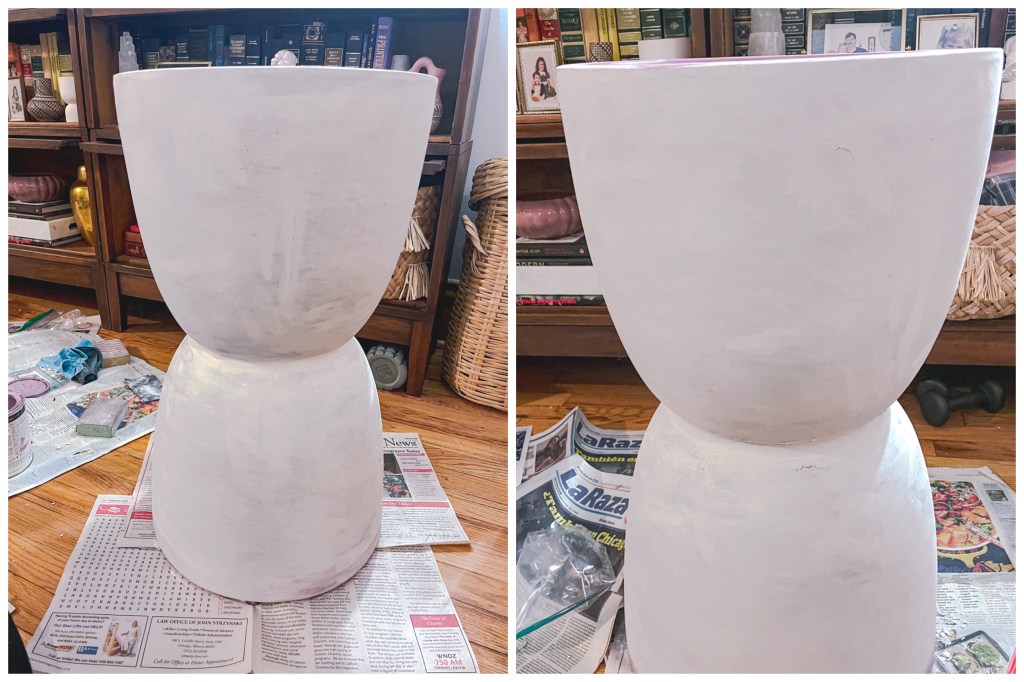
The planters I chose were made of a concrete mix and some areas of the surface had imperfections. I used the spackling to cover any areas of imperfection that were larger in size, then sanded down once dry to make the surface even and smooth.
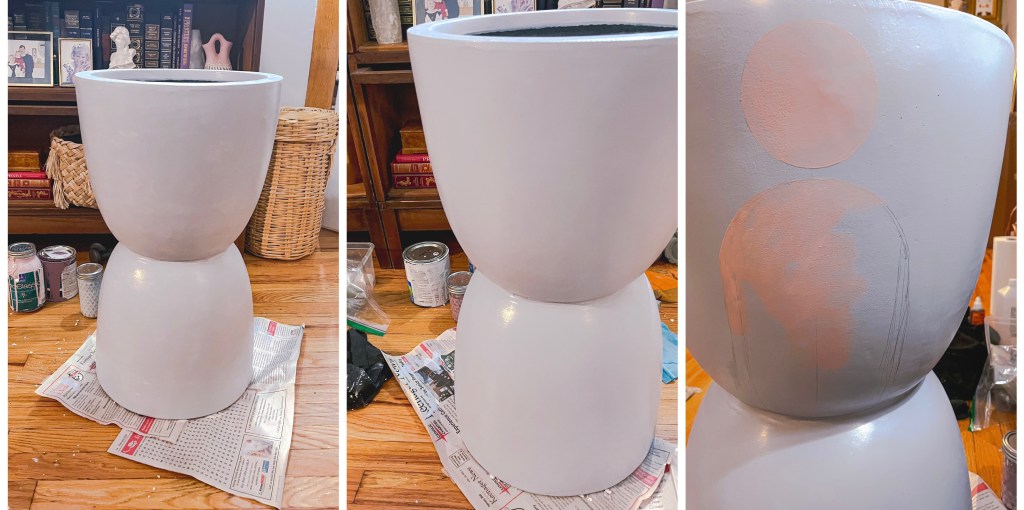
Once you are happy with your spackling application, paint the entire planter. I find that two coats is always best, but it depends on the type of paint you use. I painted the inside of the top as well because it was easy to see inside of it since it is so large, but this isn’t a necessity.
I also wanted to create a geometric design on the top front of the planter. I actually used candle lids and a pencil to trace the circle and the top of the arch and a ruler for the rest of the arch (not a perfect plan, the curvature of the planter made it difficult). If you want to do anything super intricate I would recommend having artistic skill and a steady hand (lol) or a really good stencil.
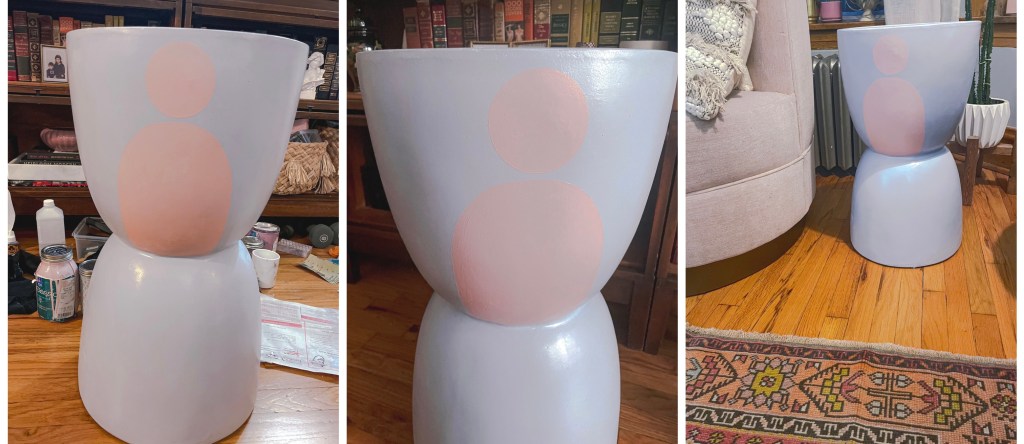
And here she is – the finished product, really loving how large and in-charge she stands! My finished planter stands at about 2 feet tall (this will of course depend on the size pots you choose to use). Hope you enjoyed this post and found it useful. Reach out with any questions or comments, and please share photos if you decide to create one!
